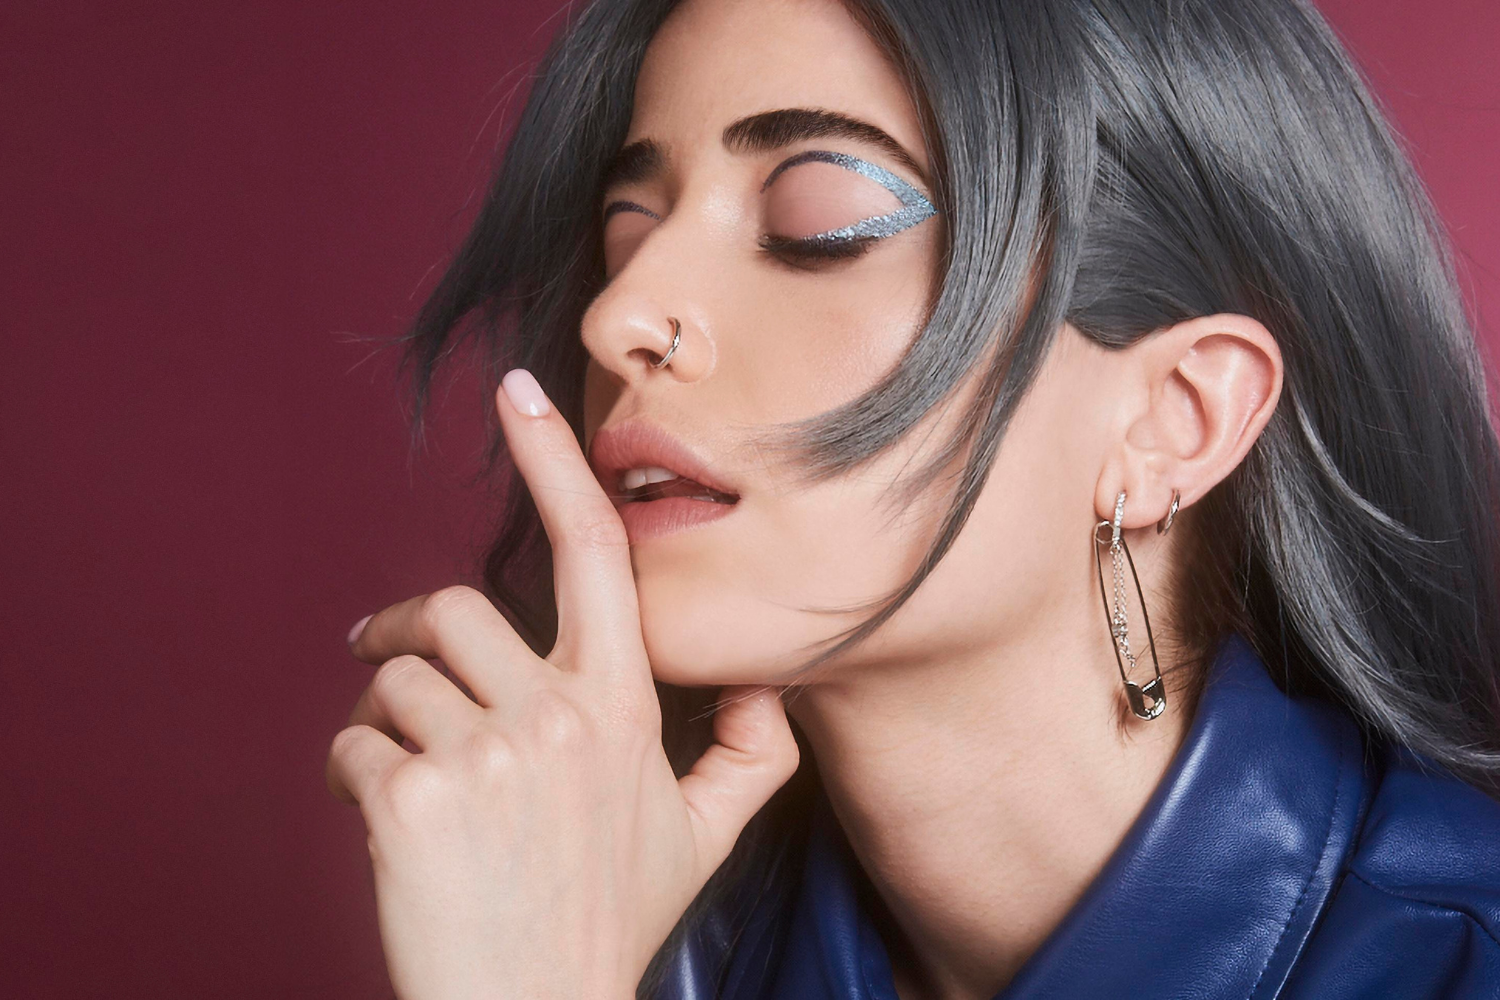
6 Zoom-Ready Makeup Tips and Tricks You Need To Know


by Amanda Etkind
Let’s face it: there has been no shortage of Zoom calls over the last year—from work-related meetings, to virtual happy hours with your besties, or a Bumble match that you’ll probably never talk to again. While we can’t deny how grateful we are for the wonders of technology, hours spent video-chatting have left us thoroughly conscious of how we look through the lens of our webcams and smartphones. It’s pretty shocking how the camera on a laptop doesn’t do our face any favors — and how the slightest wrong tilt of the computer screen can turn you into an entirely different person. To help you out (and honestly, us too) we rounded up our top tips and tricks for looking bomb on video conferencing calls. Spoiler alert: all it takes is the right products and application techniques.
Don’t Forget To Prep
You know what they say: Practice (and prepping) makes perfect—and this is especially true when it comes to putting your best face forward on Zoom calls. If you’ve ever blended your base onto a dry, dull complexion, you know what we mean. It pretty much just highlights the look of dry, flaky spots on your face. Here’s your plan of action: Before you turn on the camera, take time to fully do your skin care routine (i.e cleanse, exfoliate, etc.), then follow up with a hydrating moisturizer and primer to create the perfect canvas for whatever you apply on top. Be sure to look for products with lightweight hydrators like hyaluronic acid, glycerin, and any gel-like creams over oils so your foundation or complexion products won’t slip and slide during the call.
Make Certain Features Stand Out
You’ve probably heard how newscasters and tv stars basically spackle their skin to appear flawless on camera since bright lights tend to wash out their skin. This same rule applies when applying our makeup for Zoom calls. We certainly don’t suggest caking it on if you don’t feel like it (because you do you, boo), but we do recommend enhancing some key features a bit more than you would IRL so they stand out on the big screen aka your computer monitor. Stick to enhancing your brows, lashes, and lips. These are focal points of the face and your eyes naturally are drawn to them. Showing them a bit of extra love helps to enhance your unique facial symmetry, which can get lost under bright lights. Plus, if you’re dealing with particularly low-resolution cameras, defining these areas will make them pop, versus making you look like a blurry pile of pixels.
Sculpt Your Cheeks, Nose, and Jawline
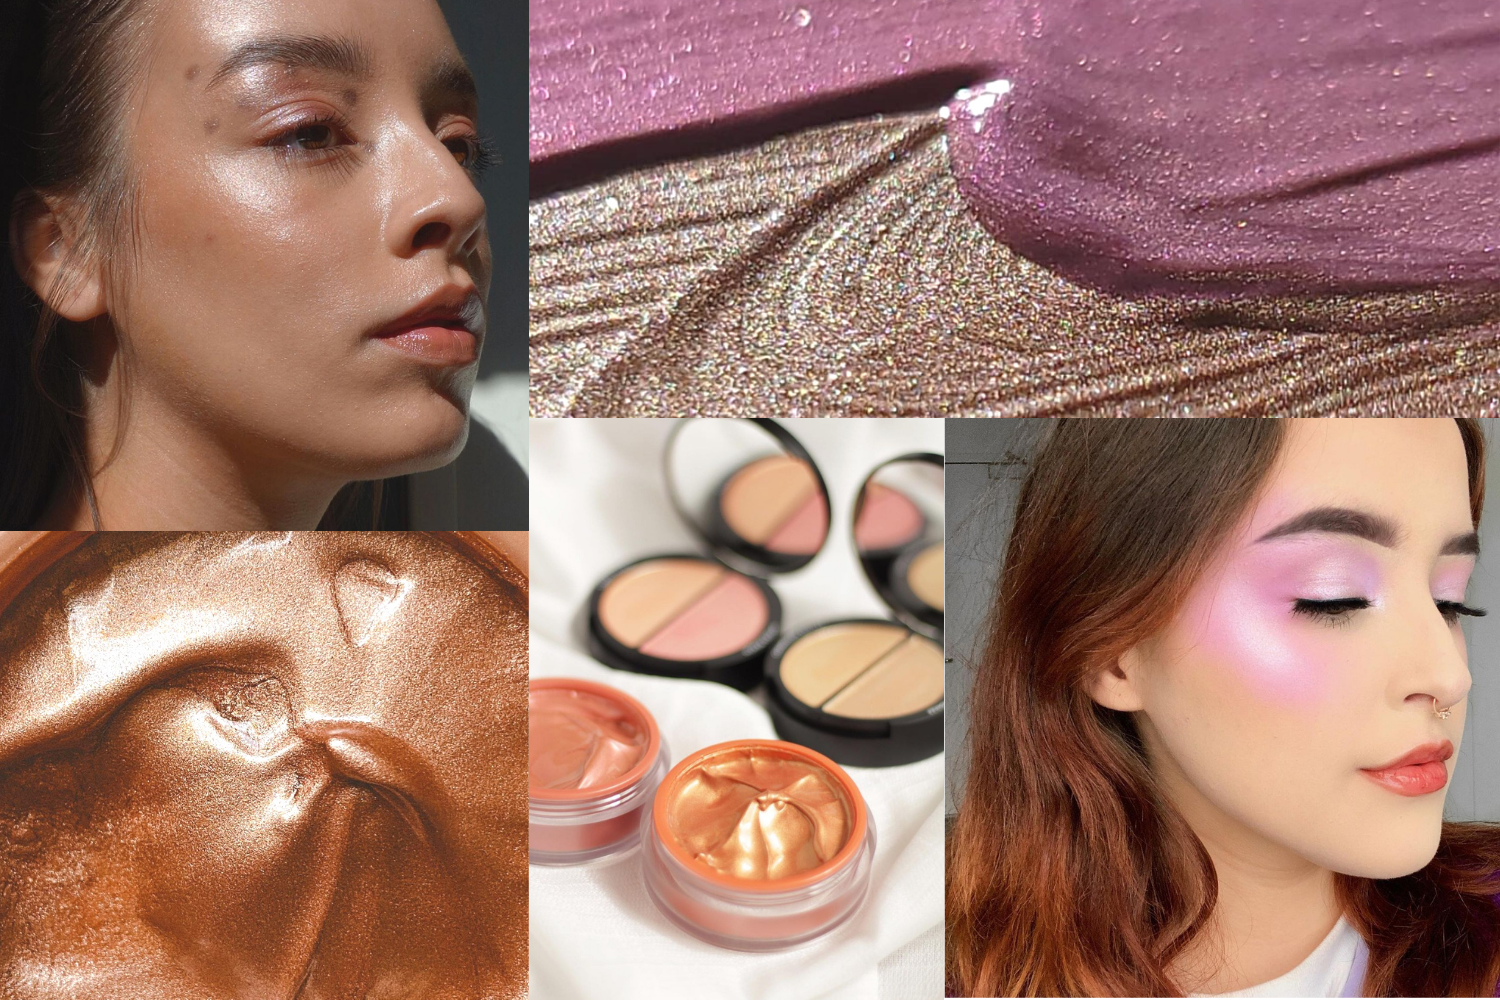
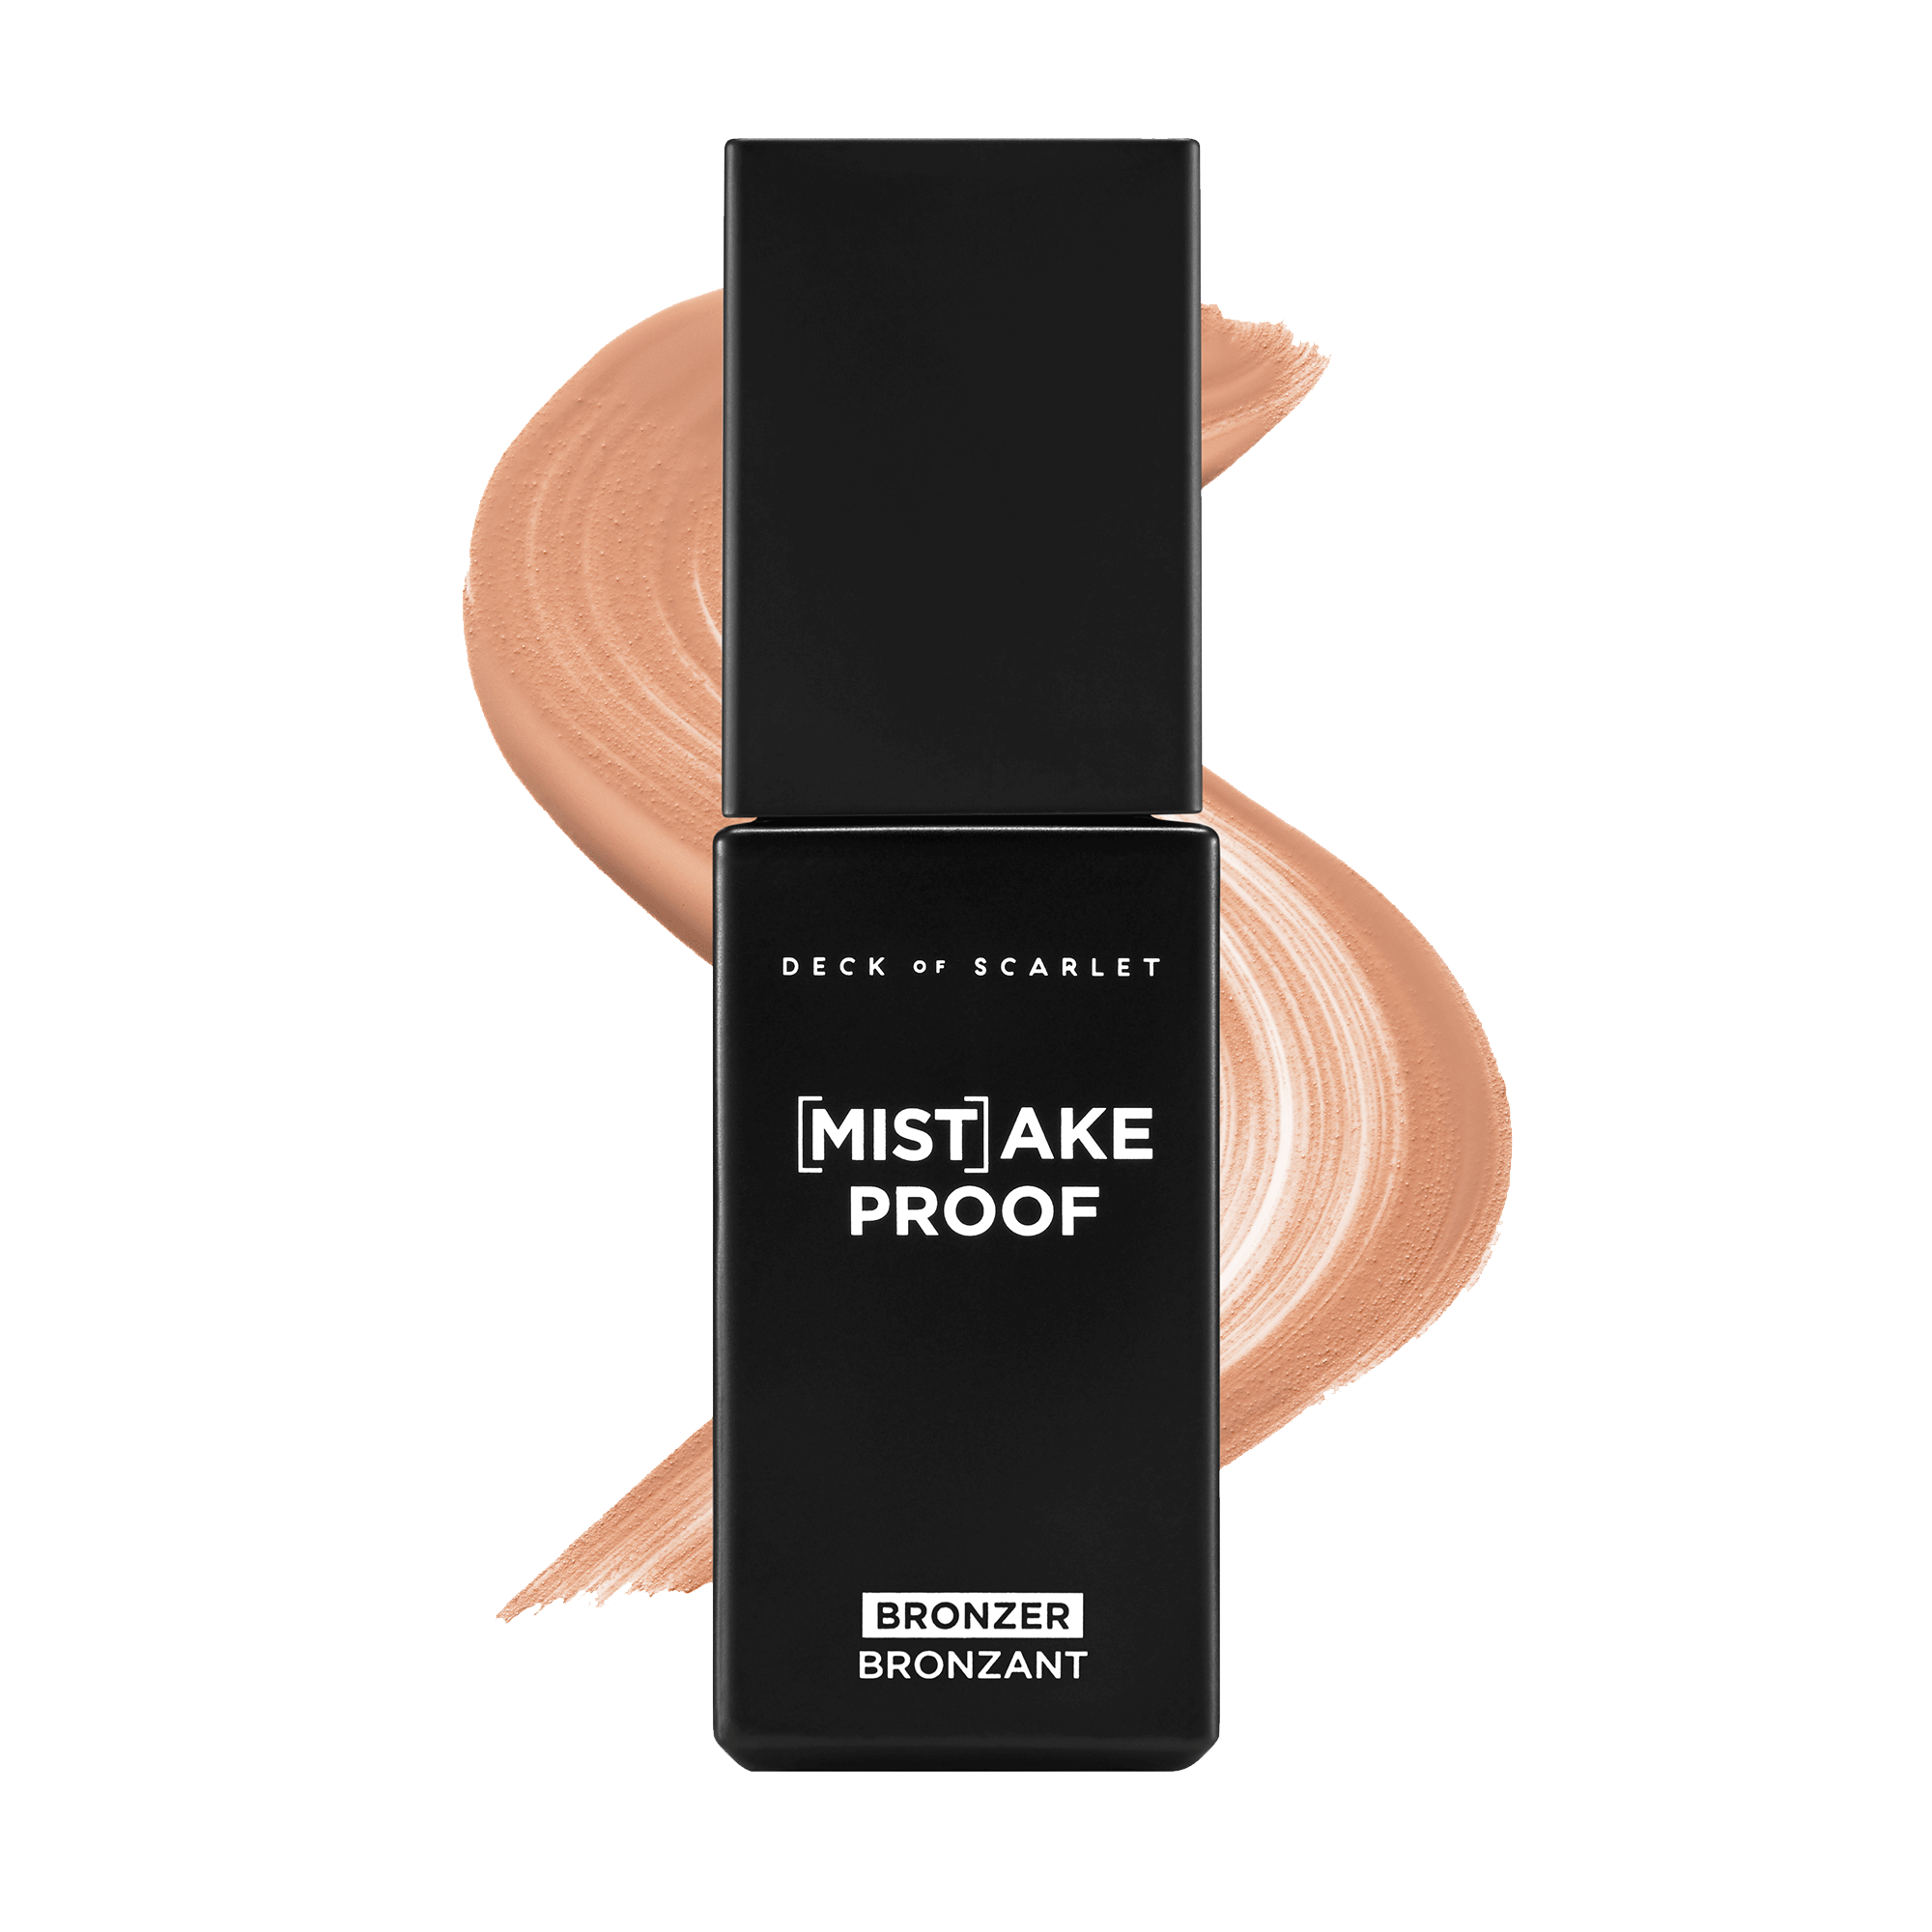
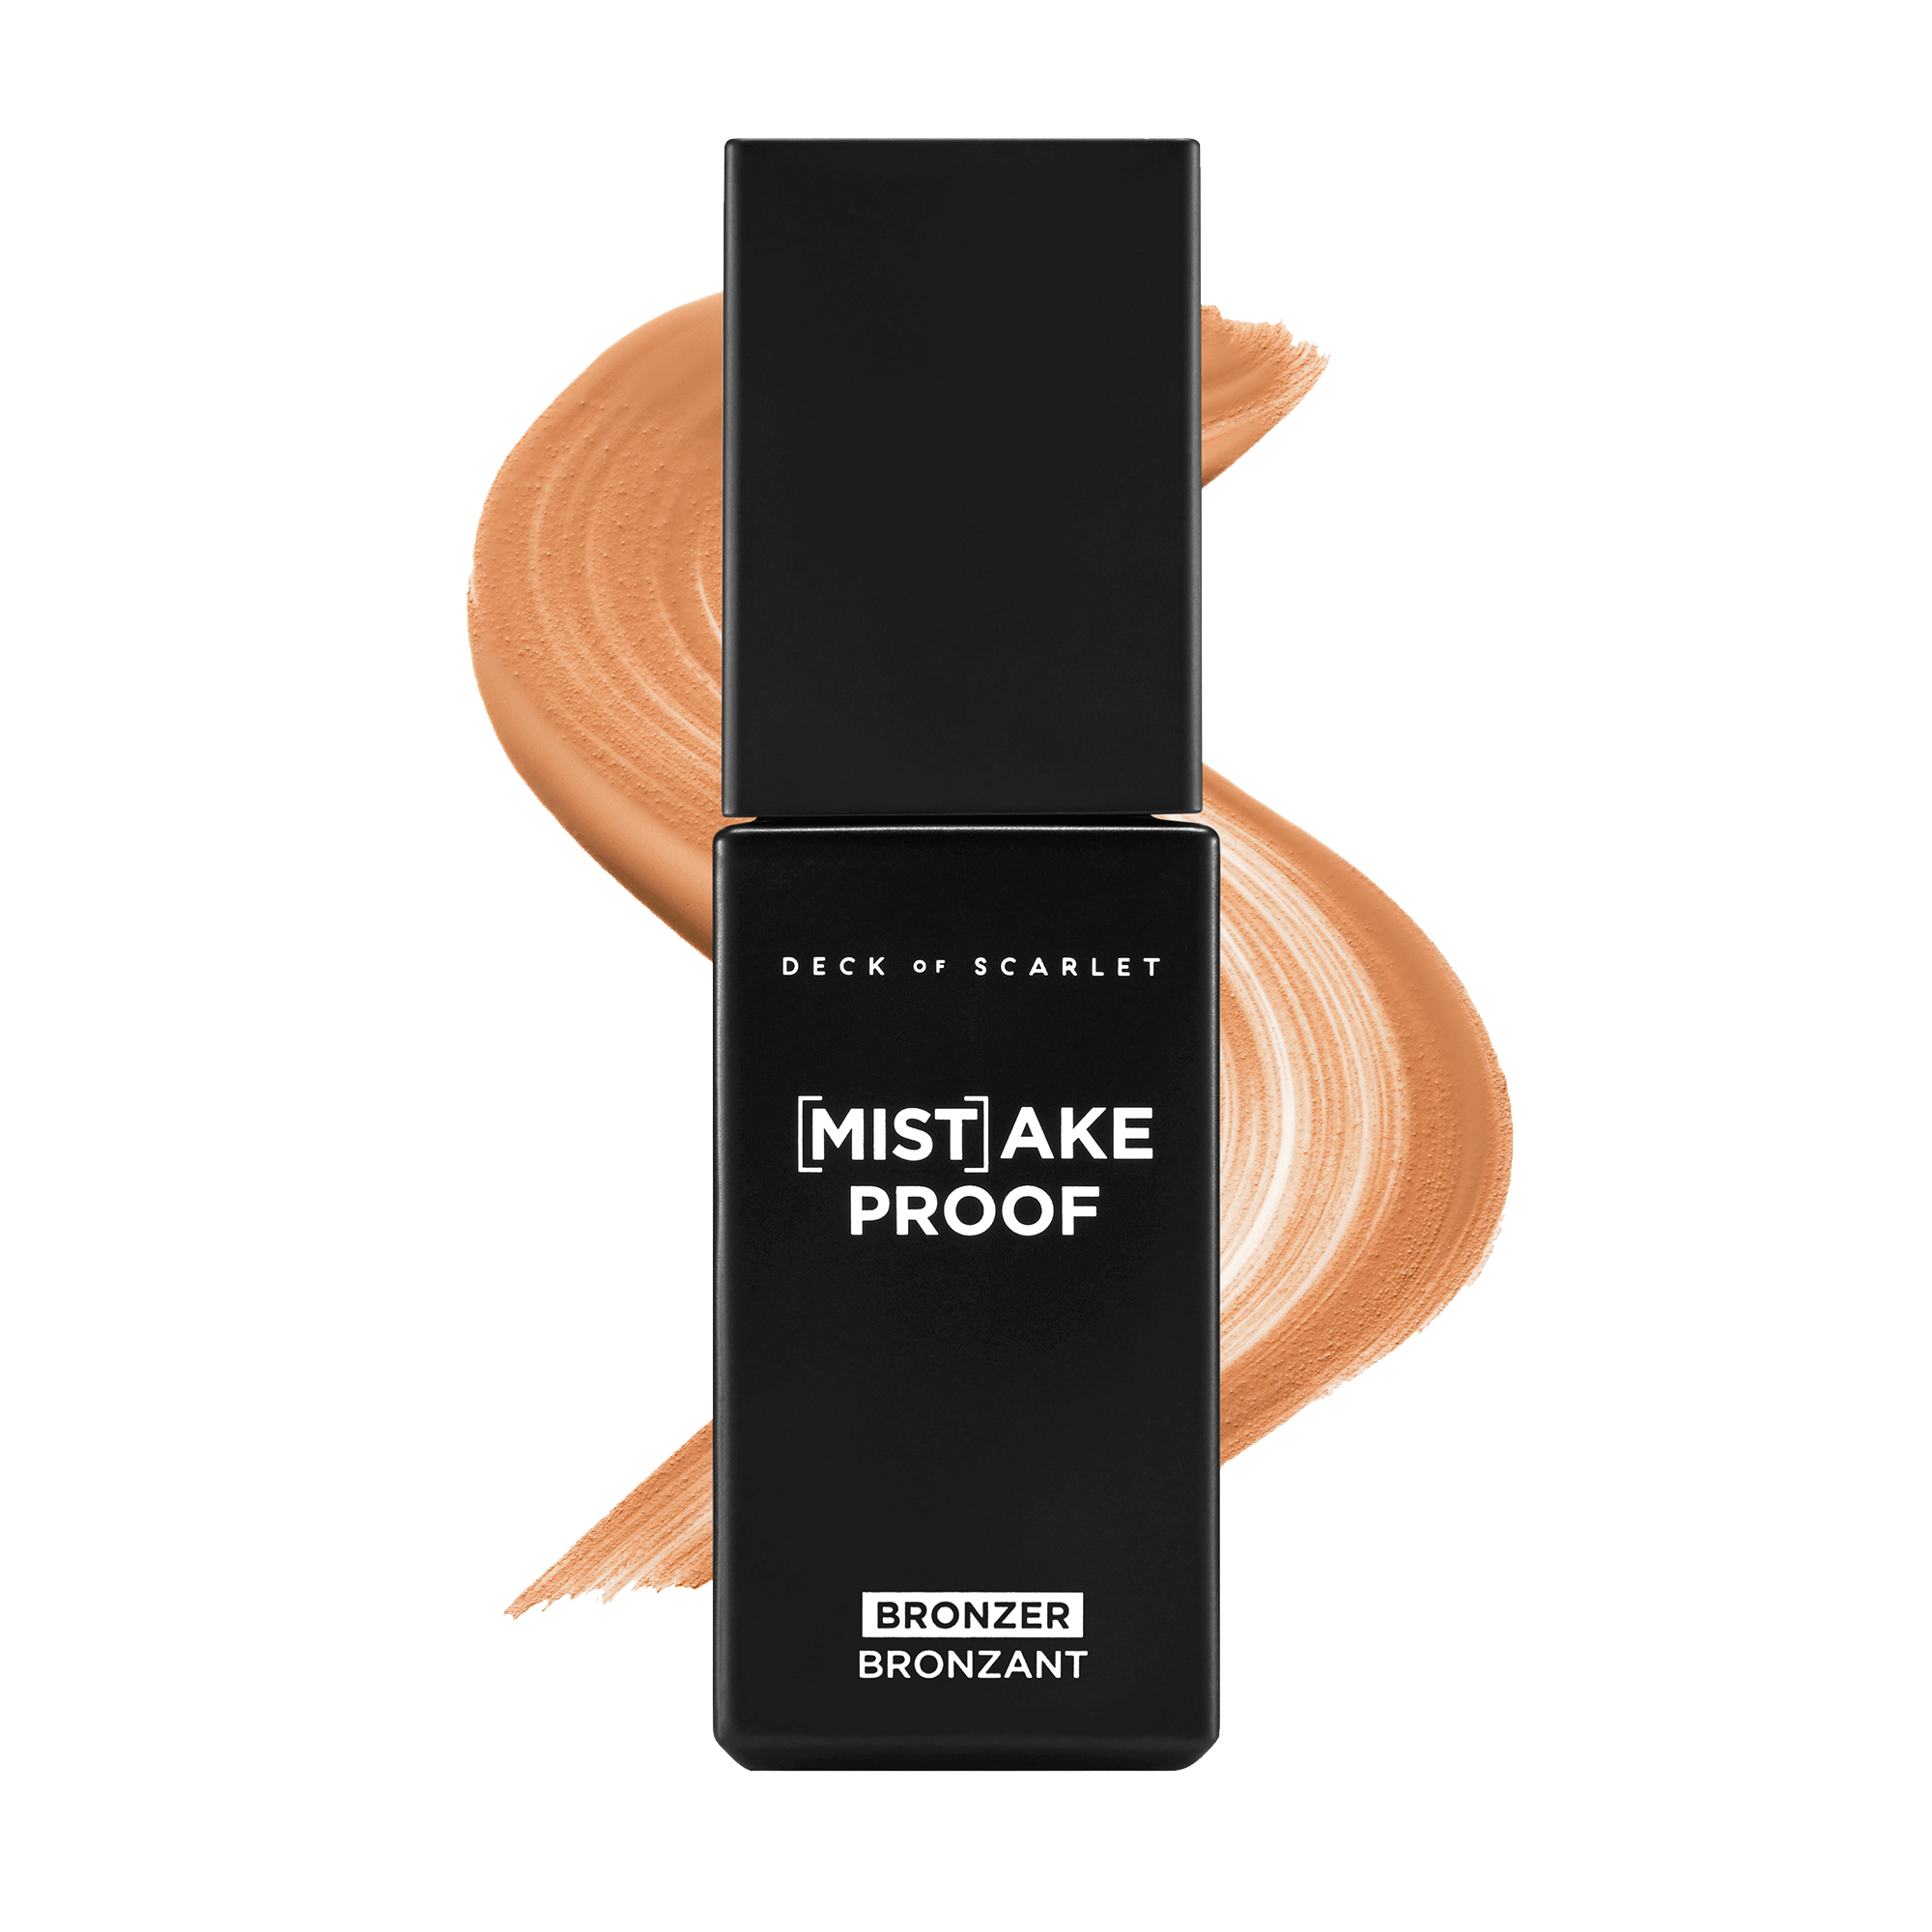
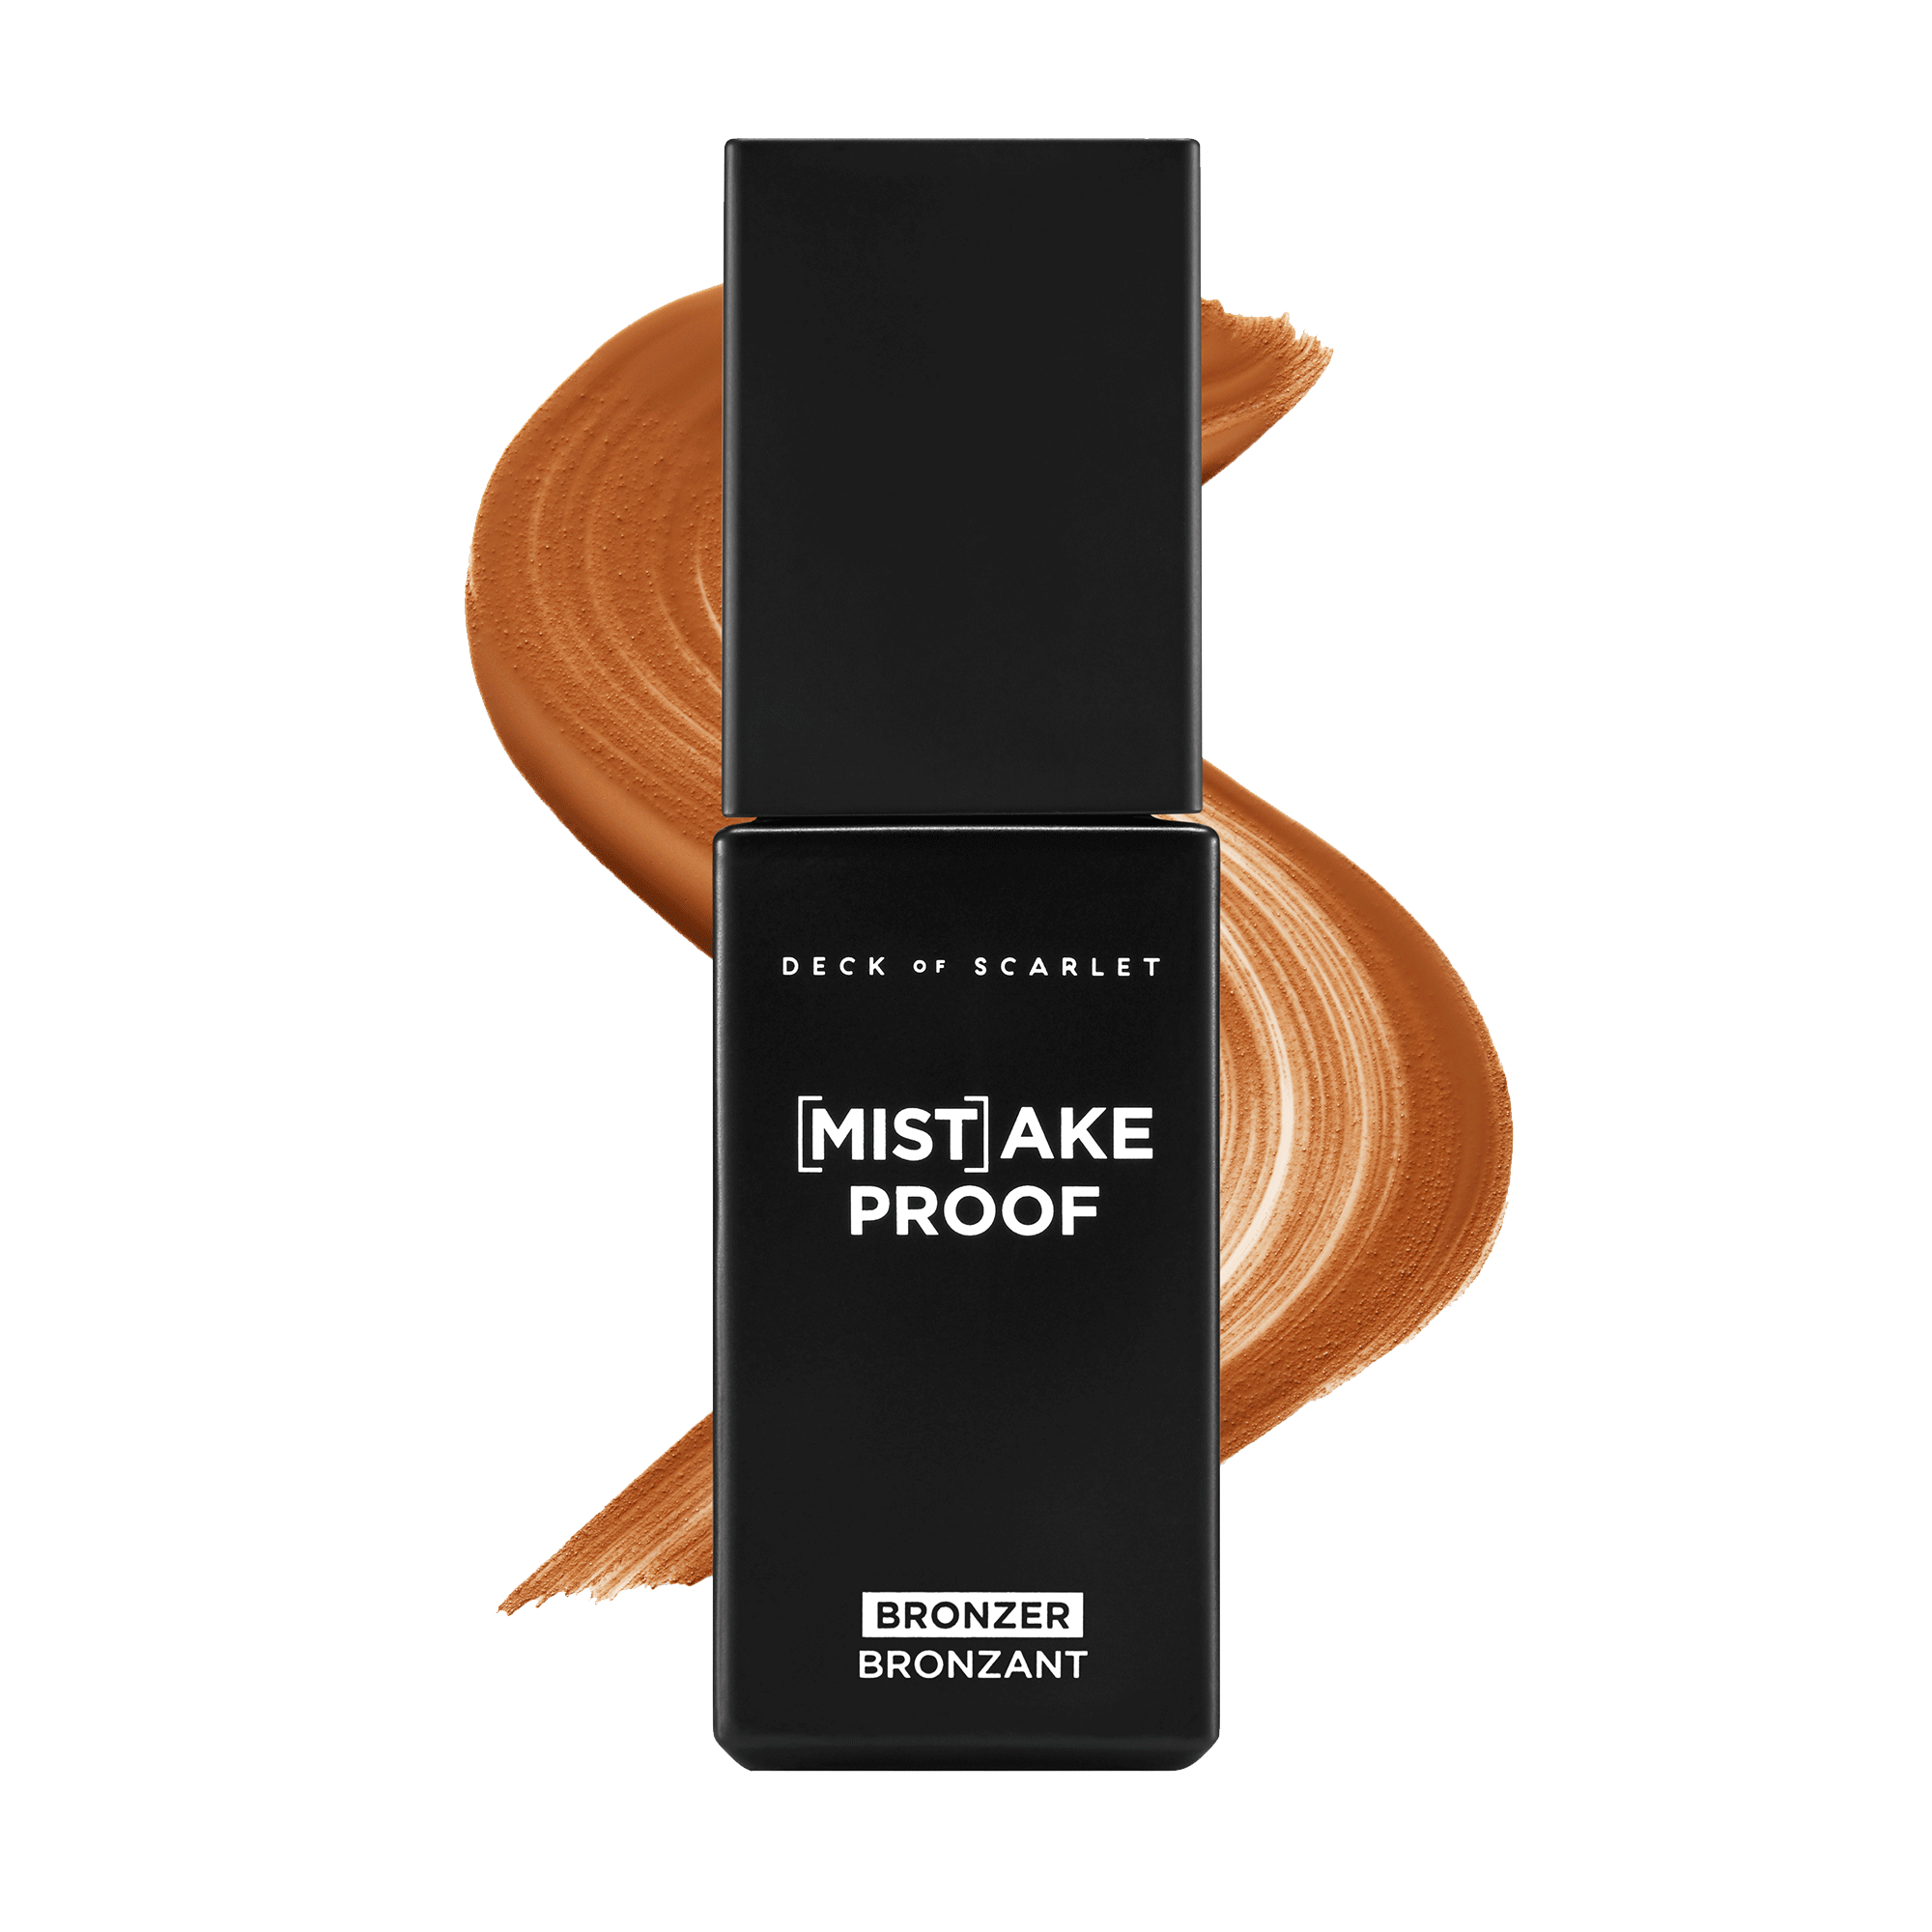
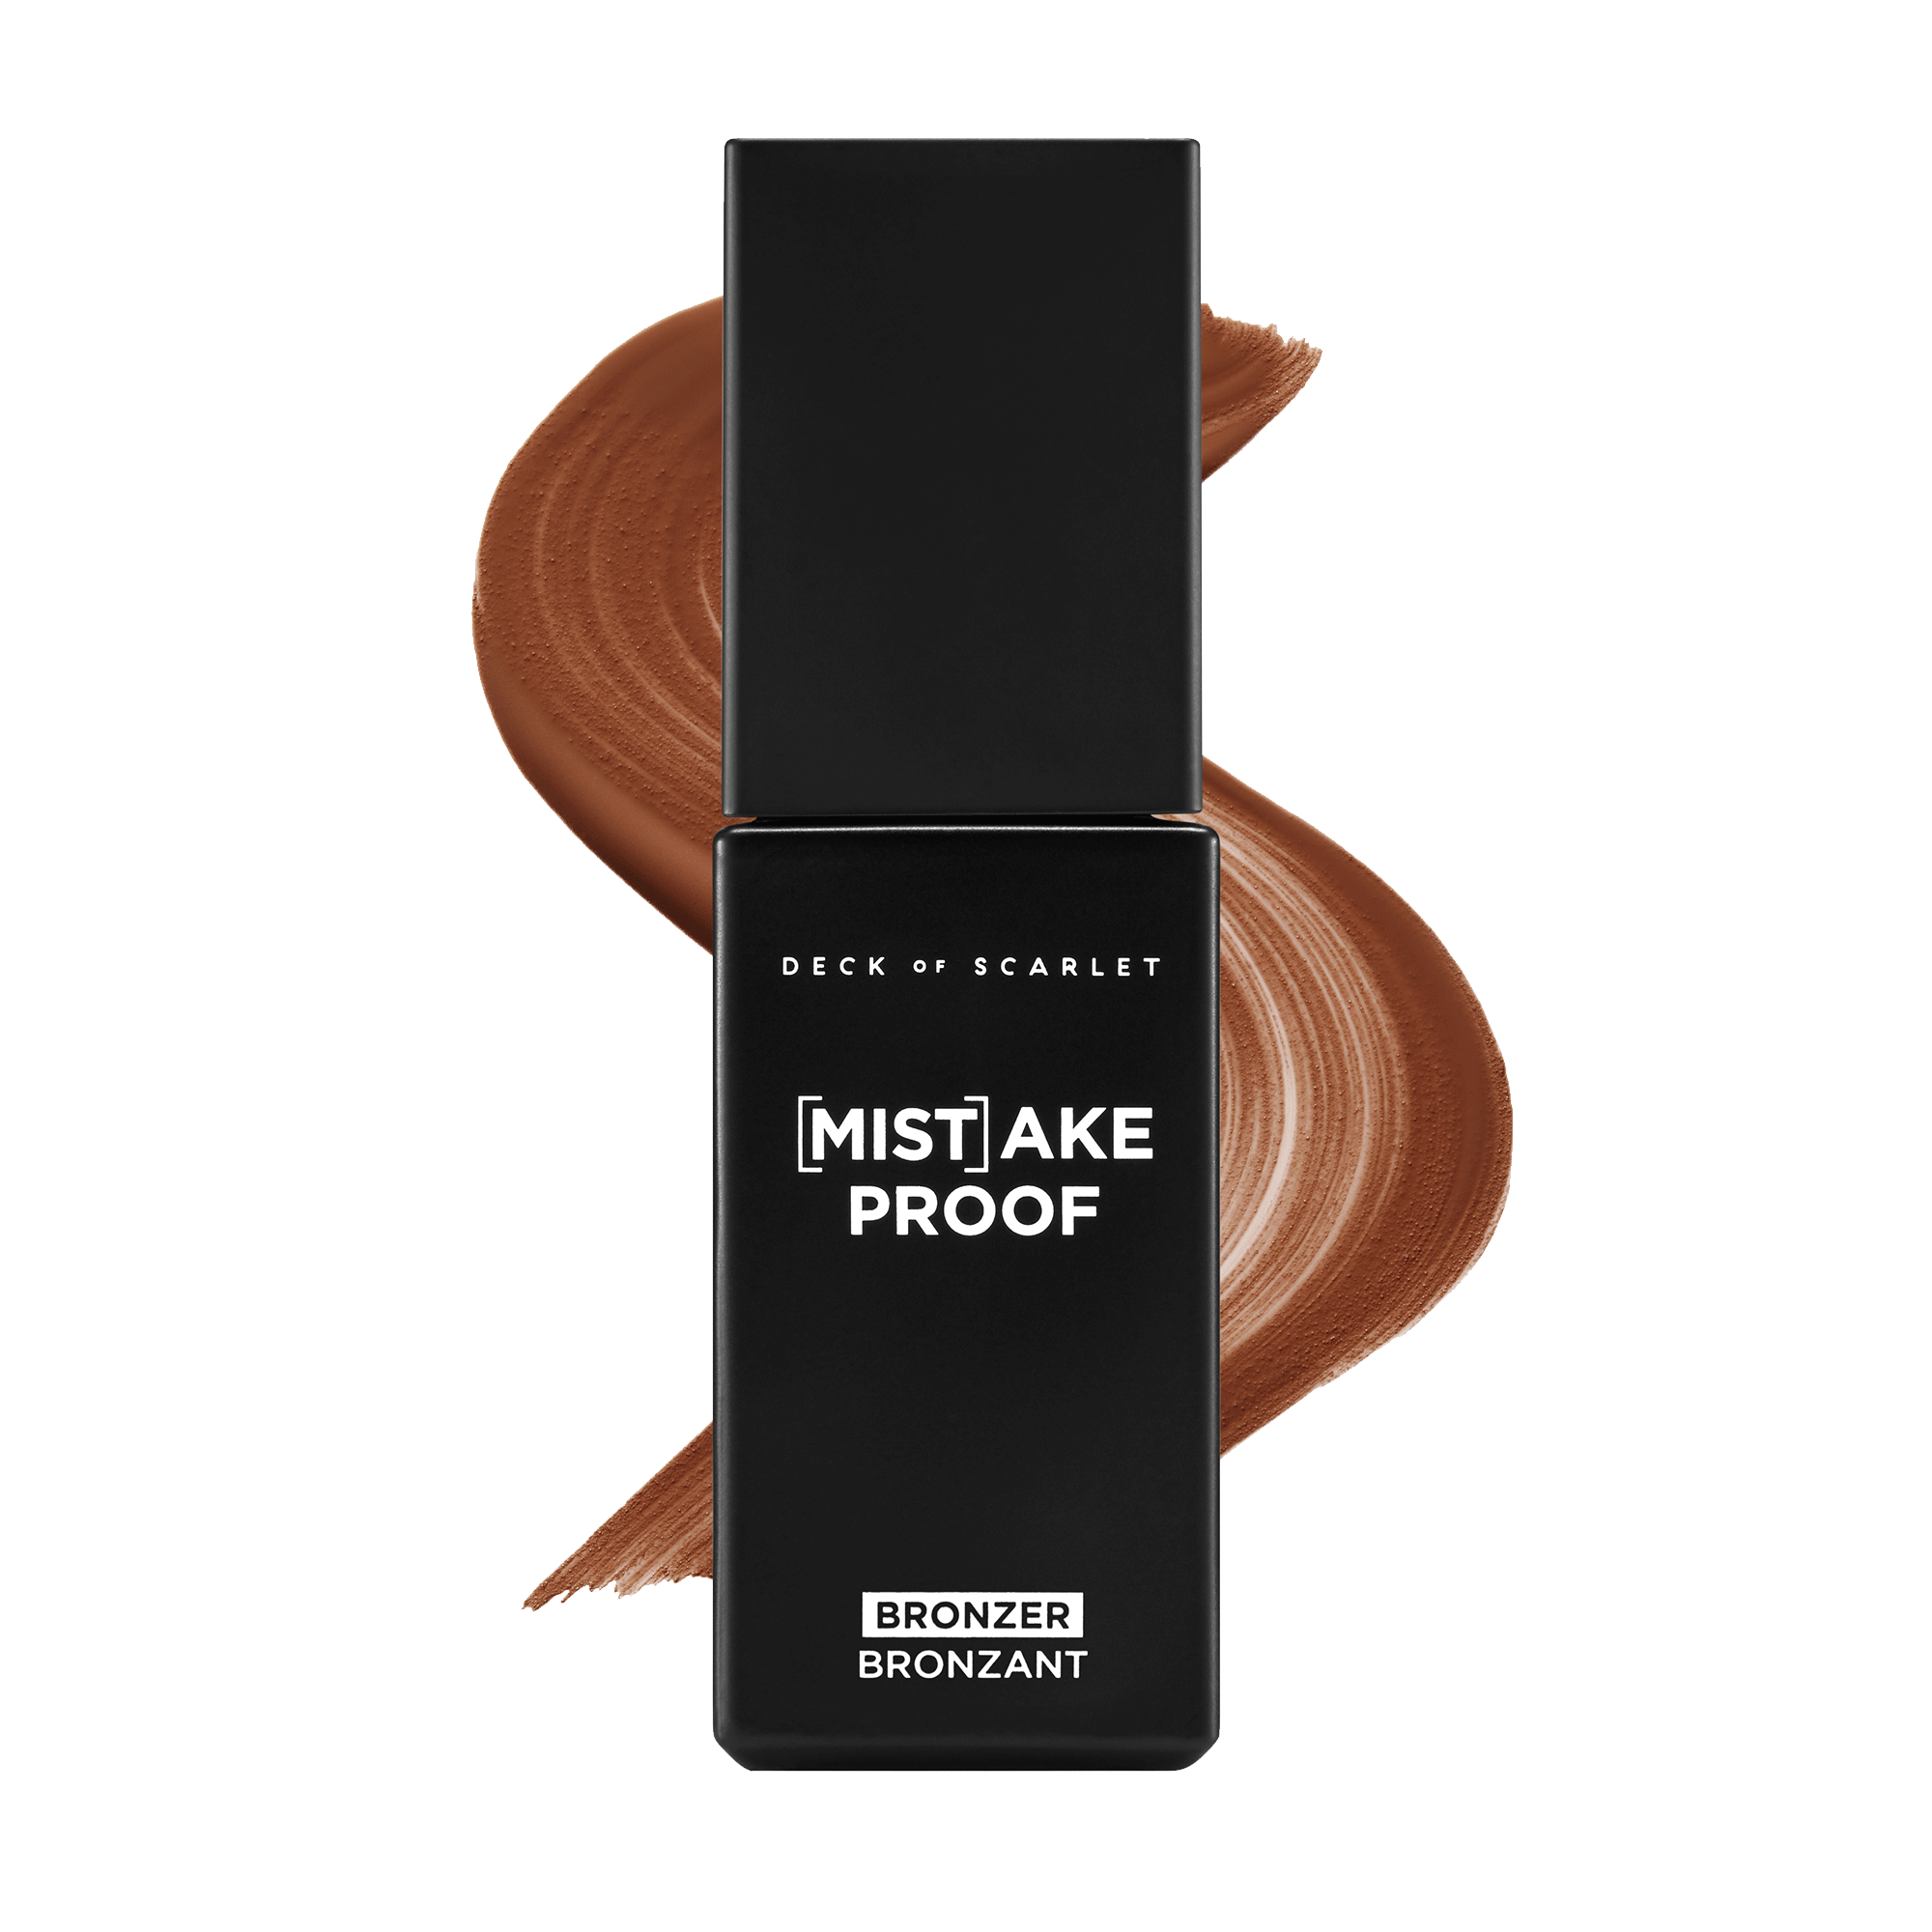
You probably associate contouring with the streaks across the cheeks of the early 2010s and one notorious reality TV family, but we’re here to reframe your mindset. The roots of this technique are more about flaunting what you already have rather than creating a new face shape. Instead of reshaping your face, we suggest chiseling and defining the features you love so you don’t appear one dimensional on camera. If you’re not sure where to start, begin with the perimeter of your face, then contour specific features like your cheeks, jawline, forehead, nose, lips, etc. This prevents you from looking flat on camera. We love our [MIST]AKE Proof Bronzer for this with it’s smooth, second-skin effect that blurs over pores and imperfections. To apply, shake vigorously, hold about an inch away and spray directly onto the Double Take Face Brush or a sponge, then blend over areas of your face where the sun naturally hits or apply one shade deeper than your bronzer color and use it to contour and sculpt the areas we mentioned above.

Be Sure To Blush Up
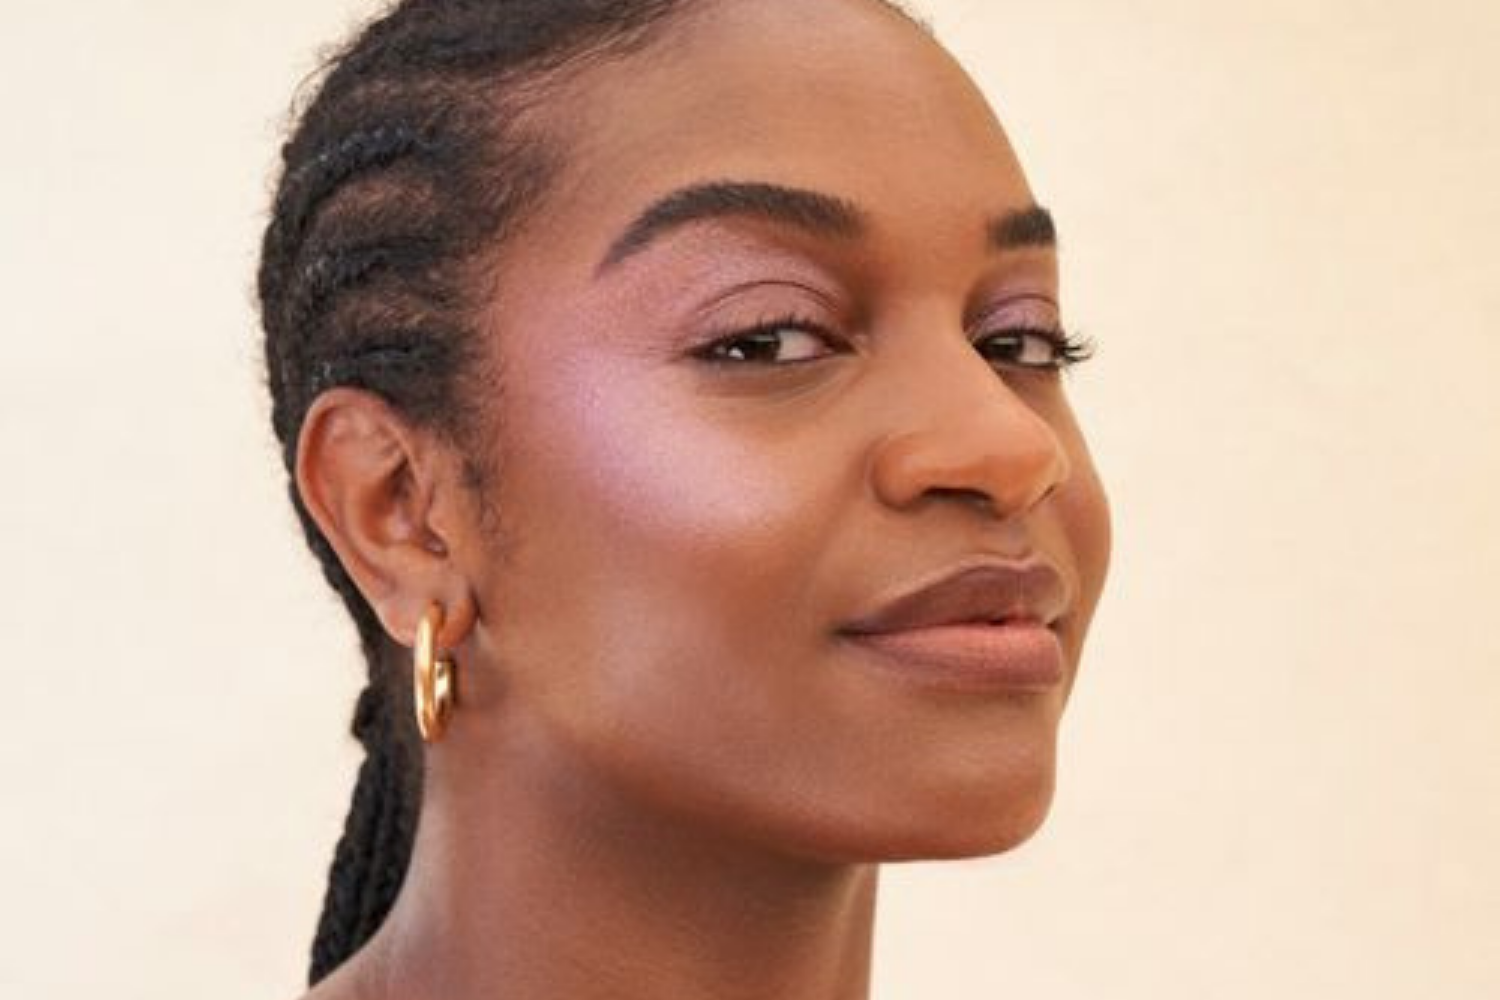
As we previously mentioned, video calls can typically make a person look washed out and one dimensional. To counteract this unflattering effect, you may need to apply a bit more blush than you’re used to. But here’s the thing: We don’t recommend using powder blushes here. It’s all about the creams and liquids. These formulas tend to appear more natural and allow you to build up your most flattering flush. We use our [MIST]AKE Proof Blush when creating this look on ourselves. The blurring formula delivers an airbrush finished with just a few swipes. Plus, the shades are buildable and allow us to find just the right amount to give us a healthy flush without veering into clown territory. That said, if you do end up getting a little overzealous with blush, just take the brush or makeup sponge you used to apply your foundation and dab it over your cheeks — this will sheer out the pigment without erasing it entirely.
Powder In The Right Places
You know how makeup artists top off their clients look with powder at the end? Well, there’s a reason for that. Applying powder in the right spots removes any unwanted grease, while minimizing the appearance of sweaty spots, which unfortunately can appear extra shiny on camera. Unless you’re super oily, (if you are, it’s best to powder all over) stick to applying a loose powder onto the chin, on and around the nose, and the forehead — also known as the T-zone, which is typically the oiliest area of the face. Just dip your fluffiest brush into it, tap off any excess, and dust away.
Finish Off With A Bold Lip
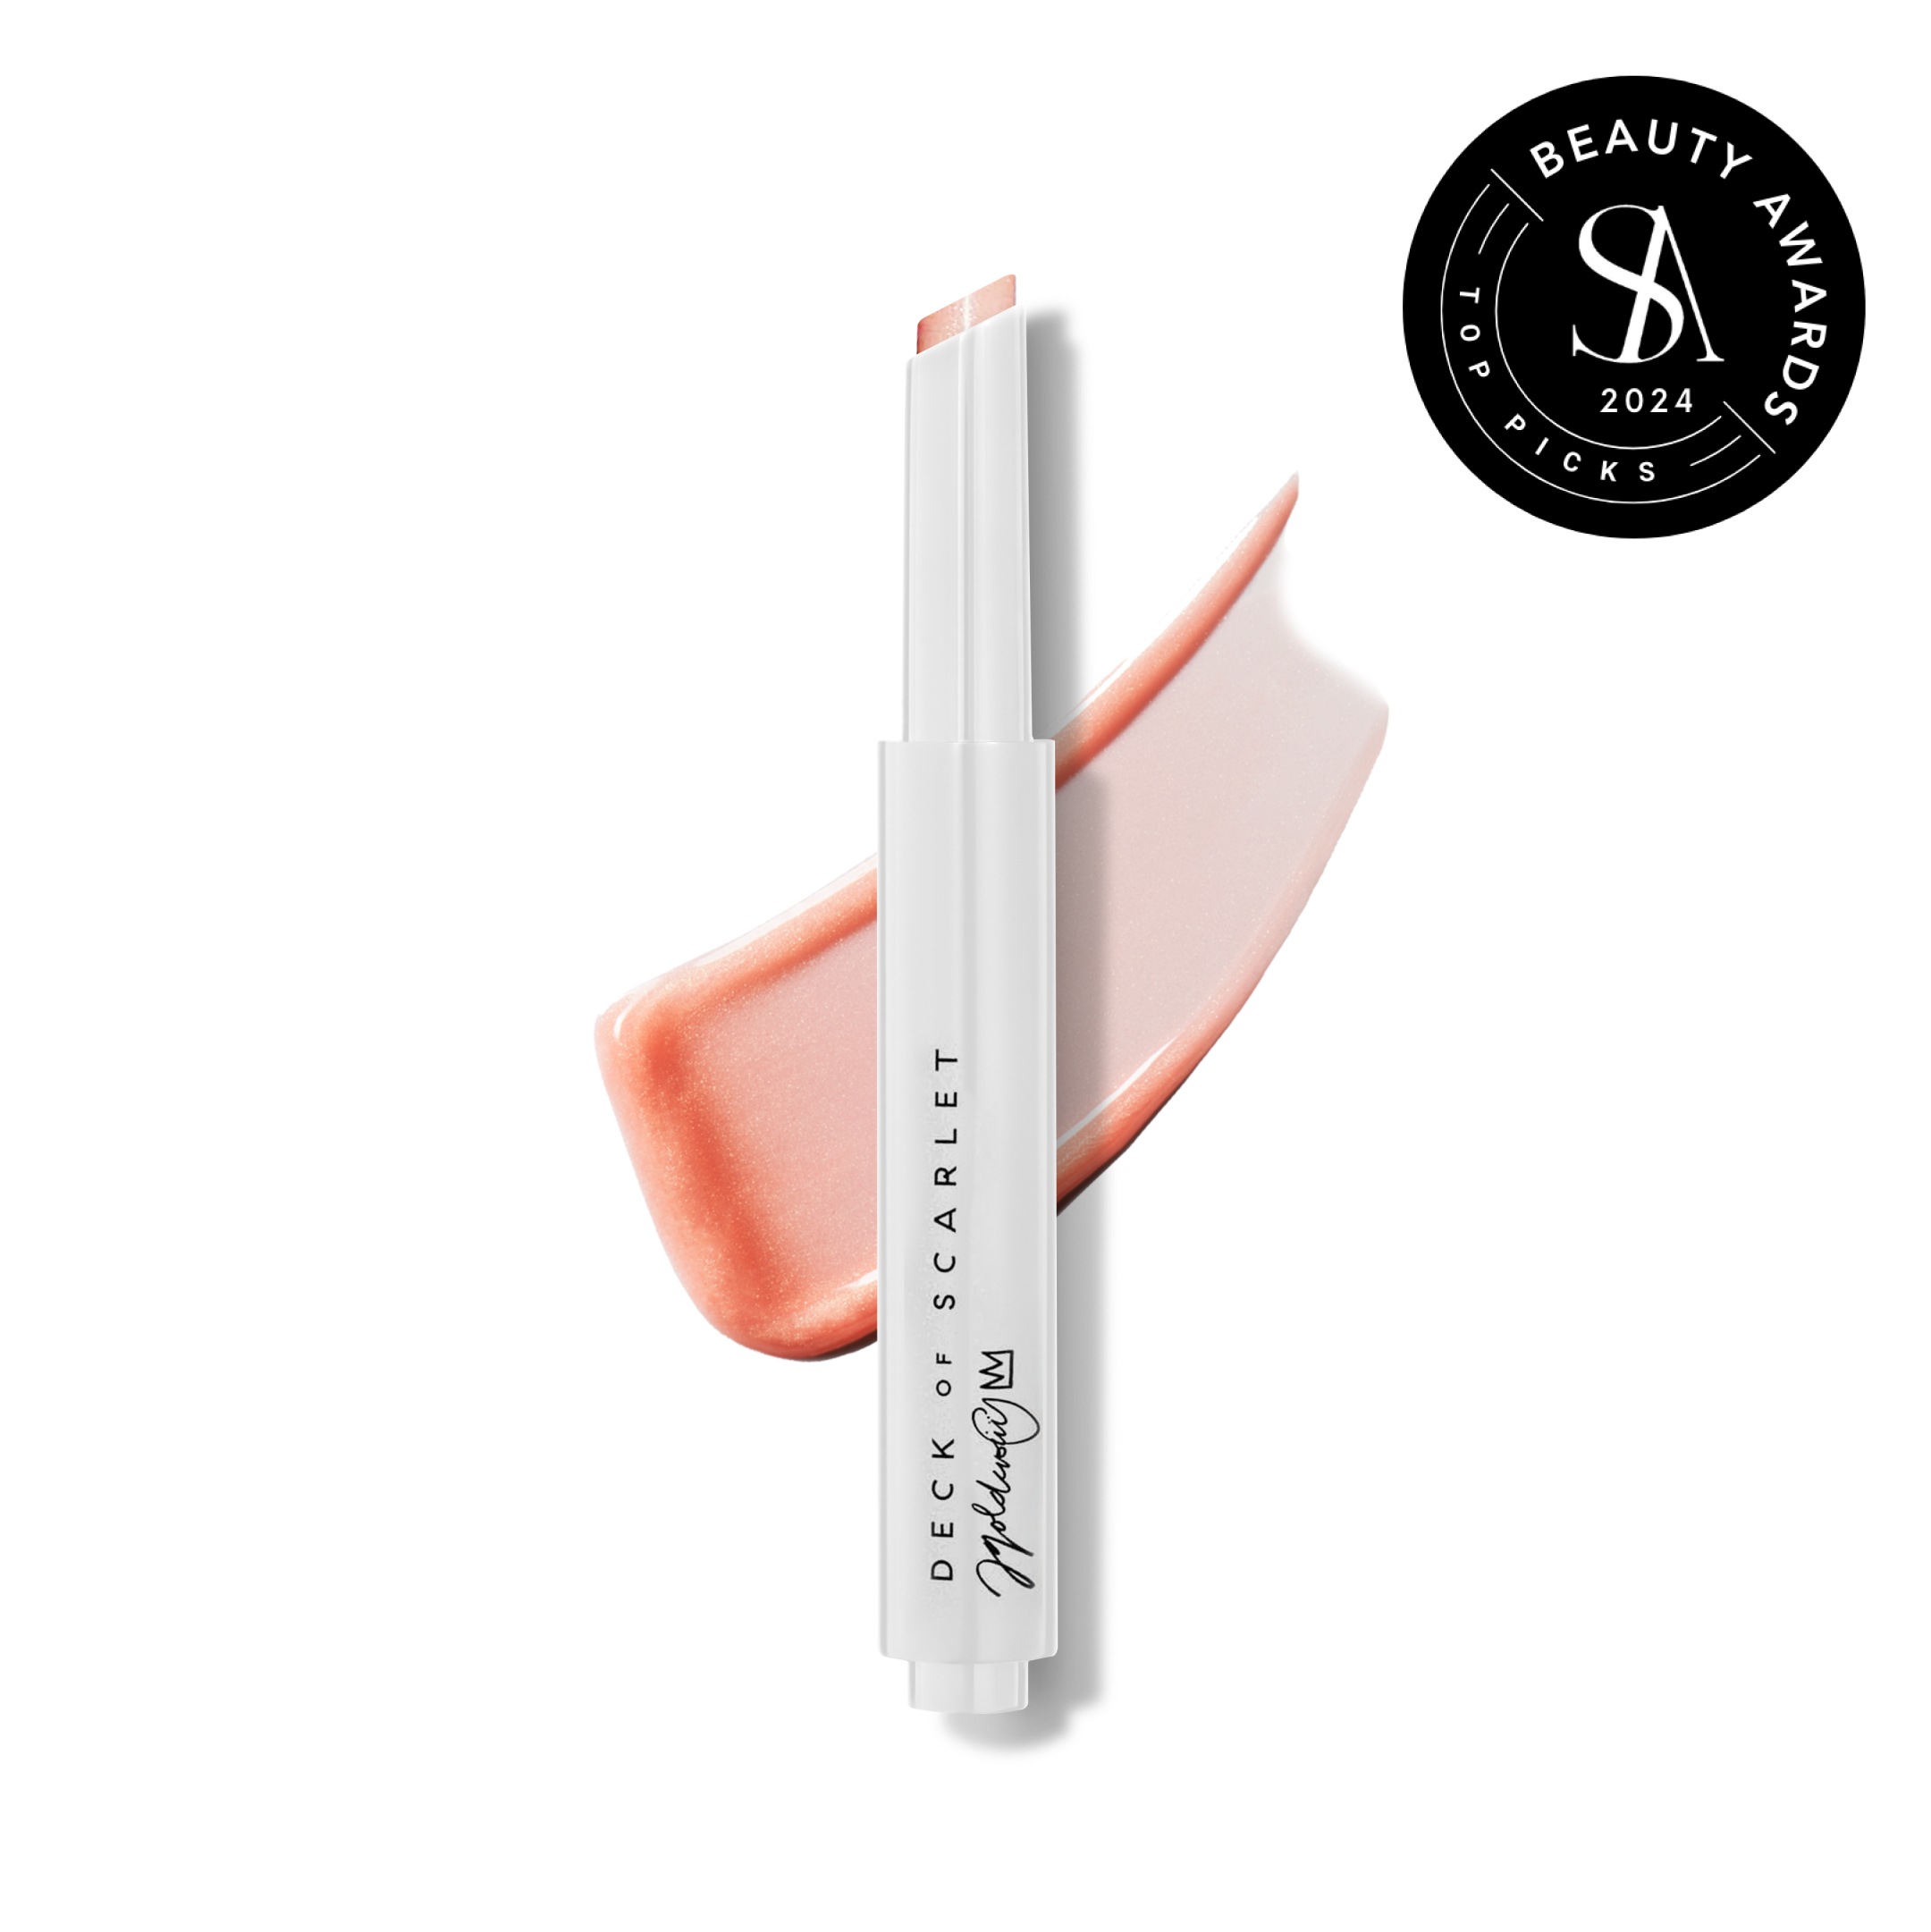
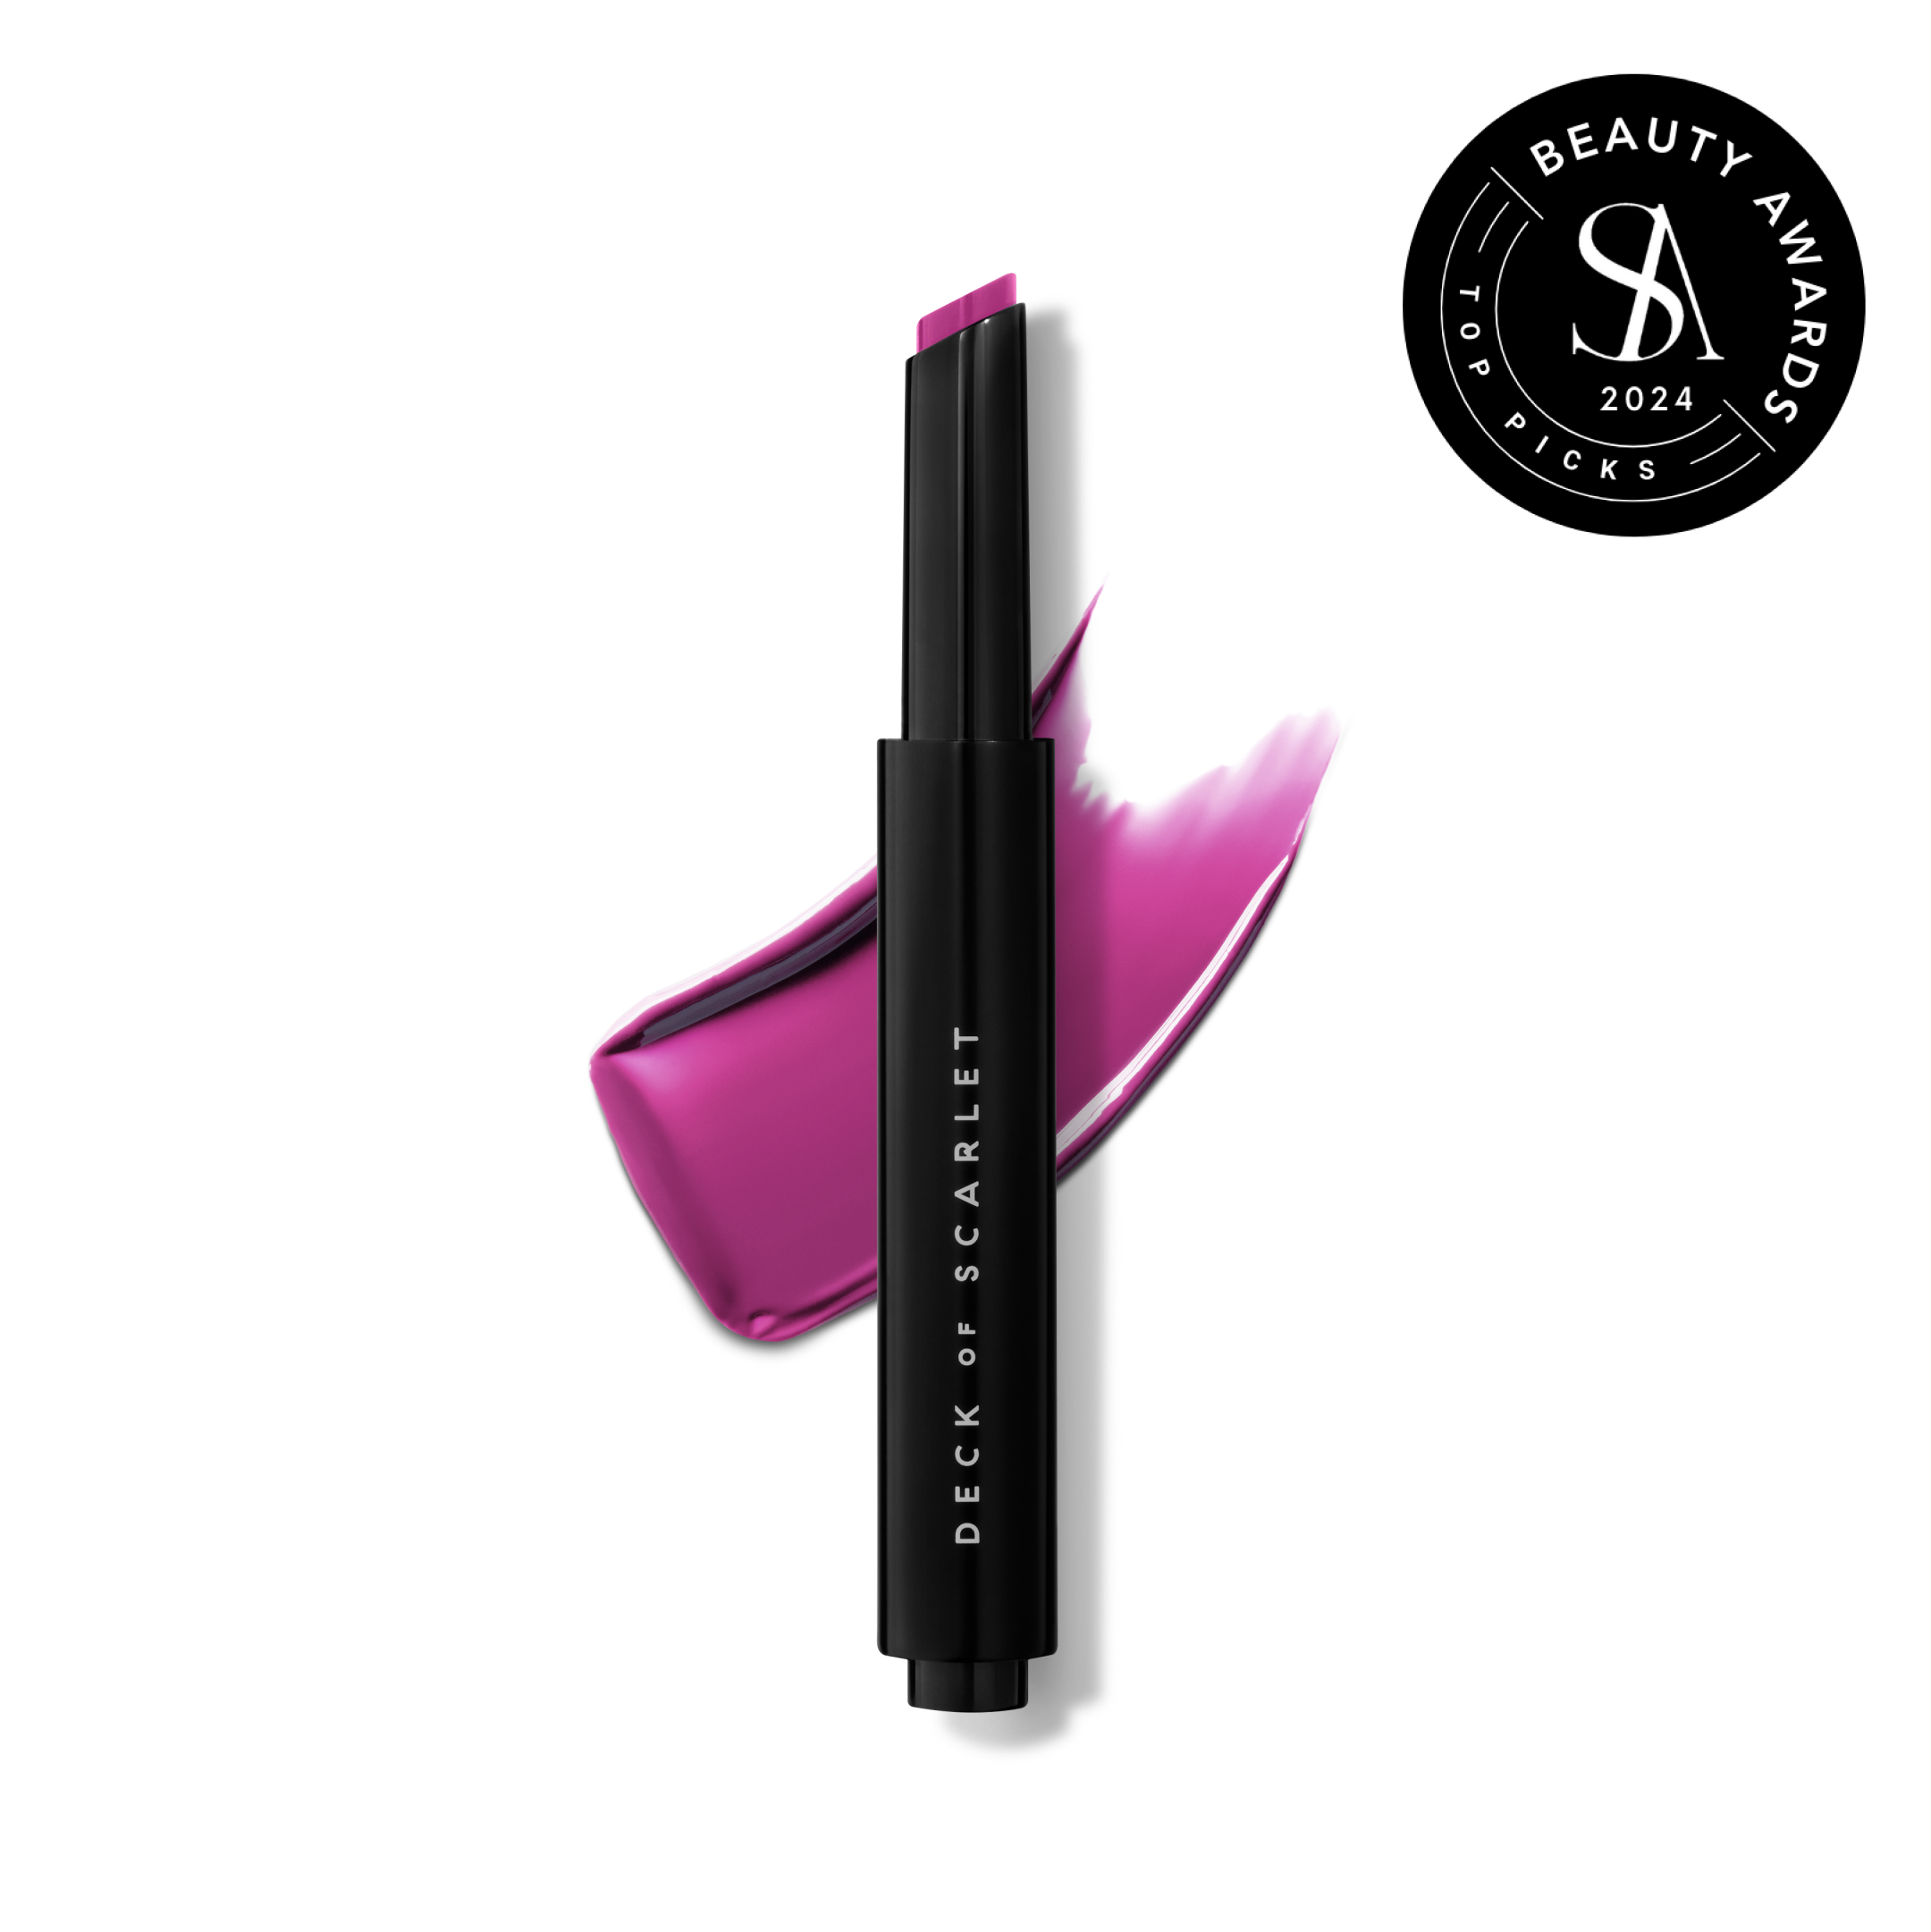
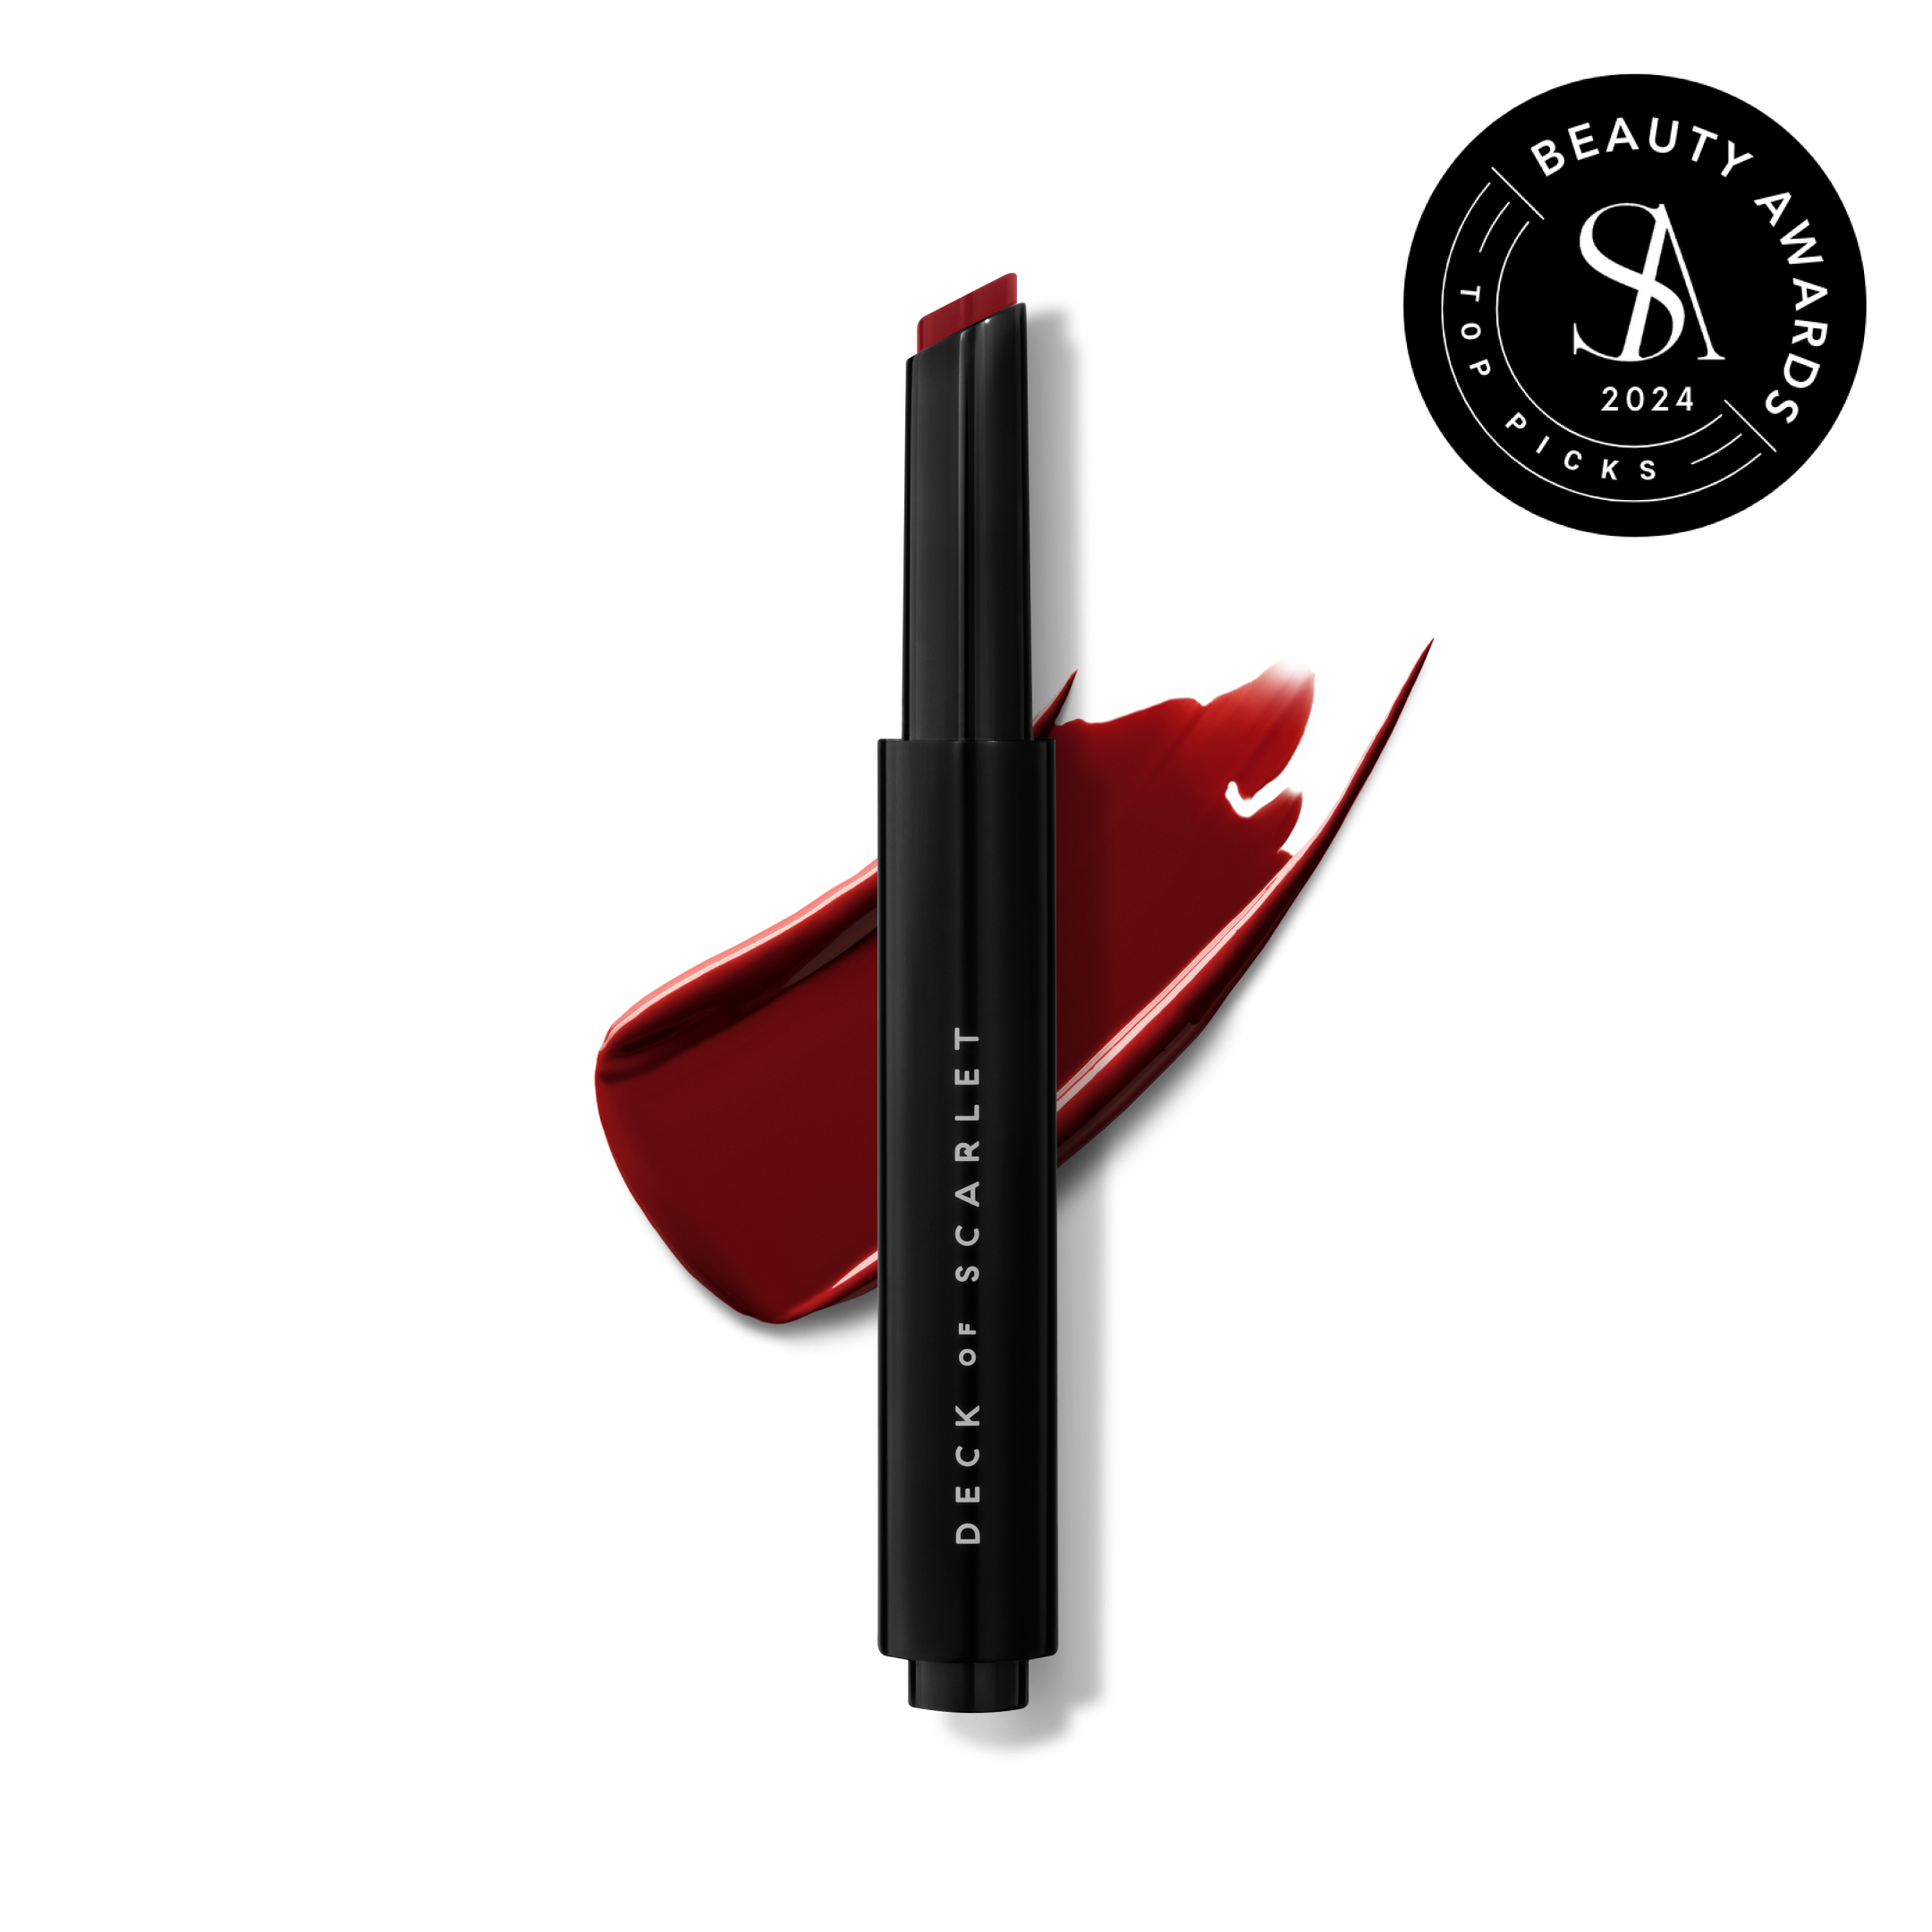
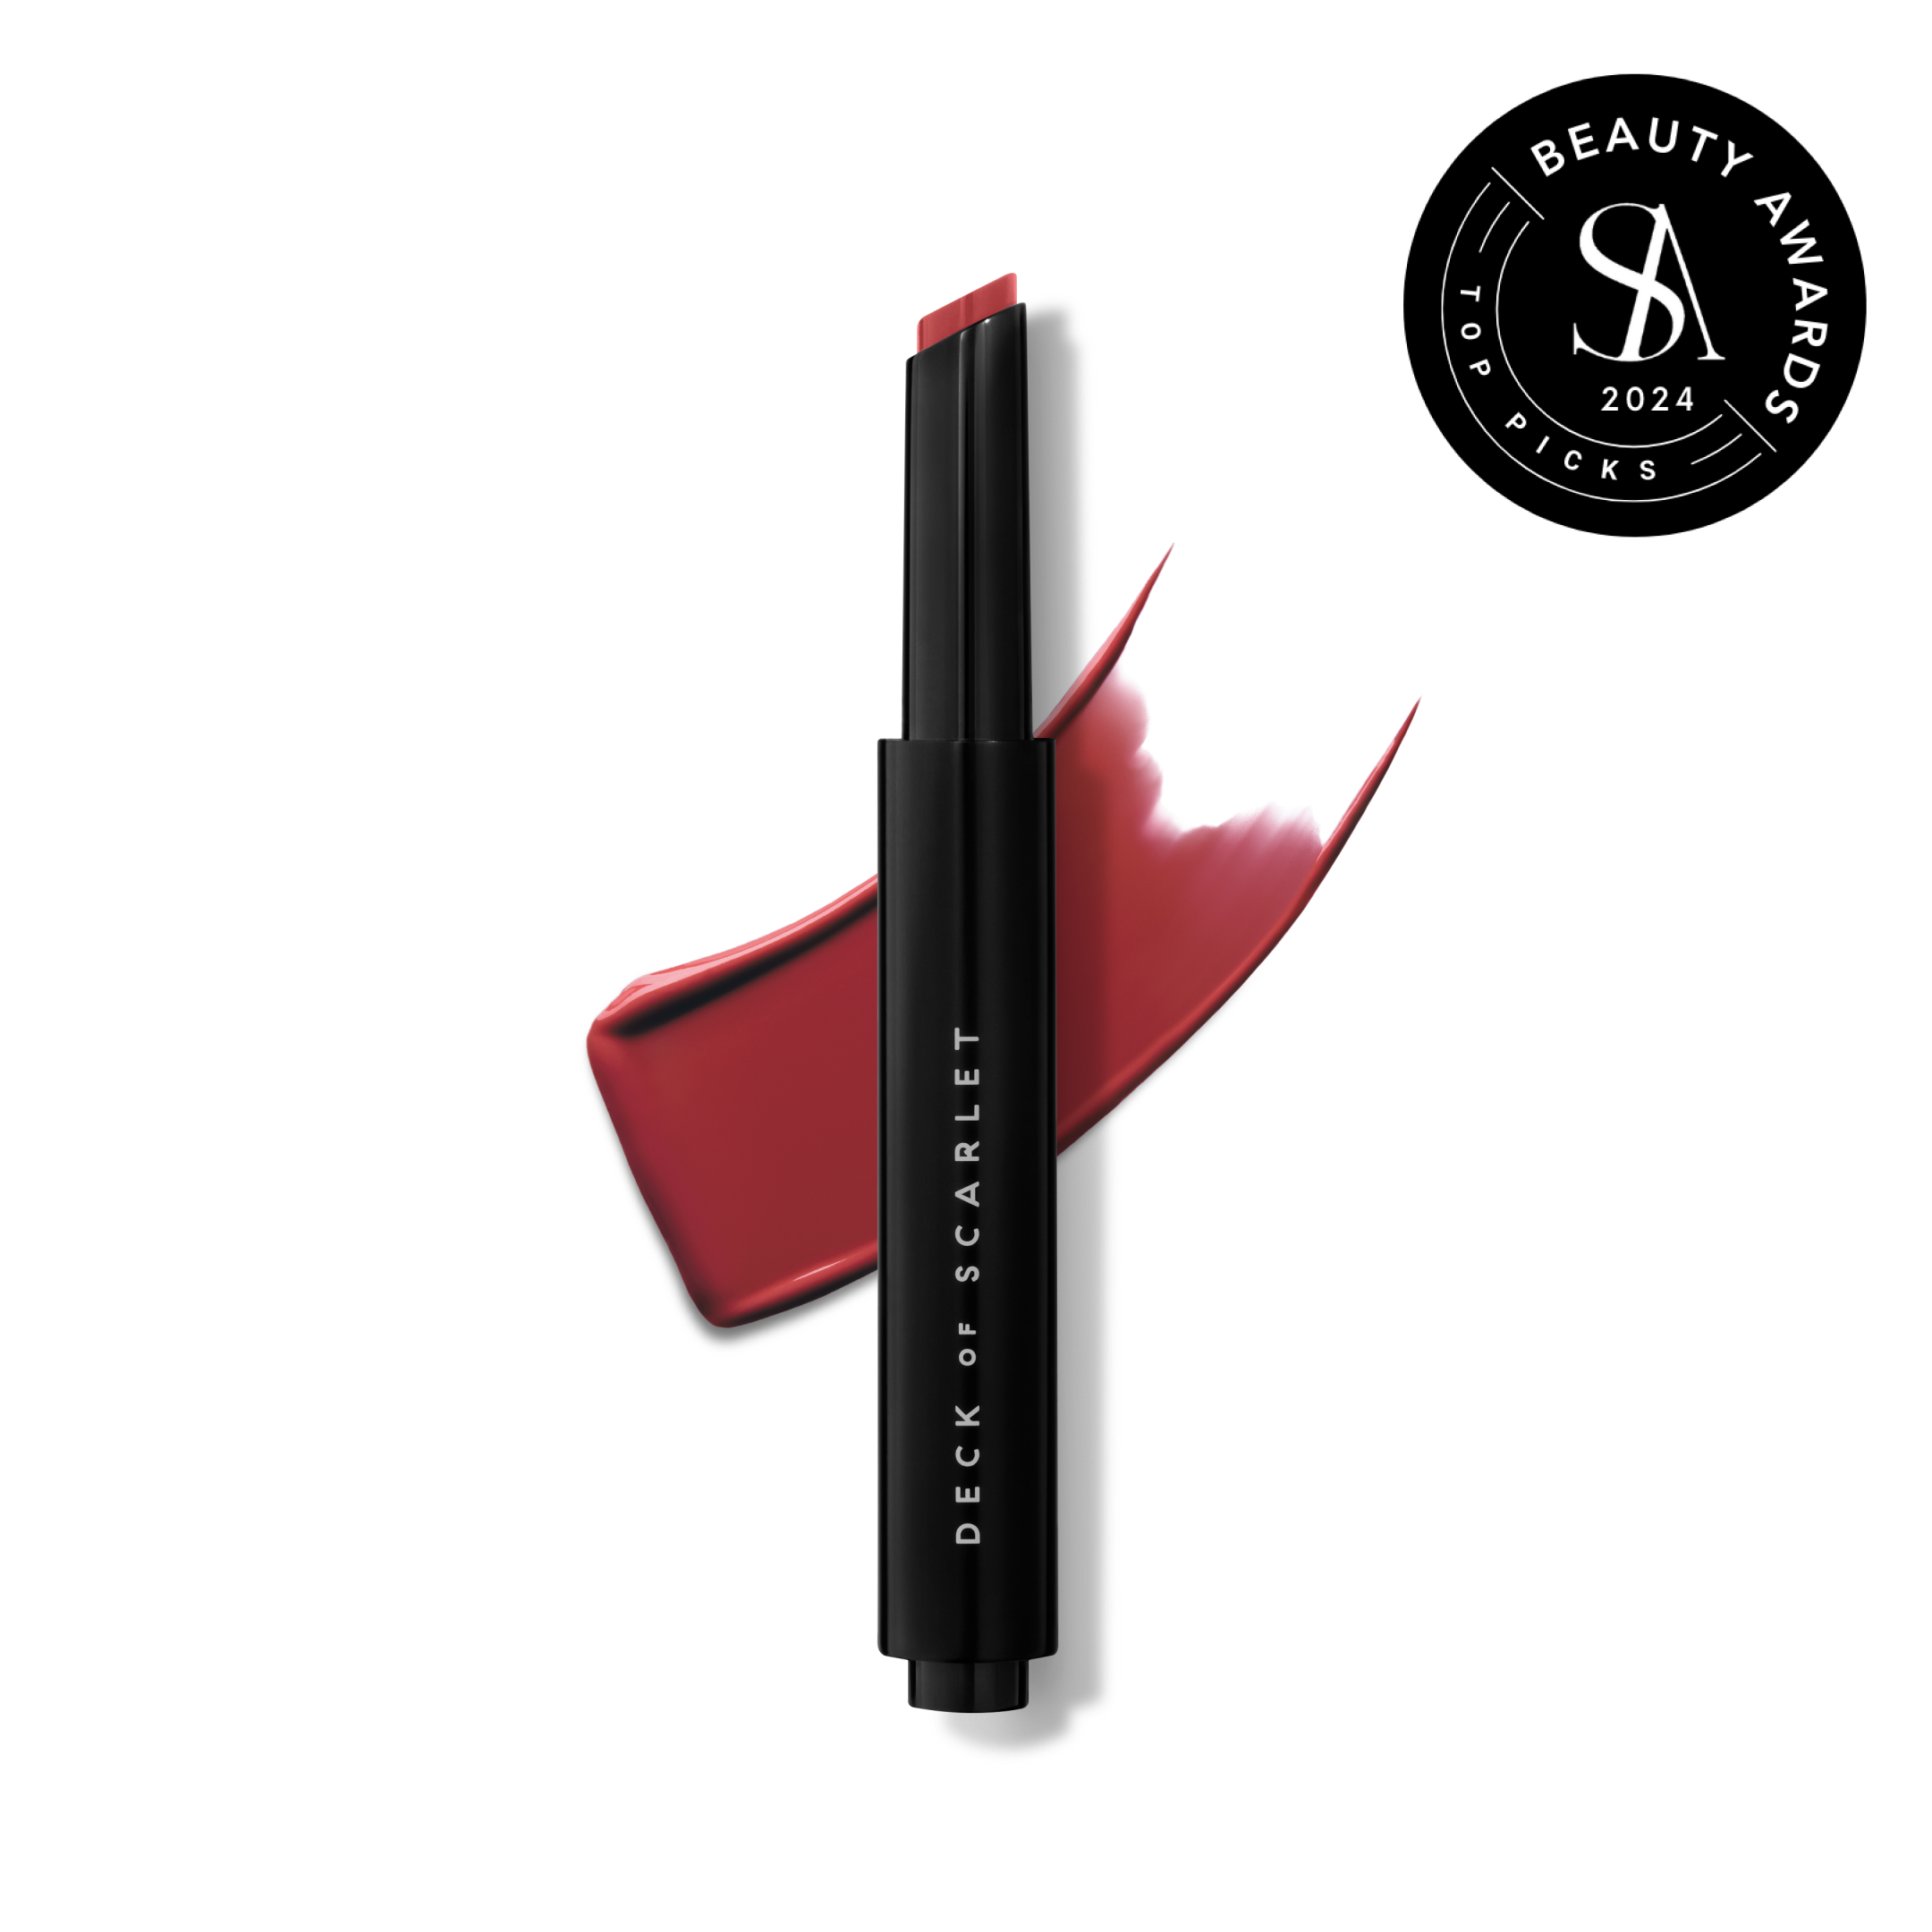
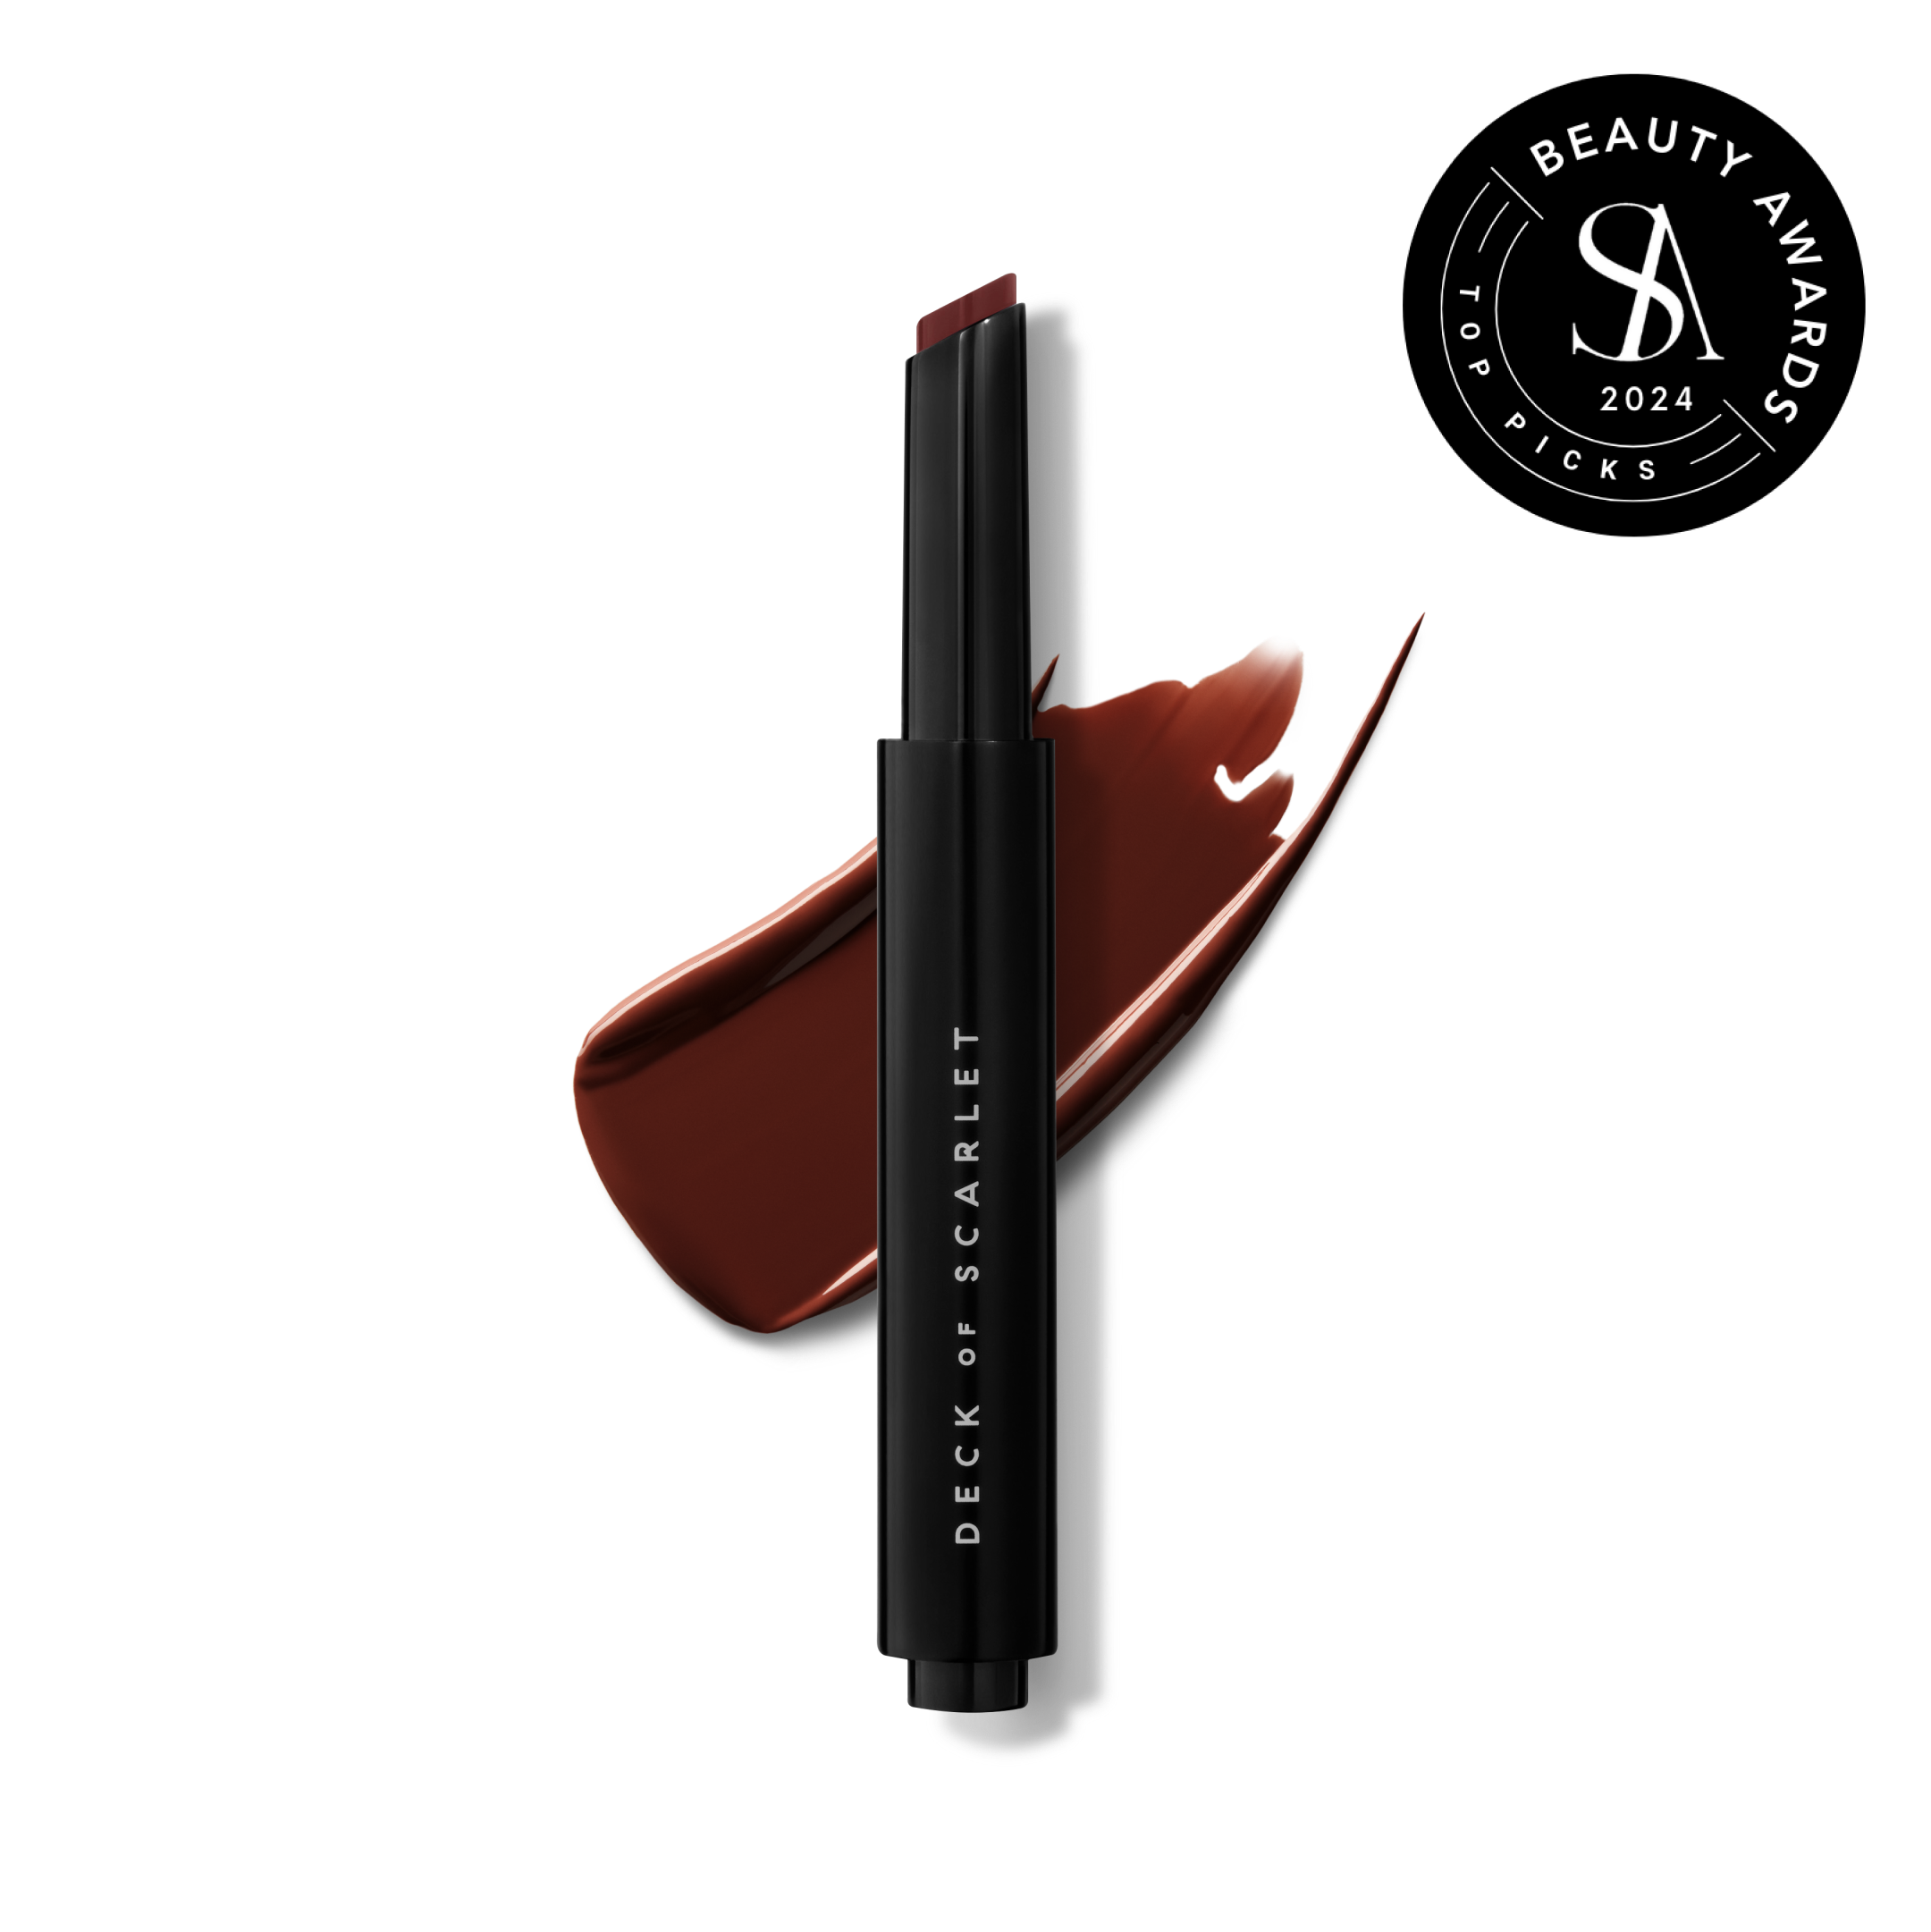
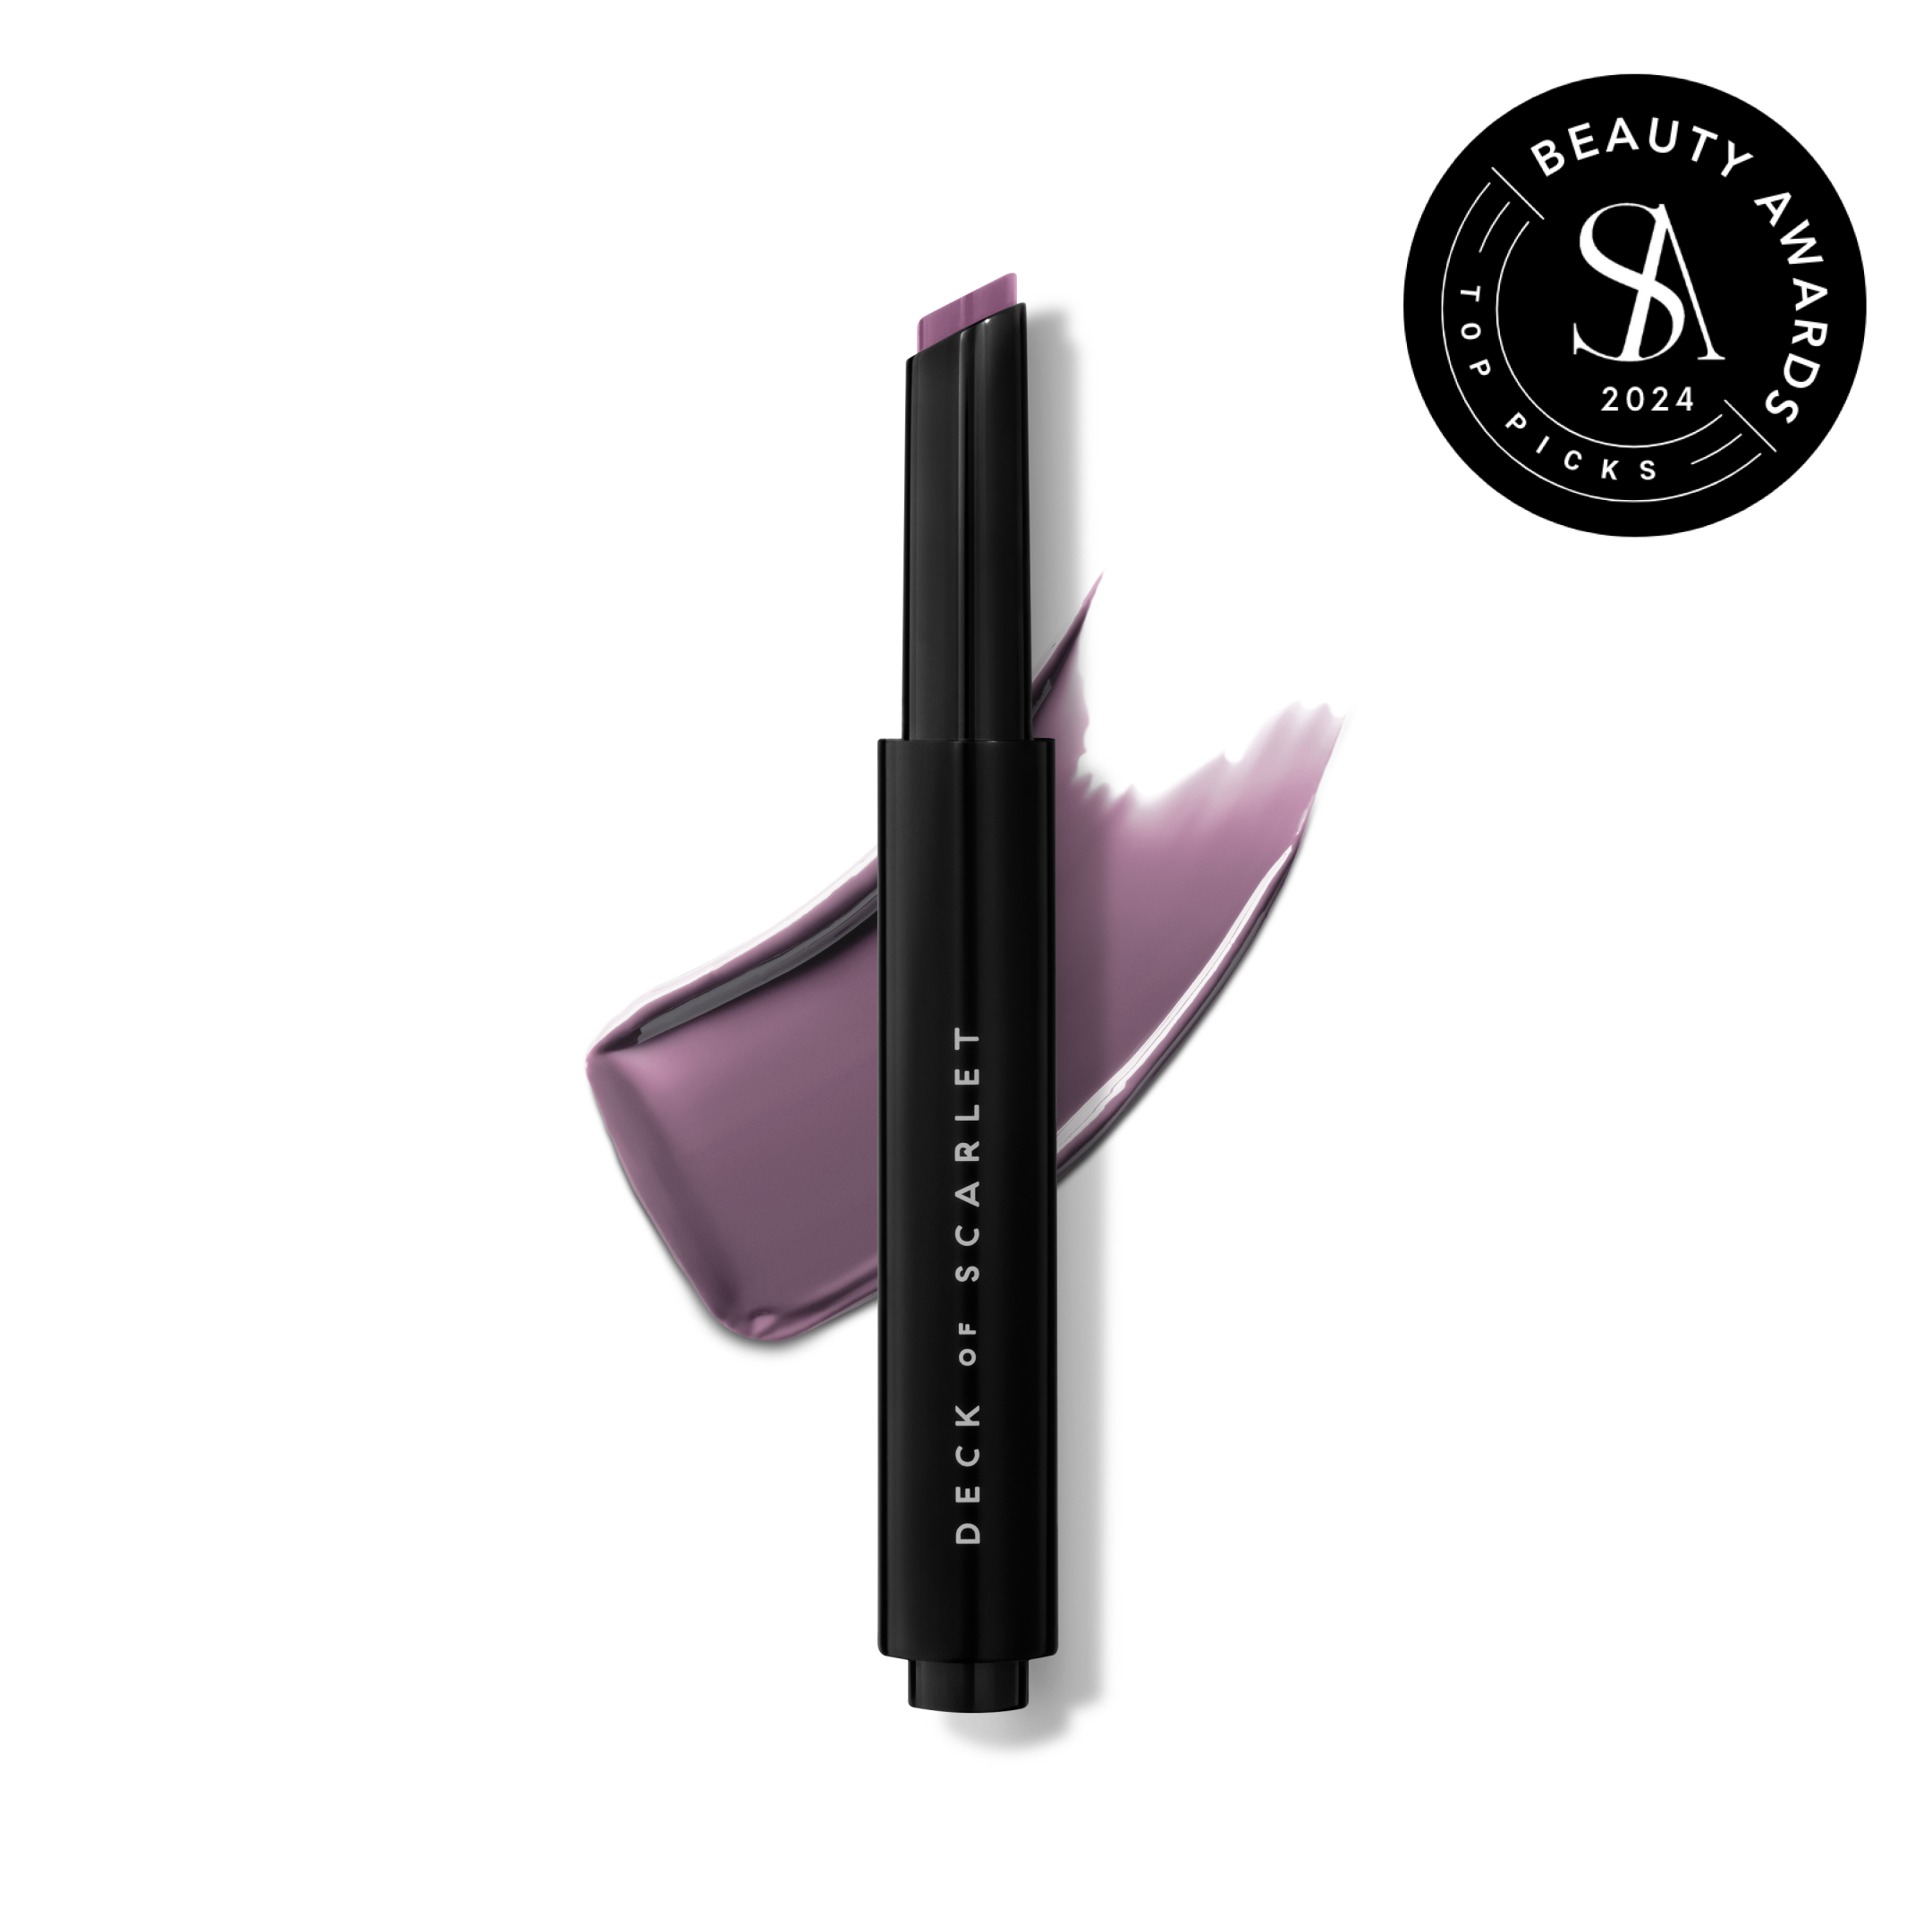
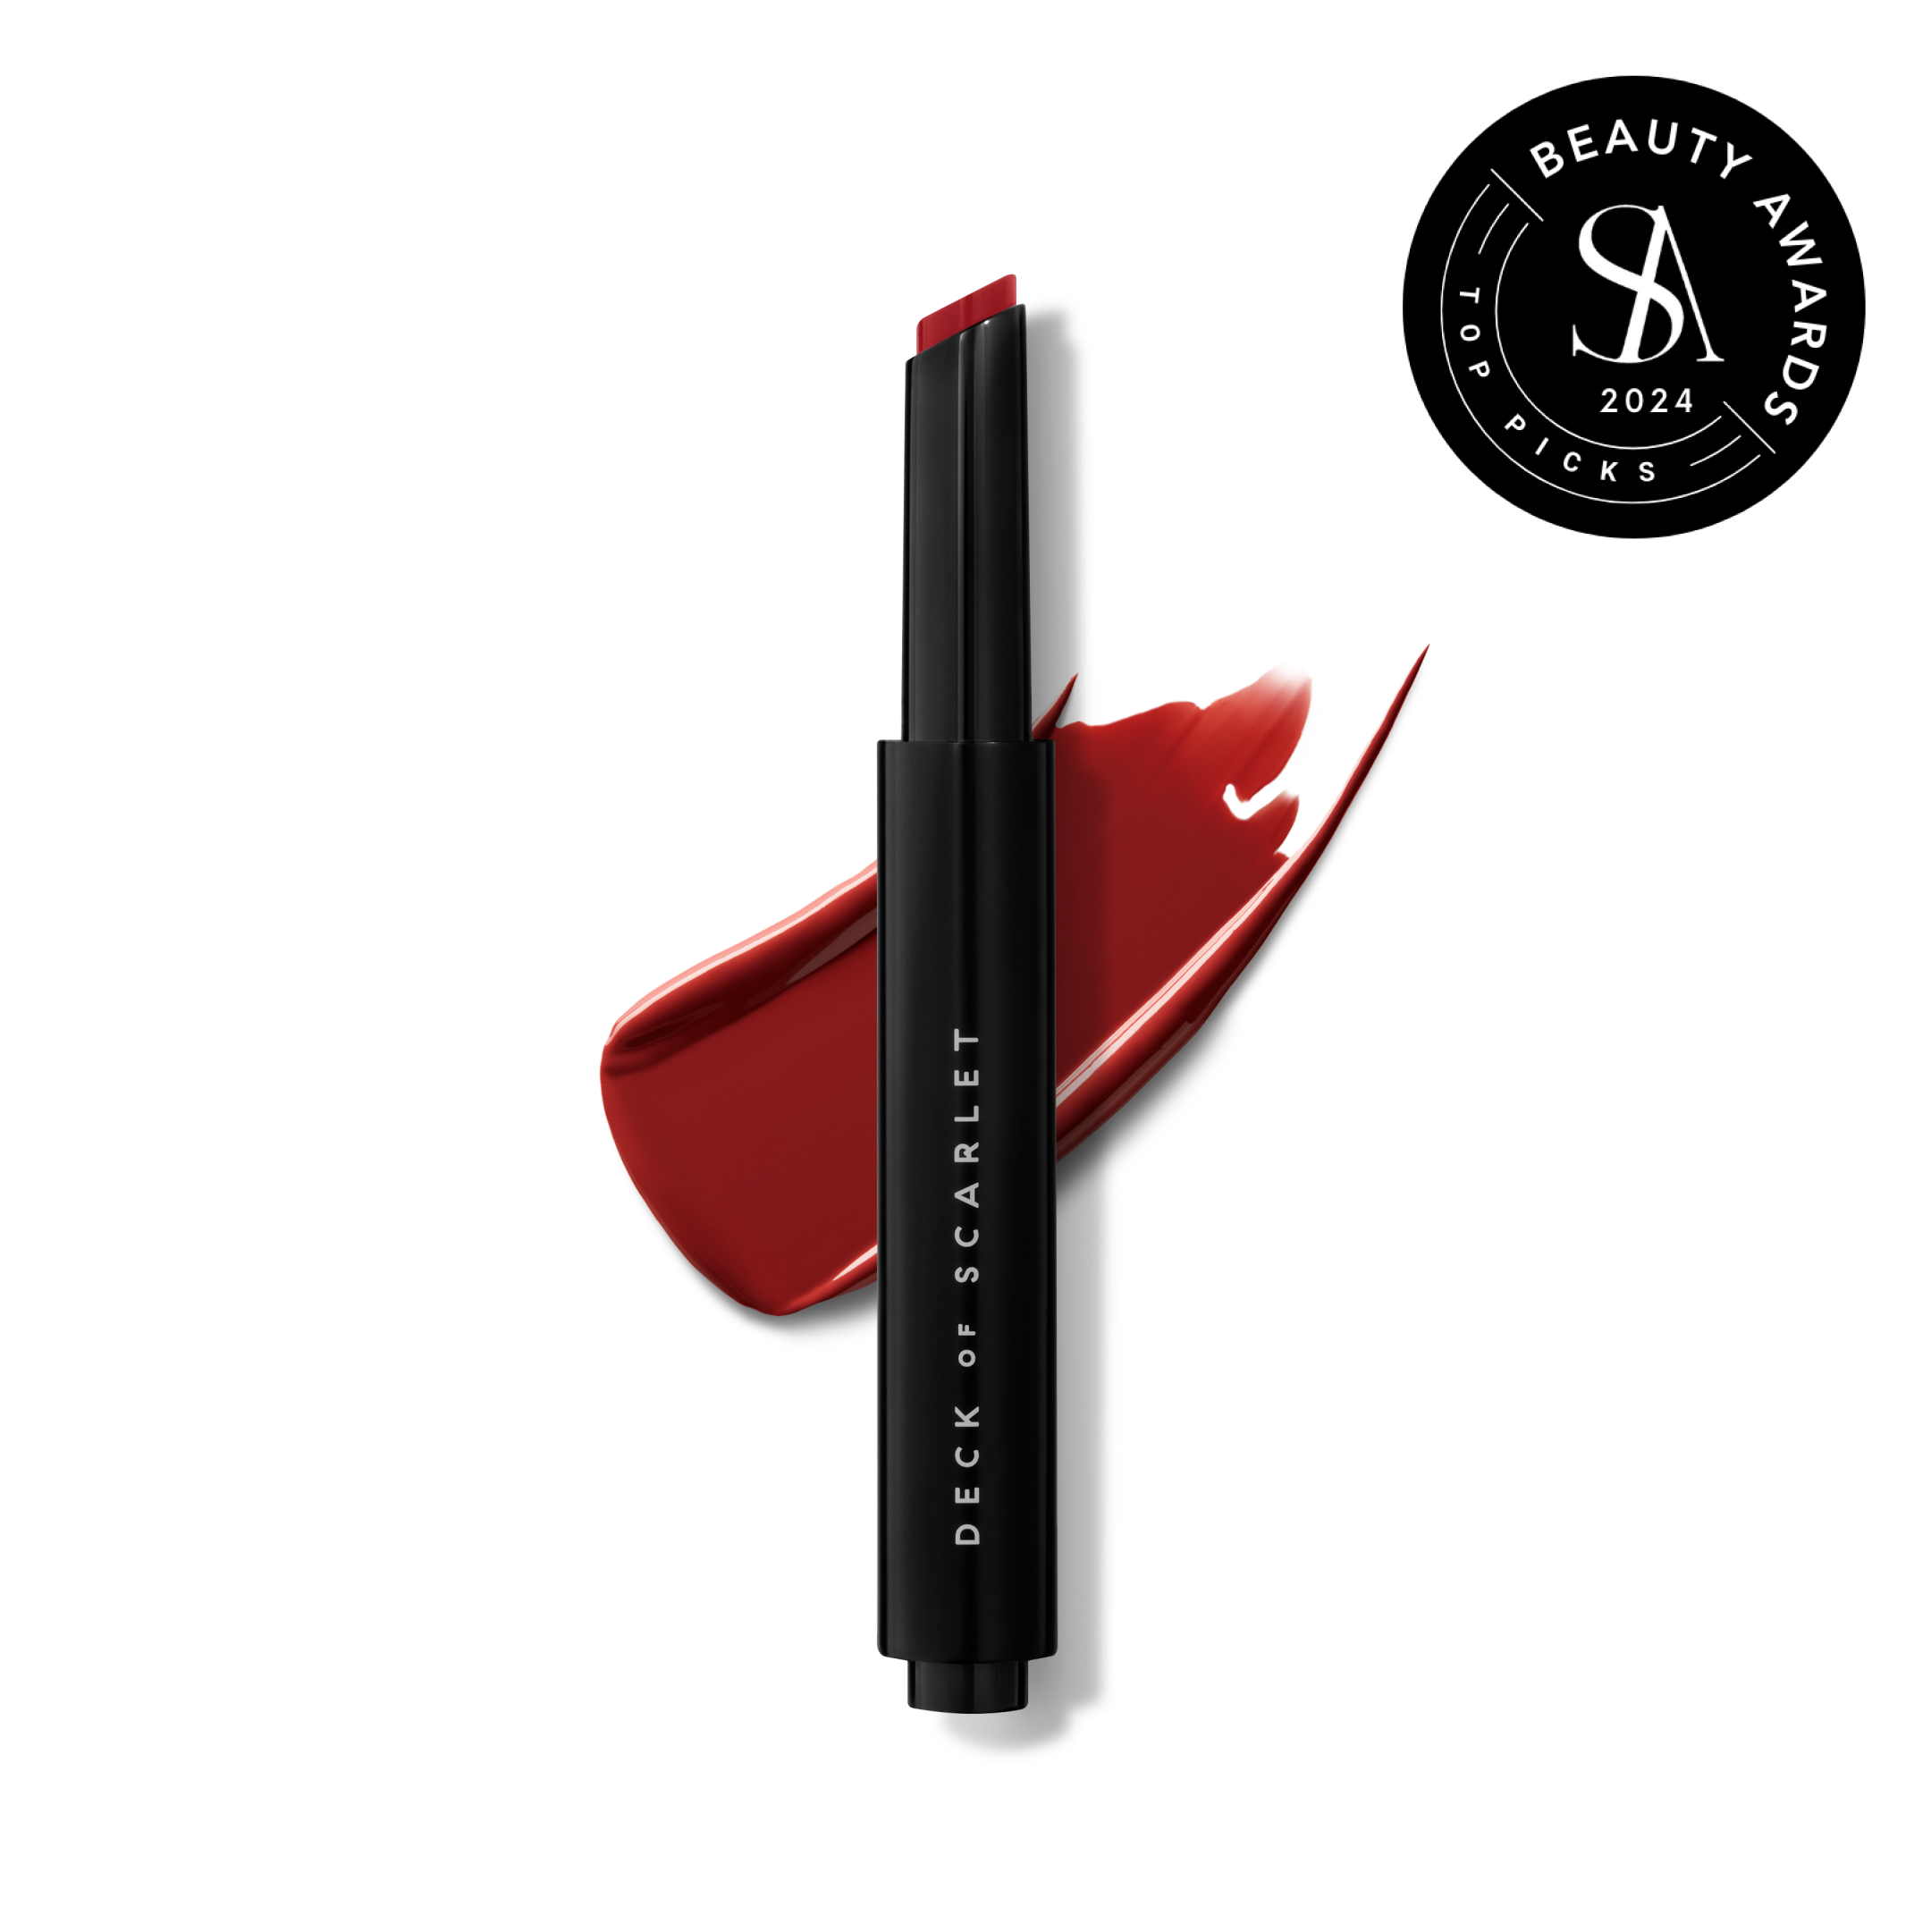
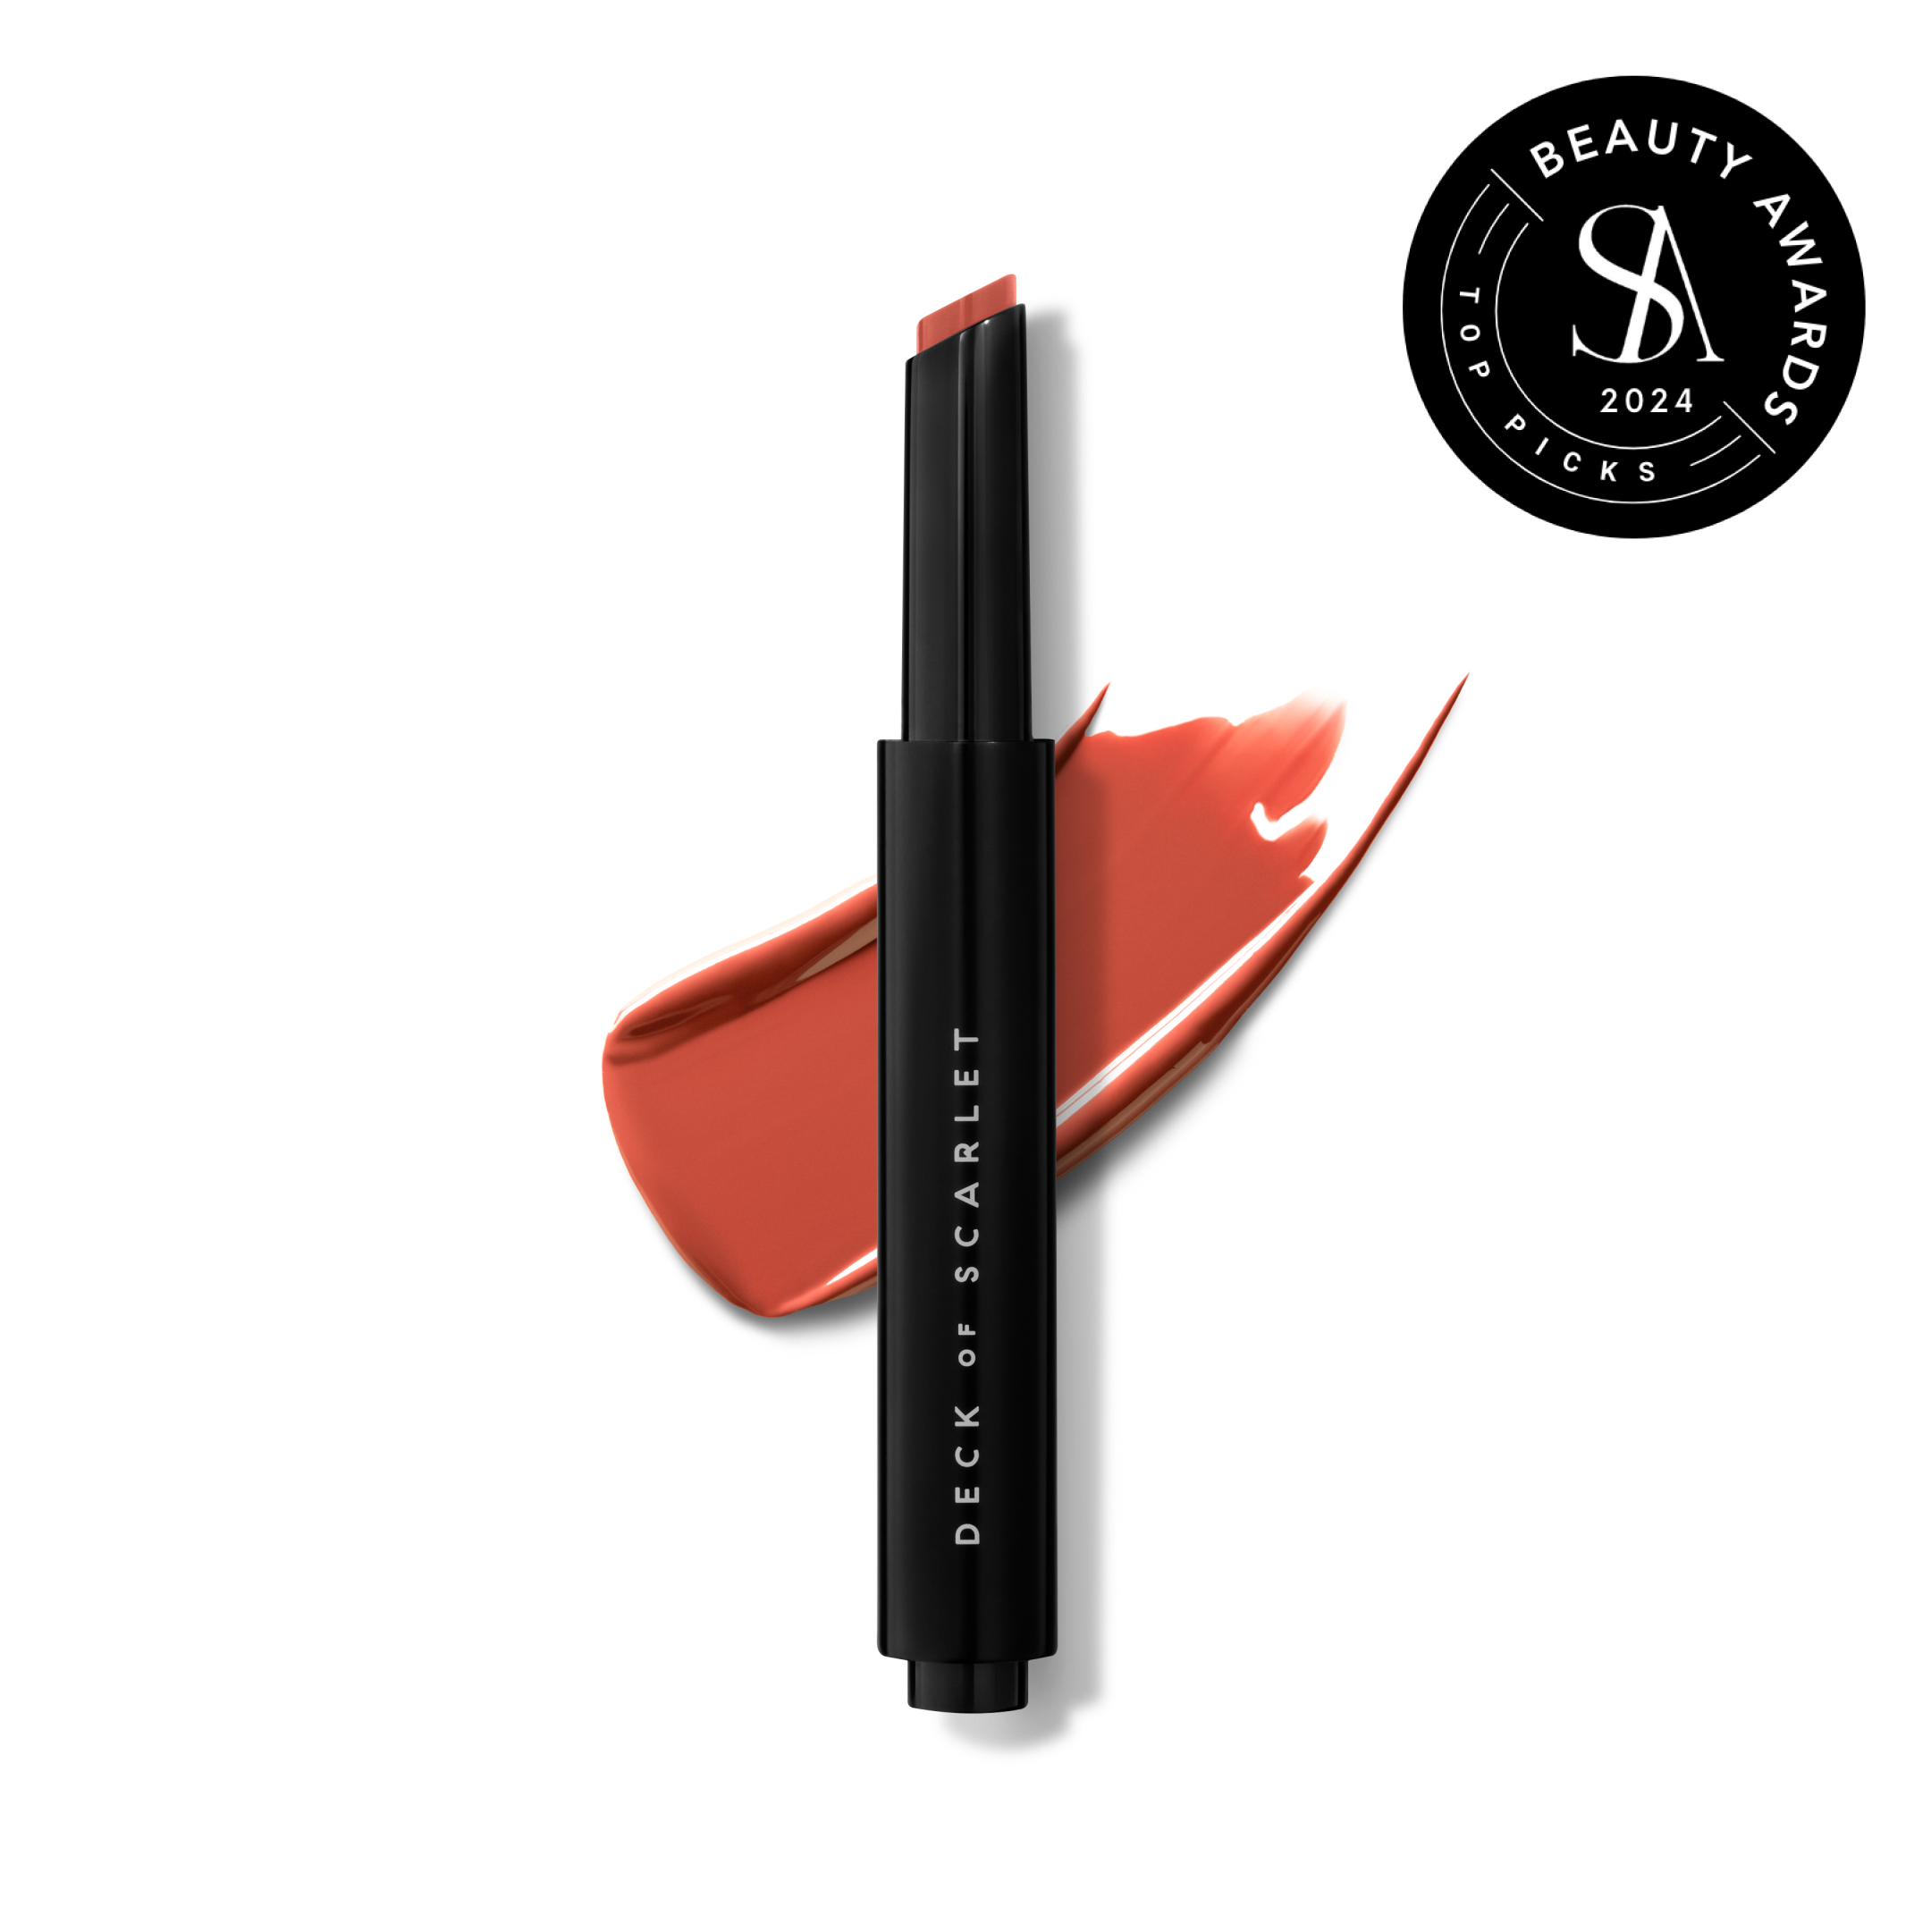
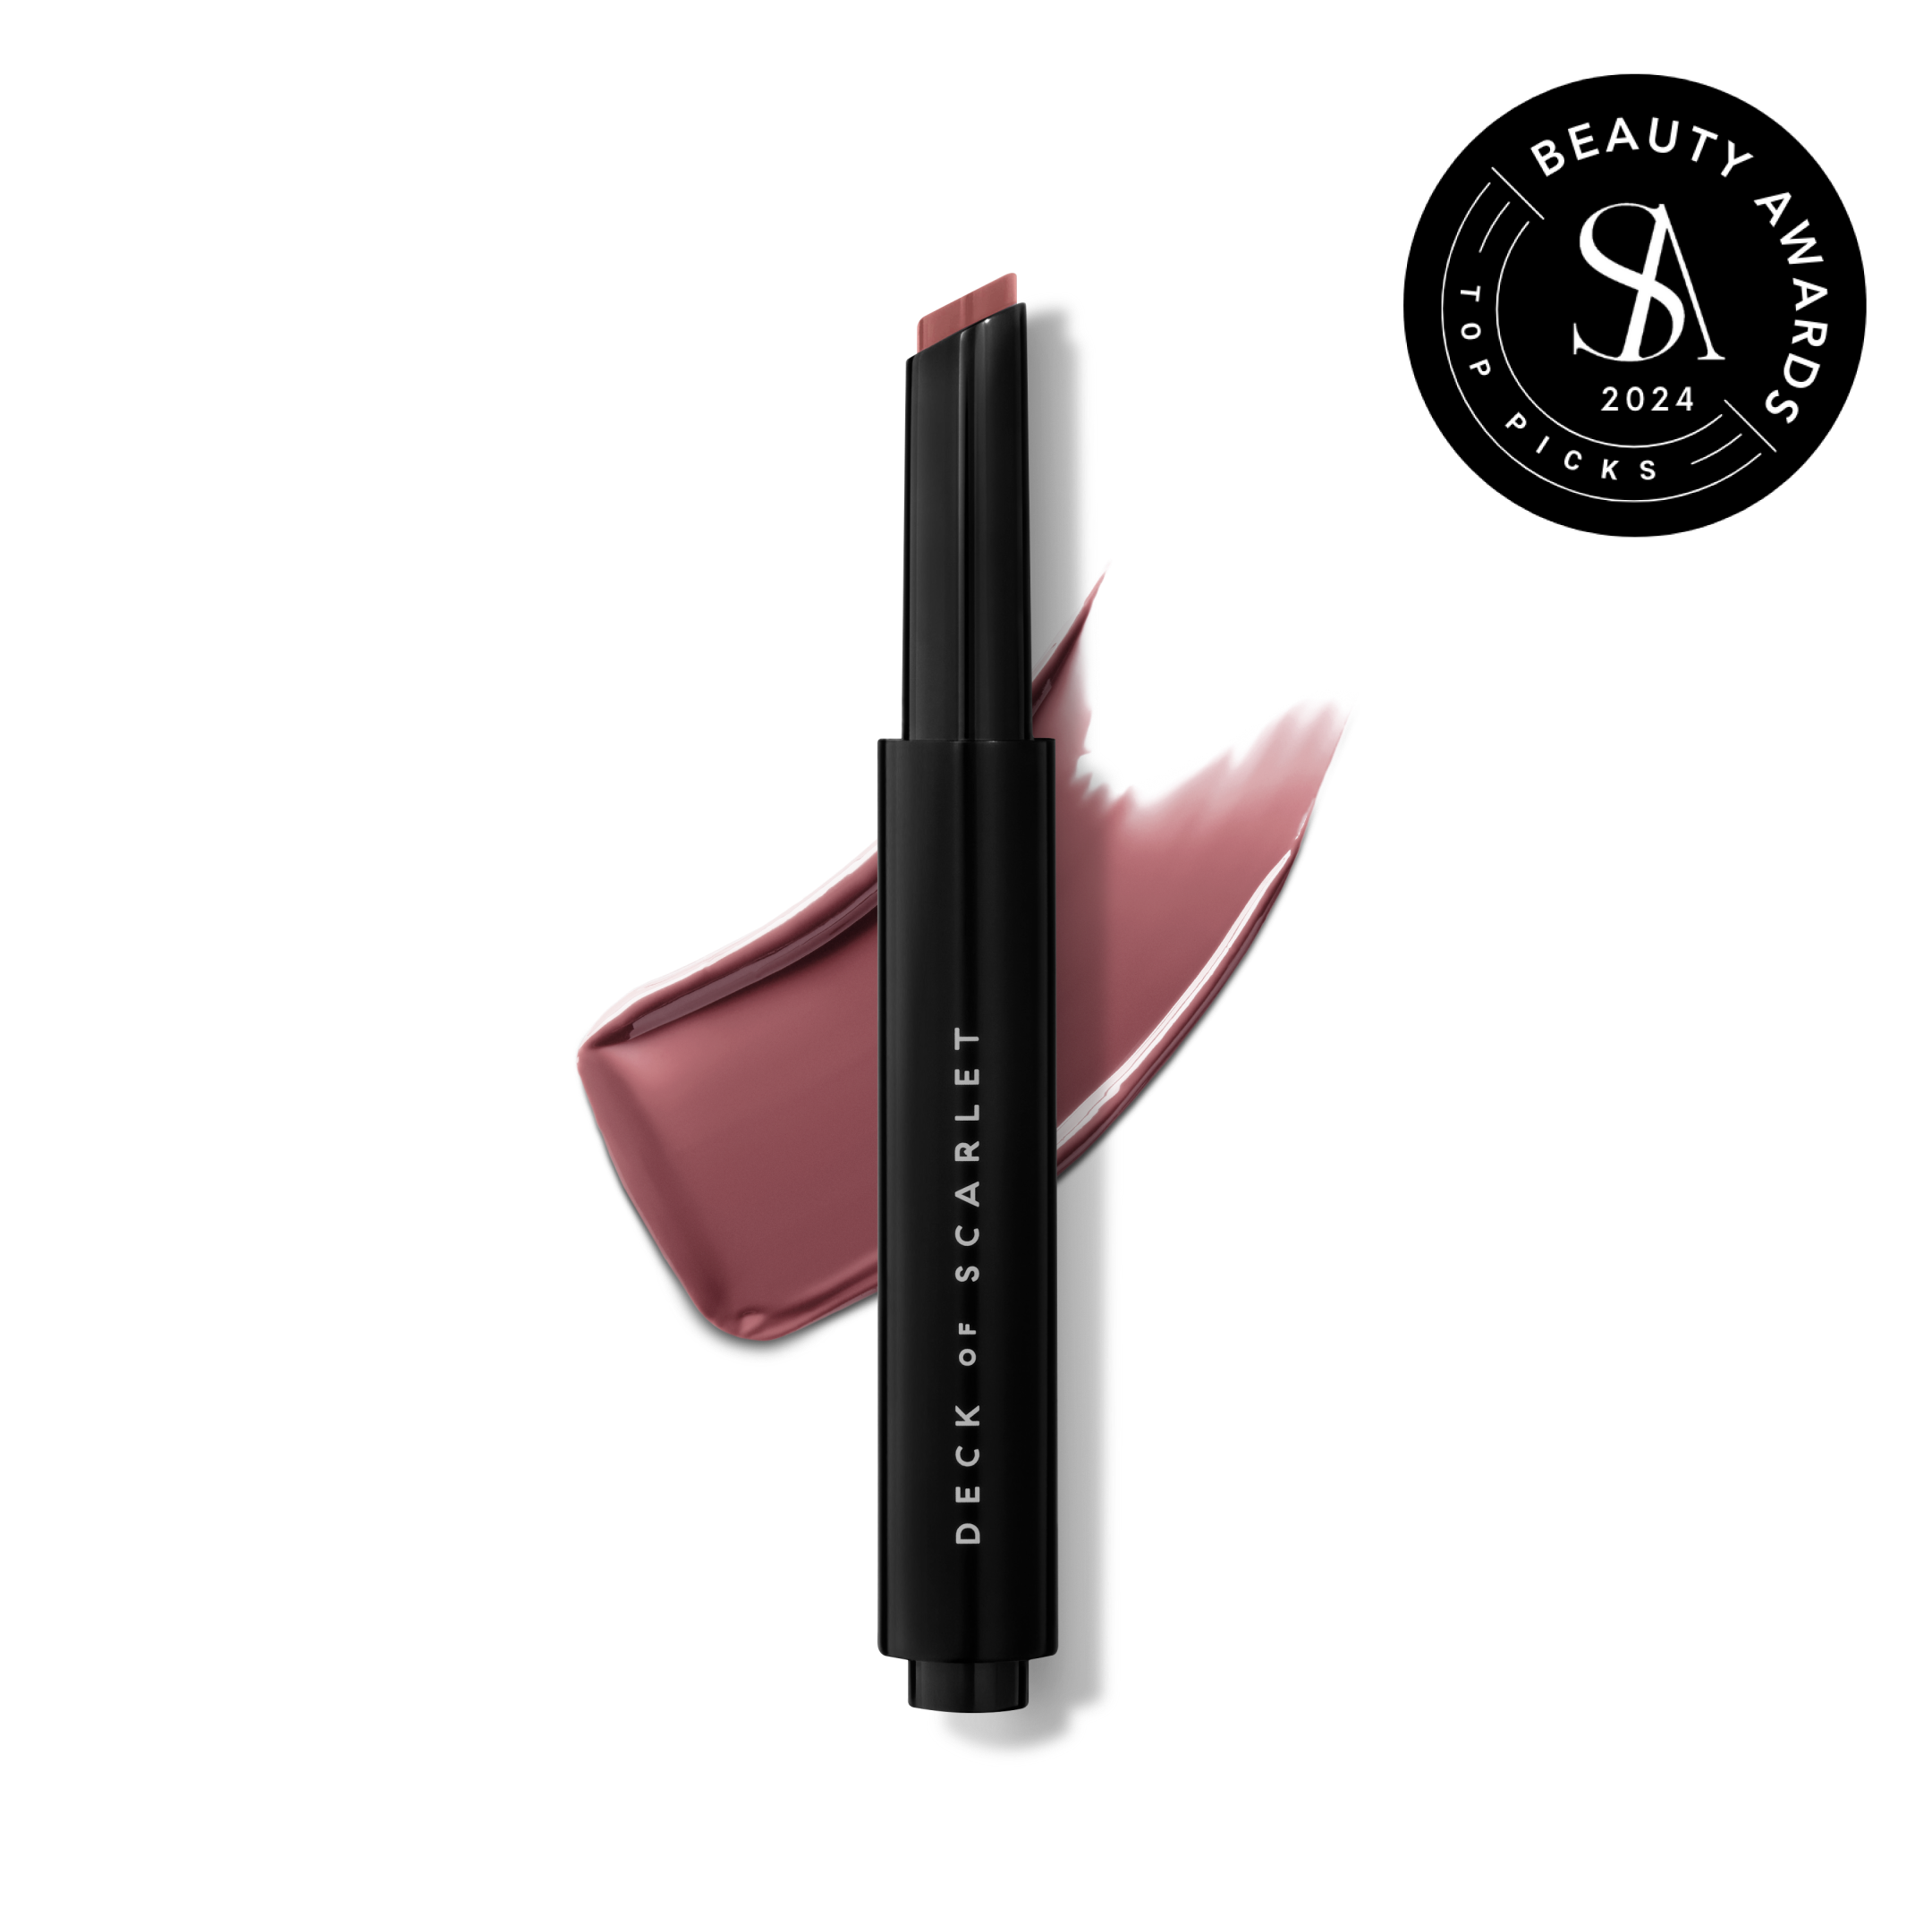
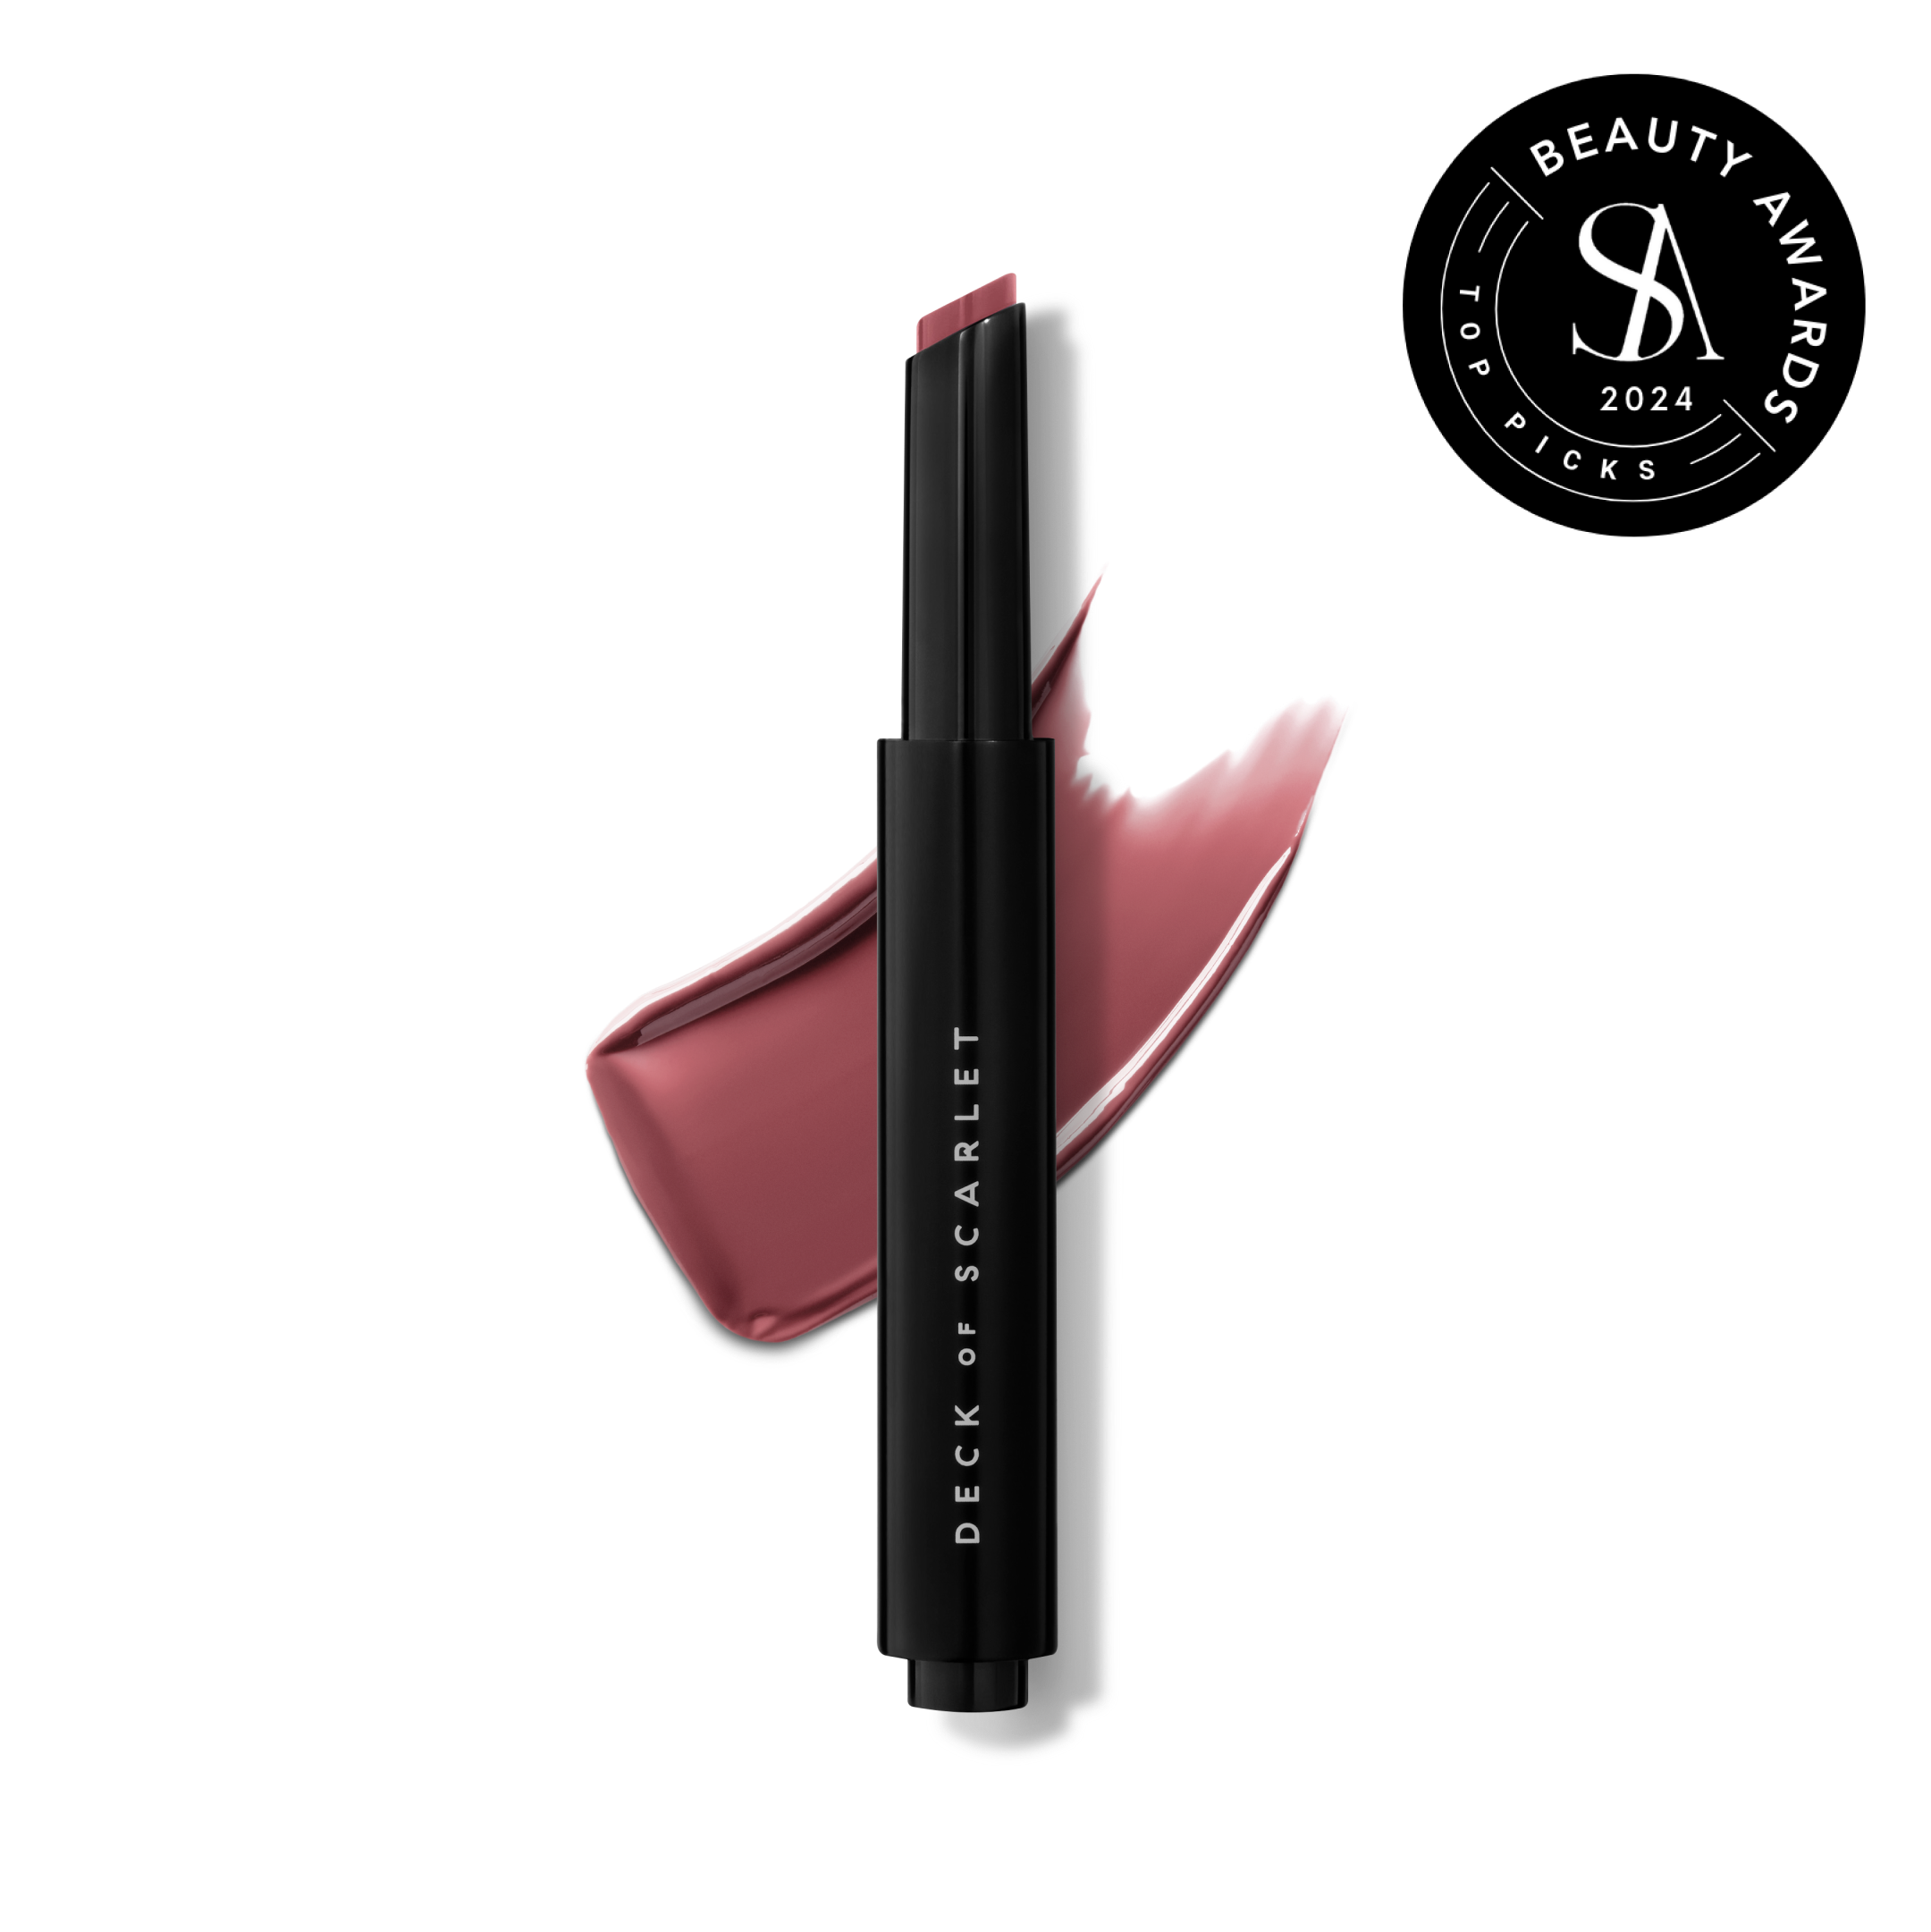
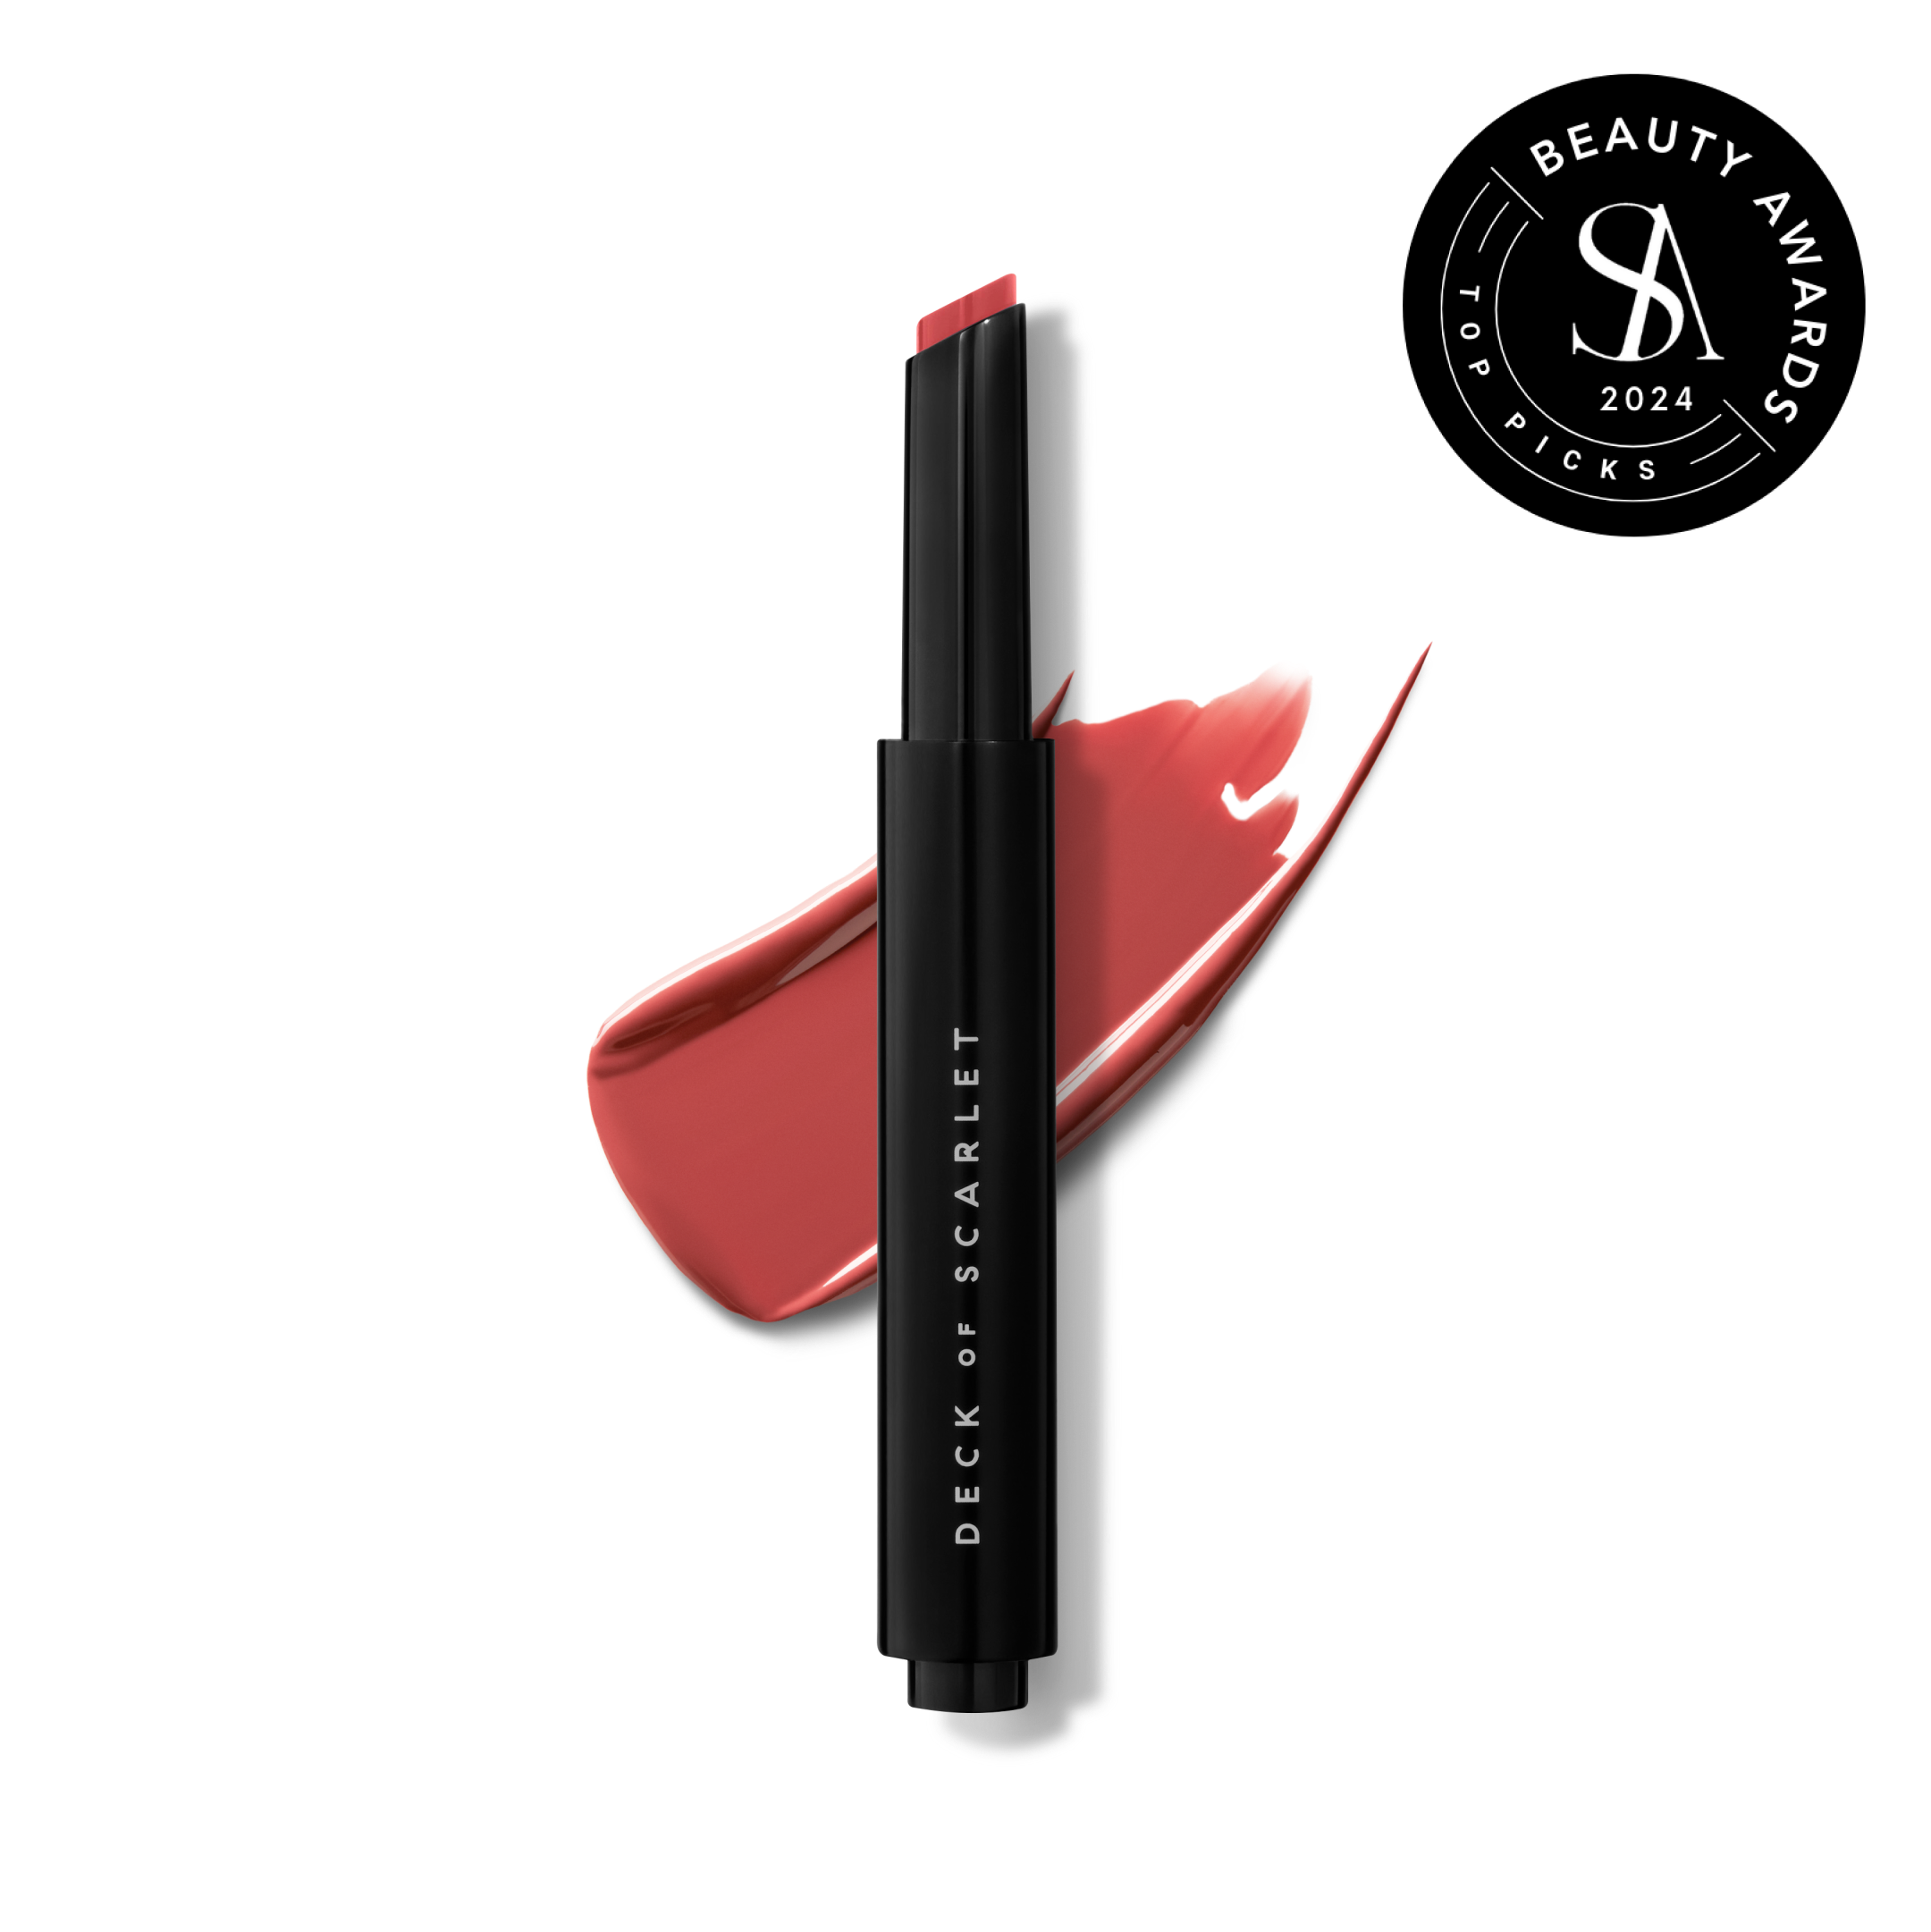
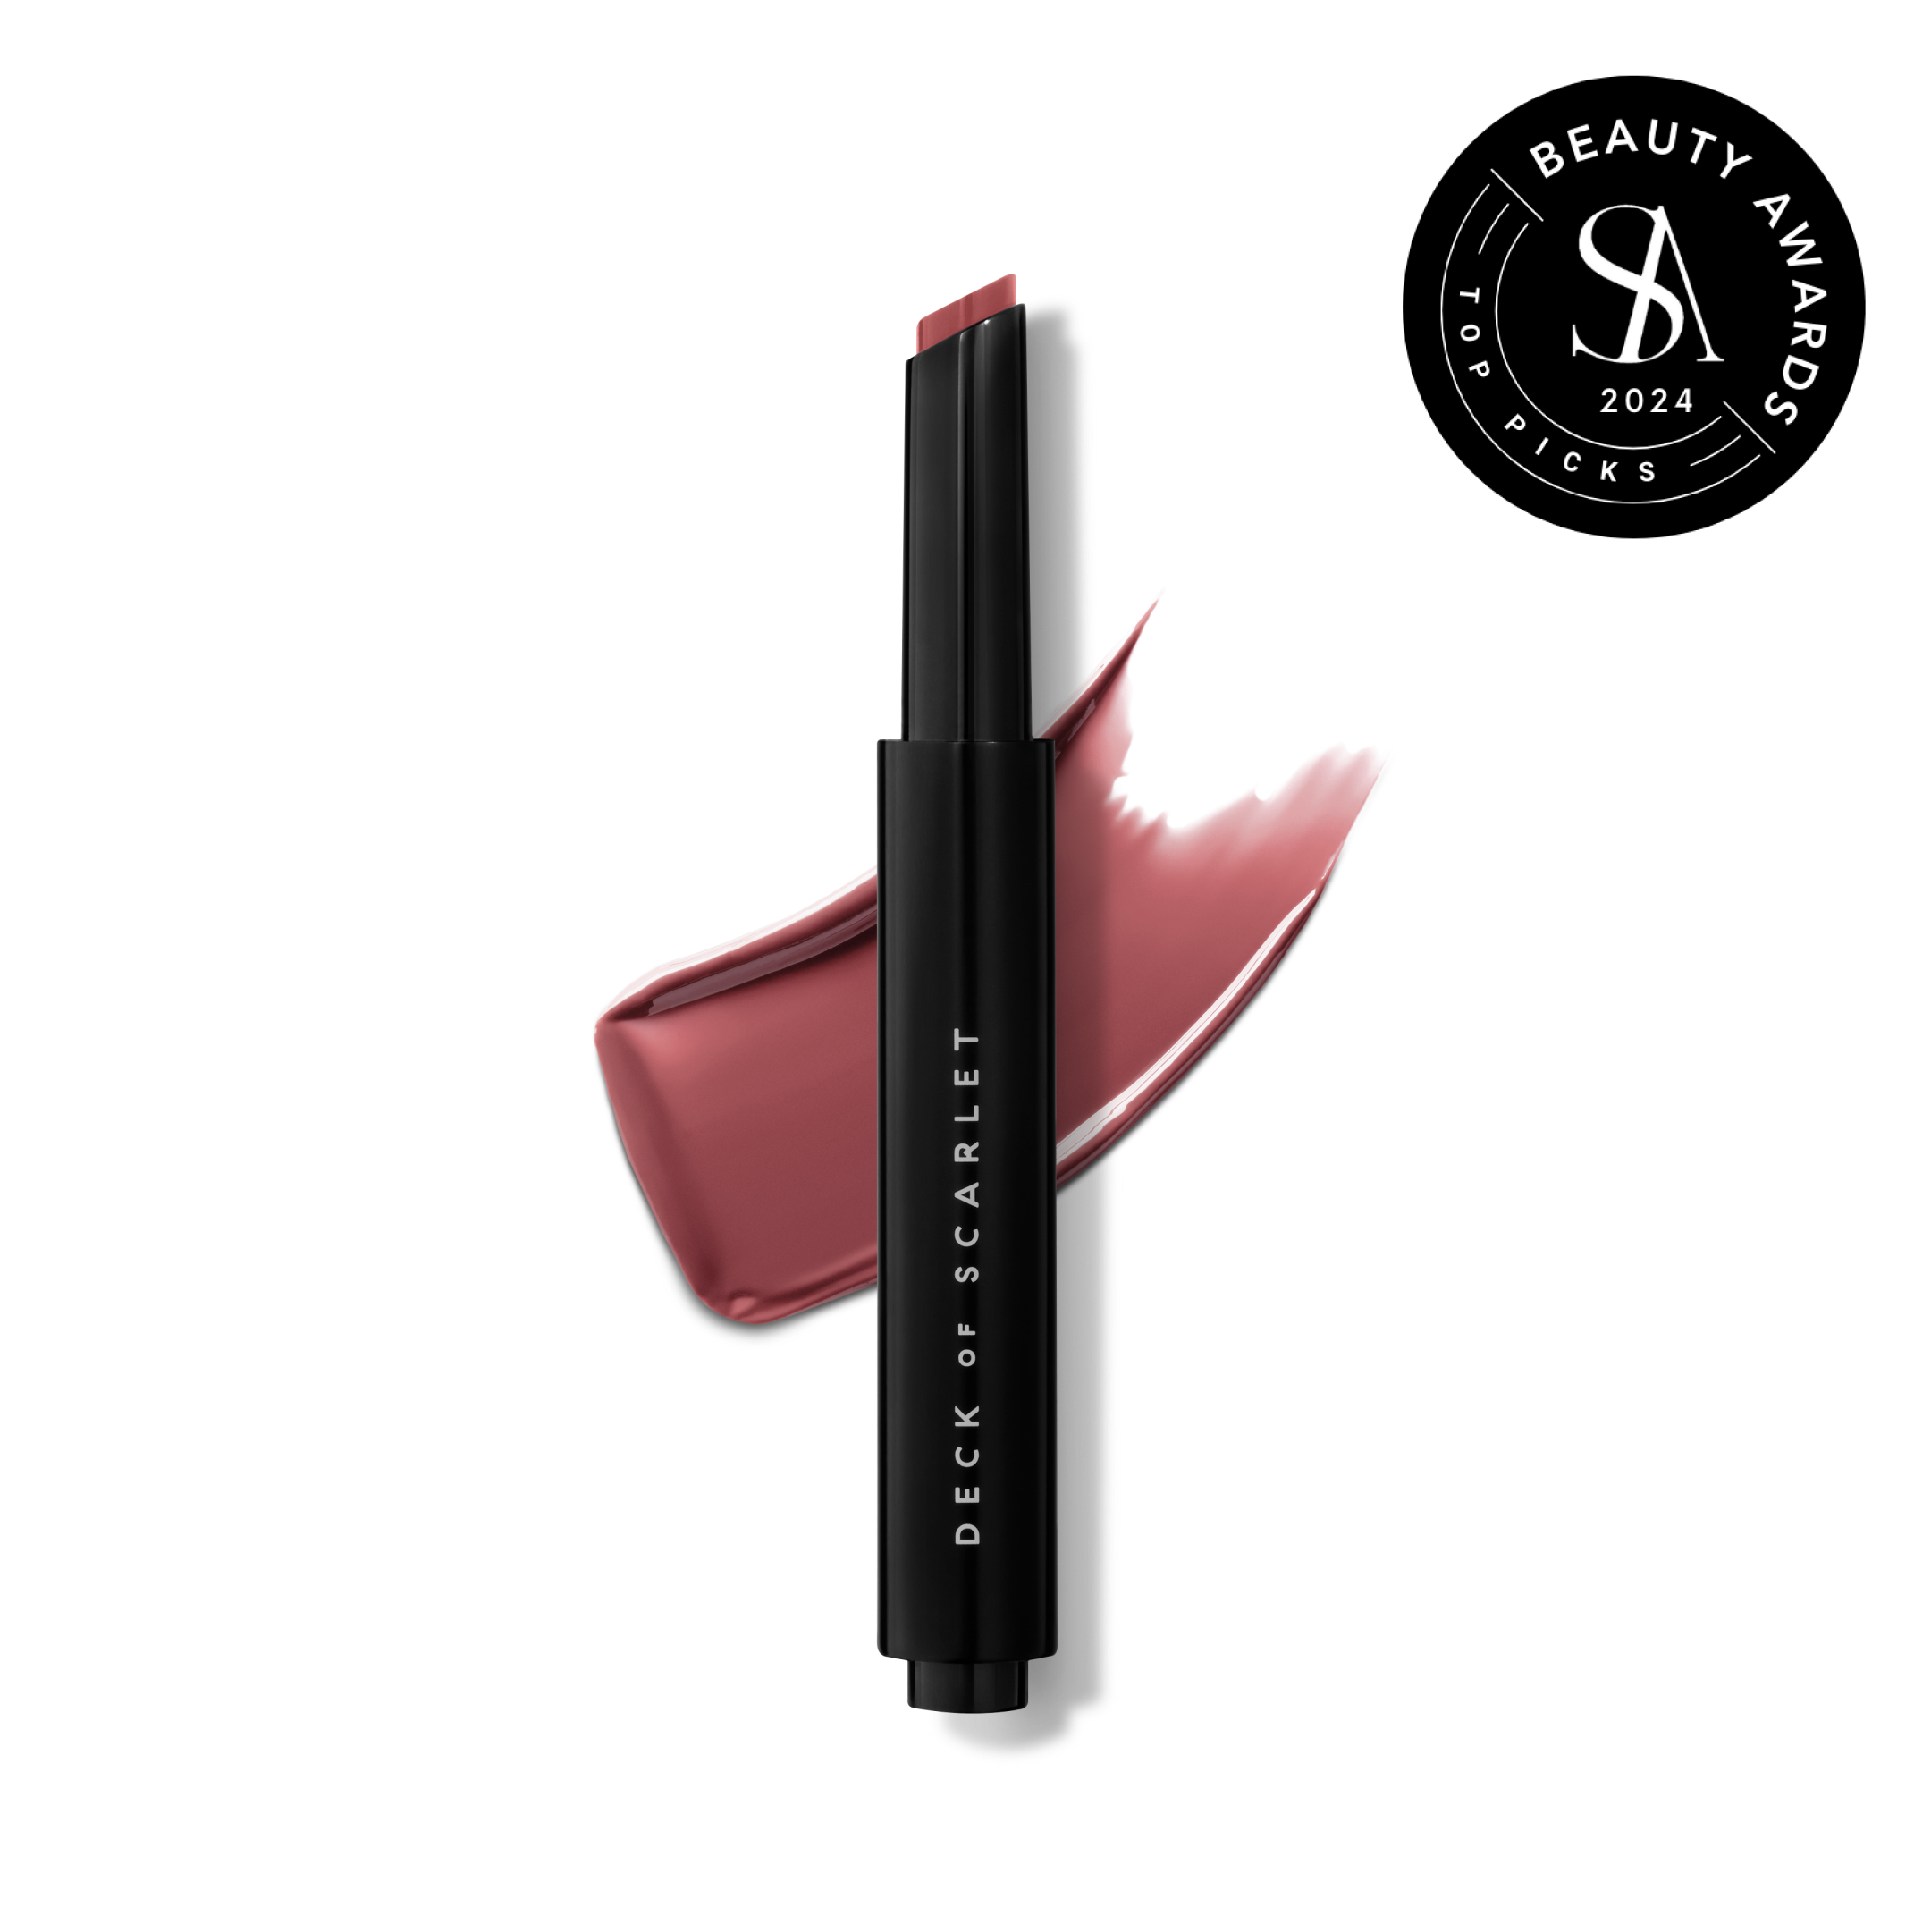
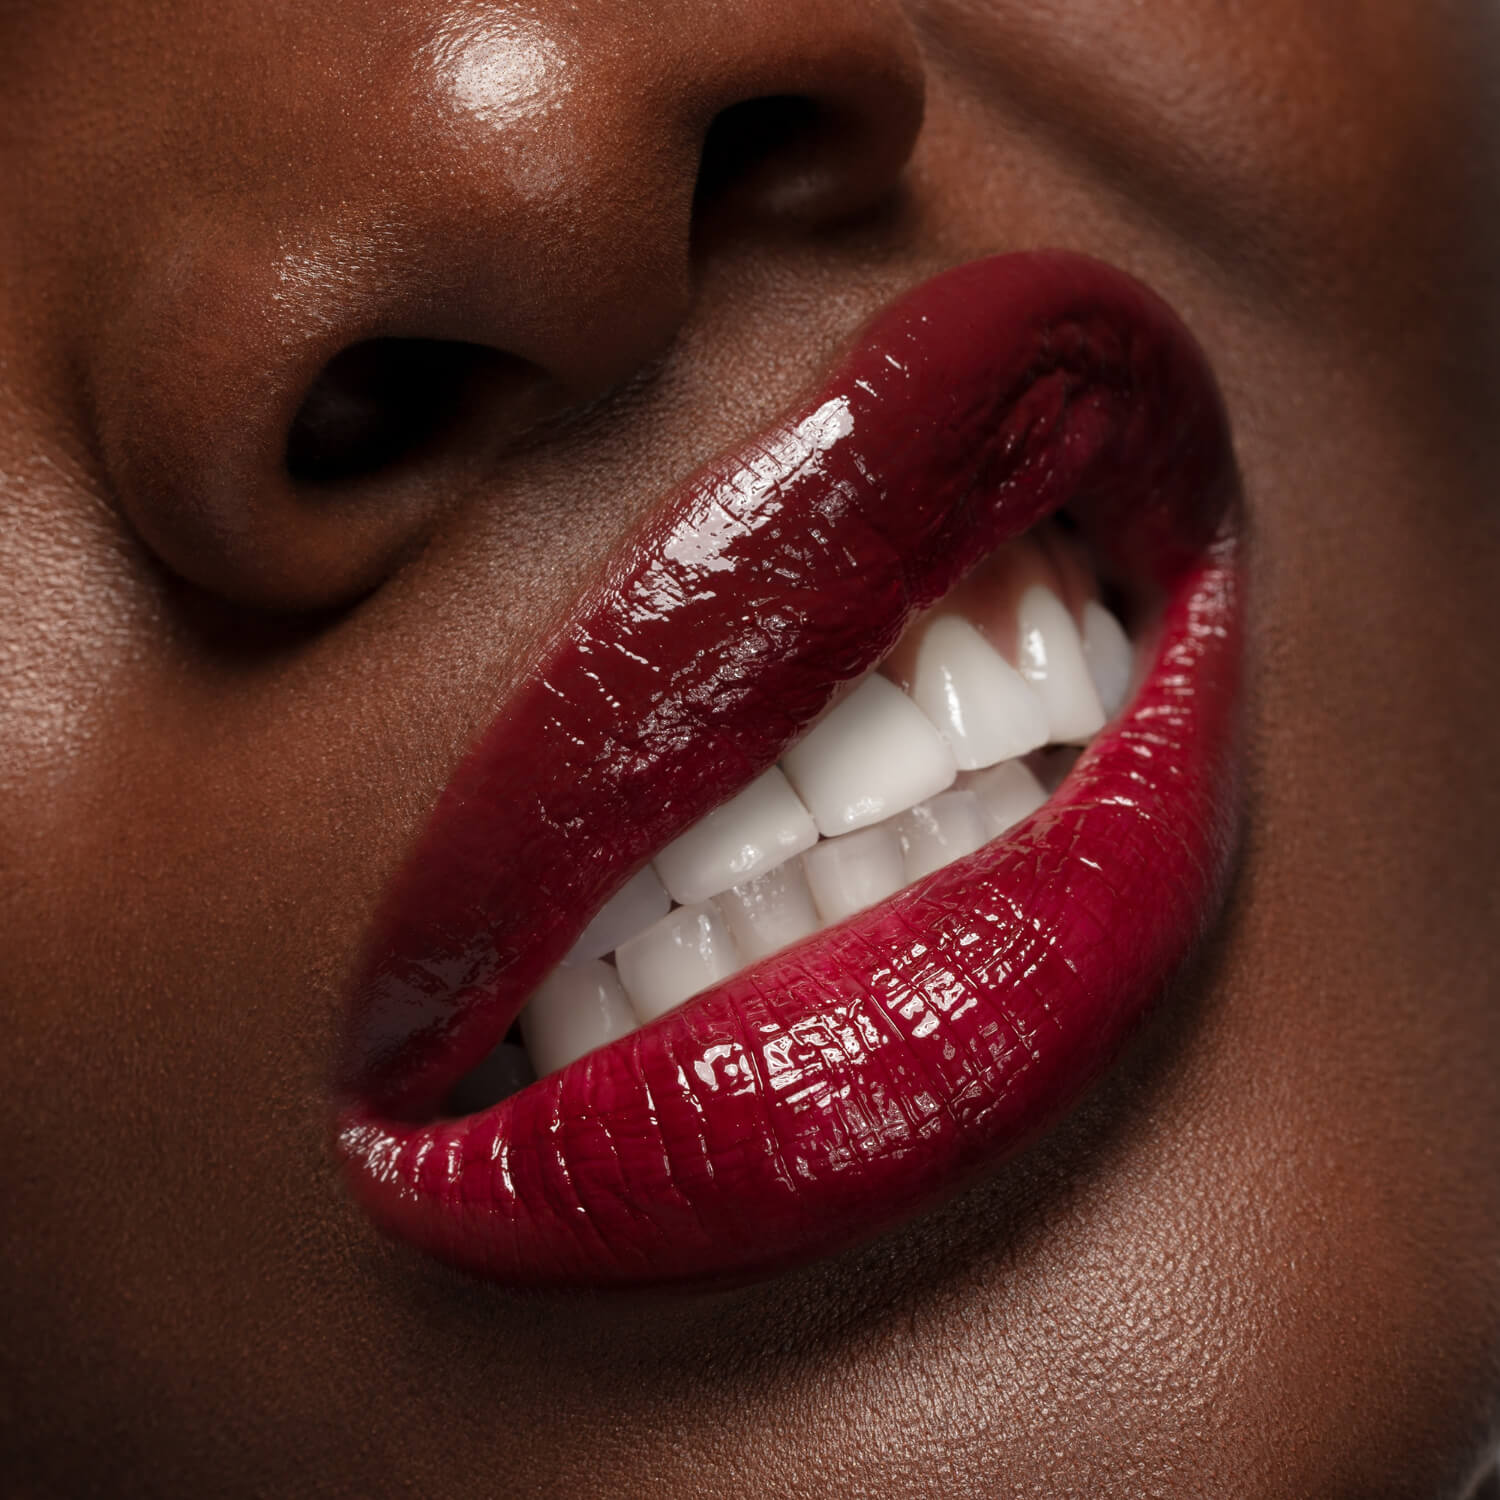
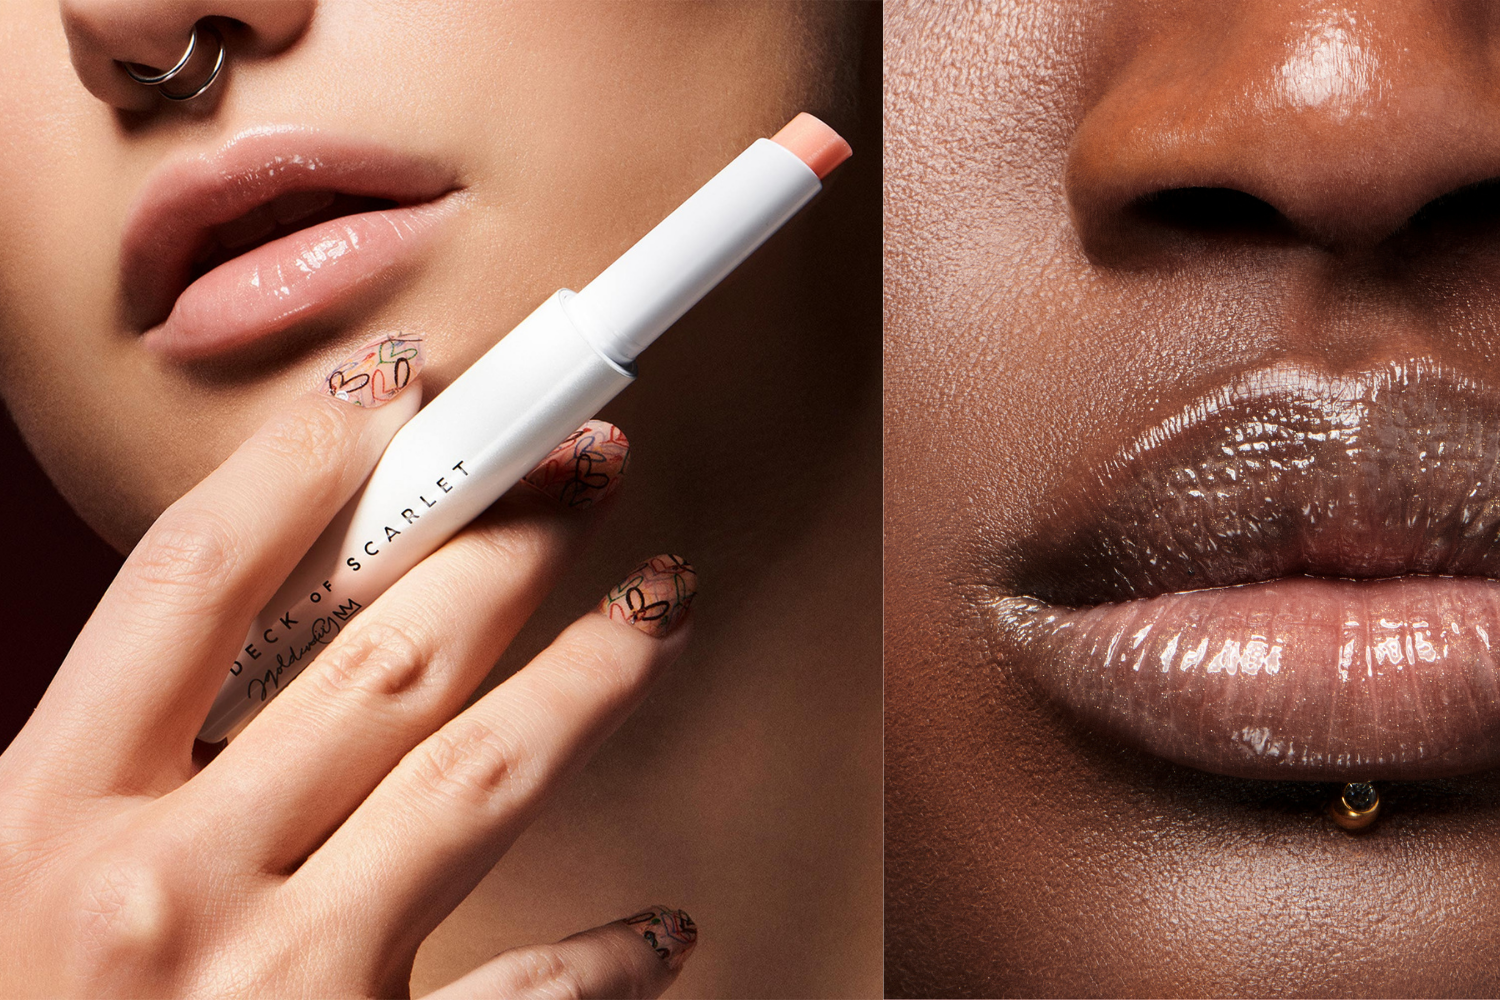
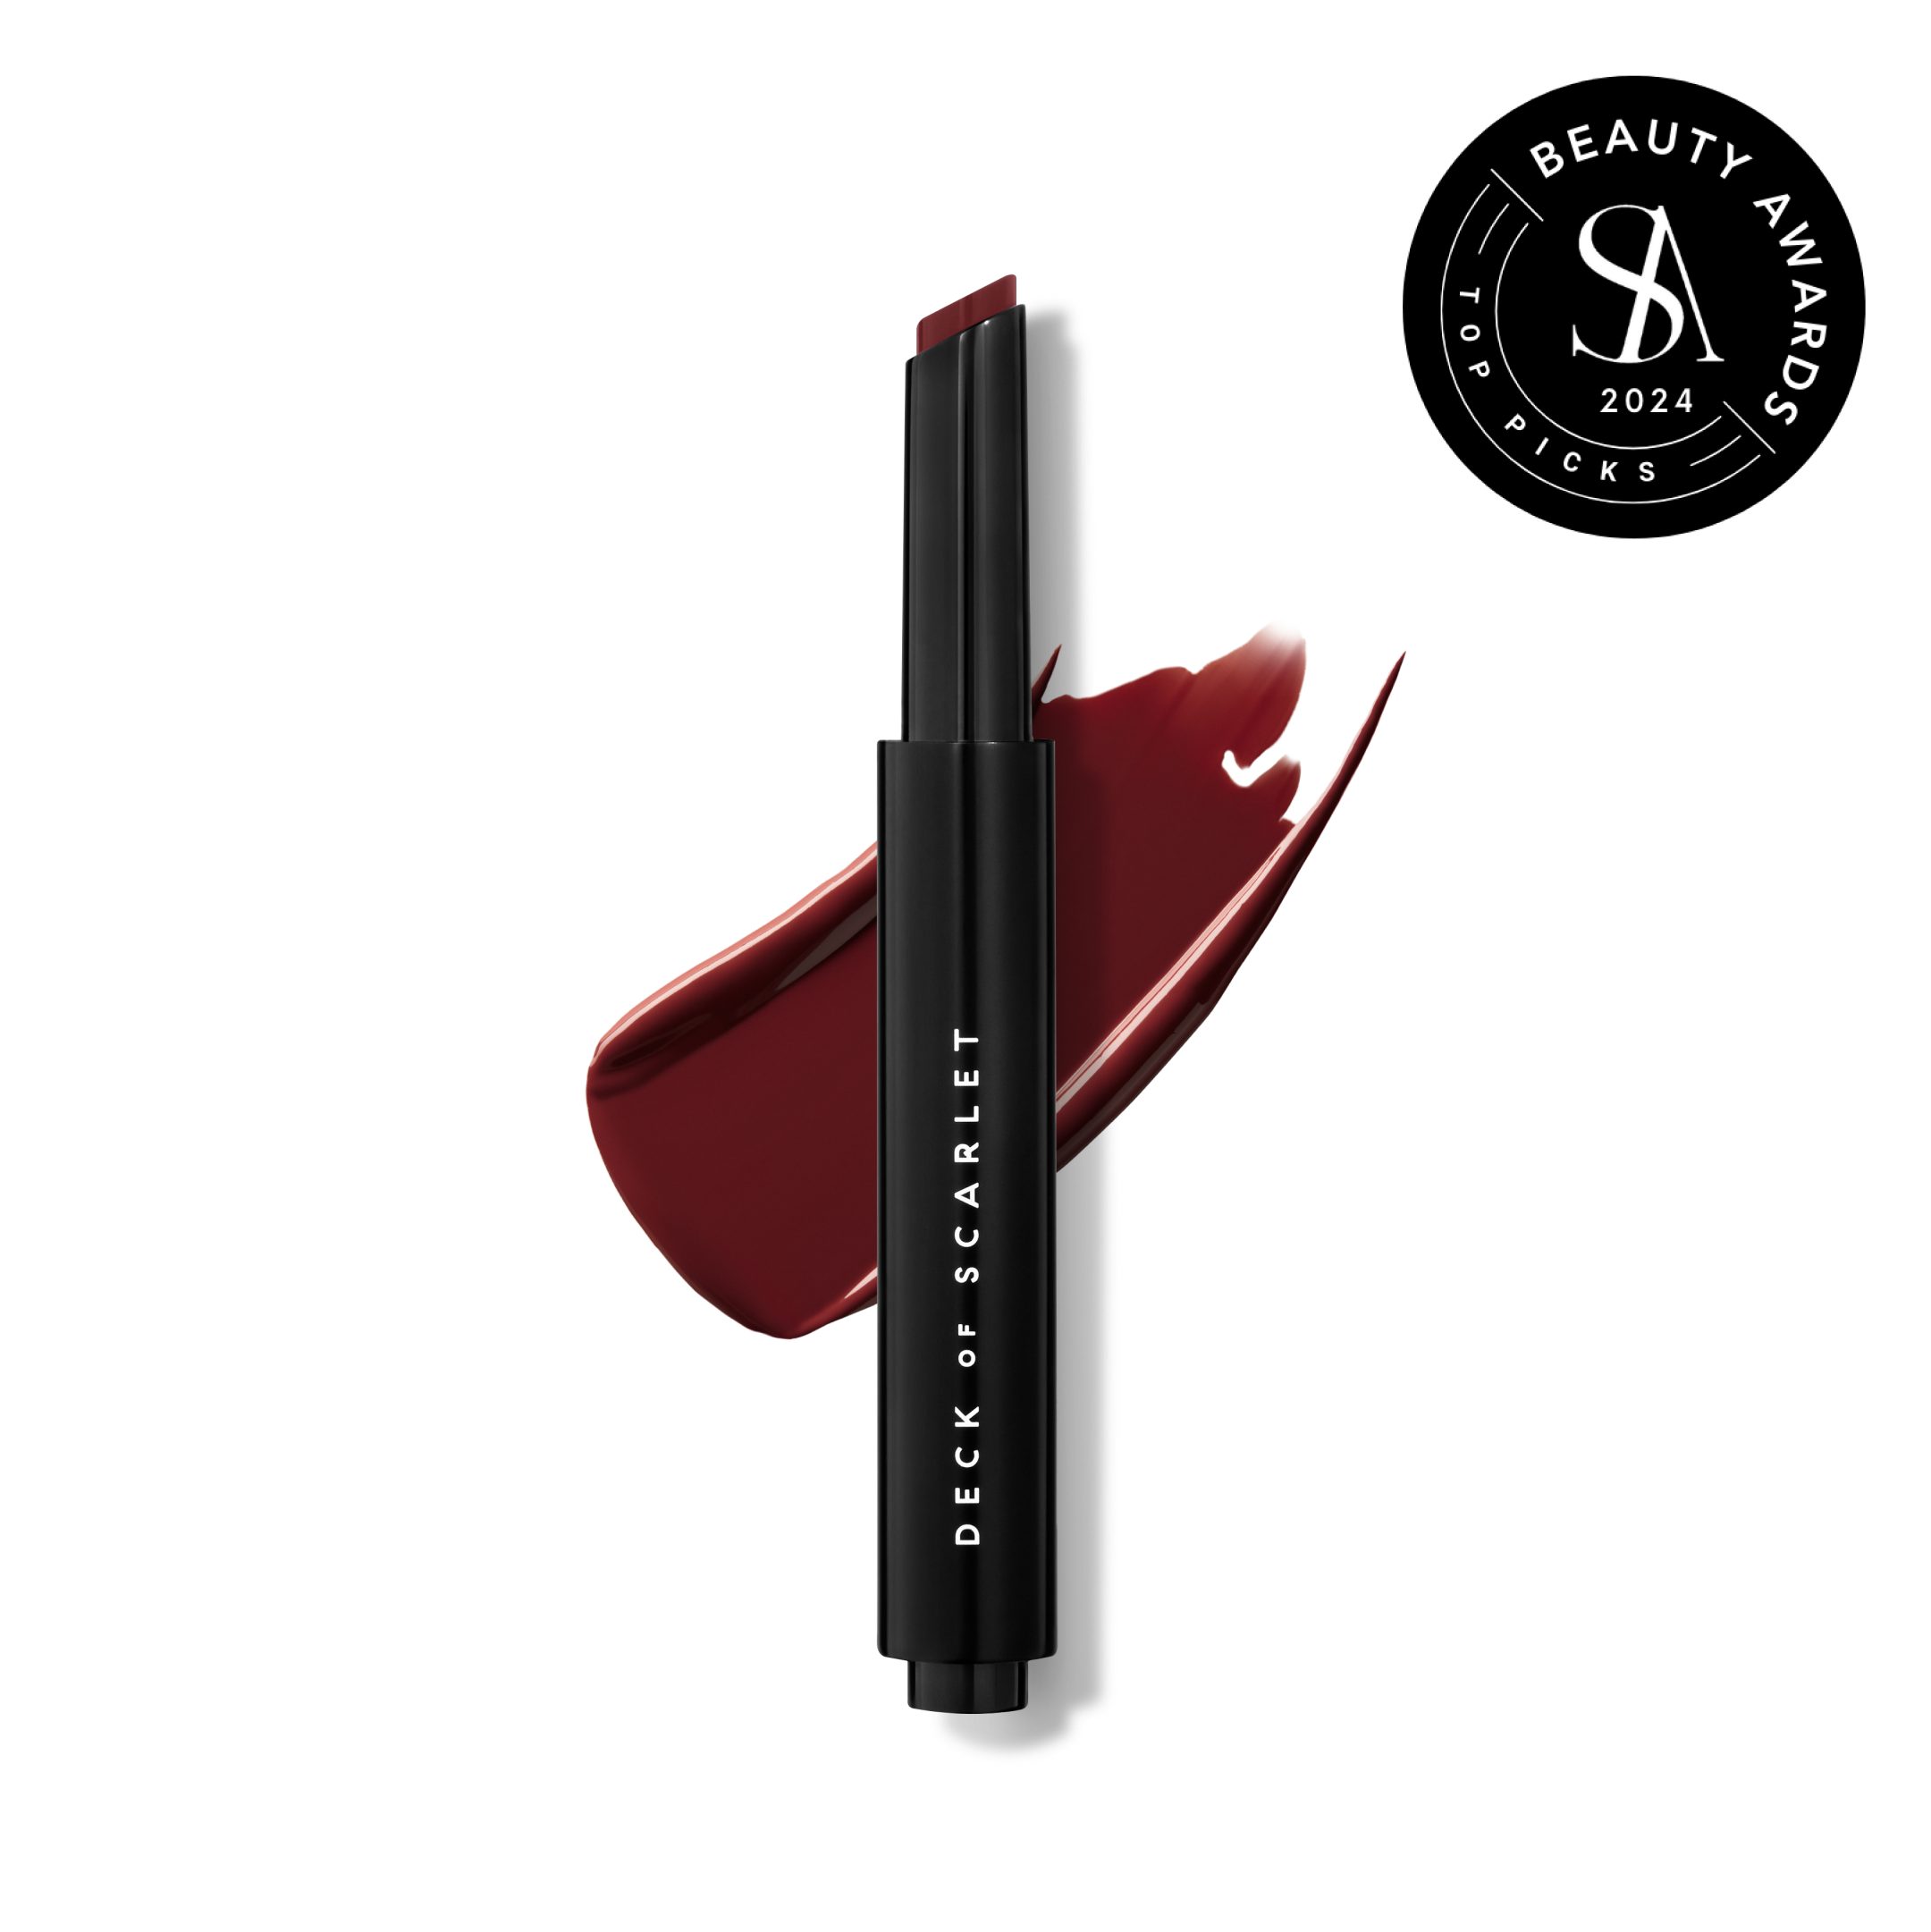
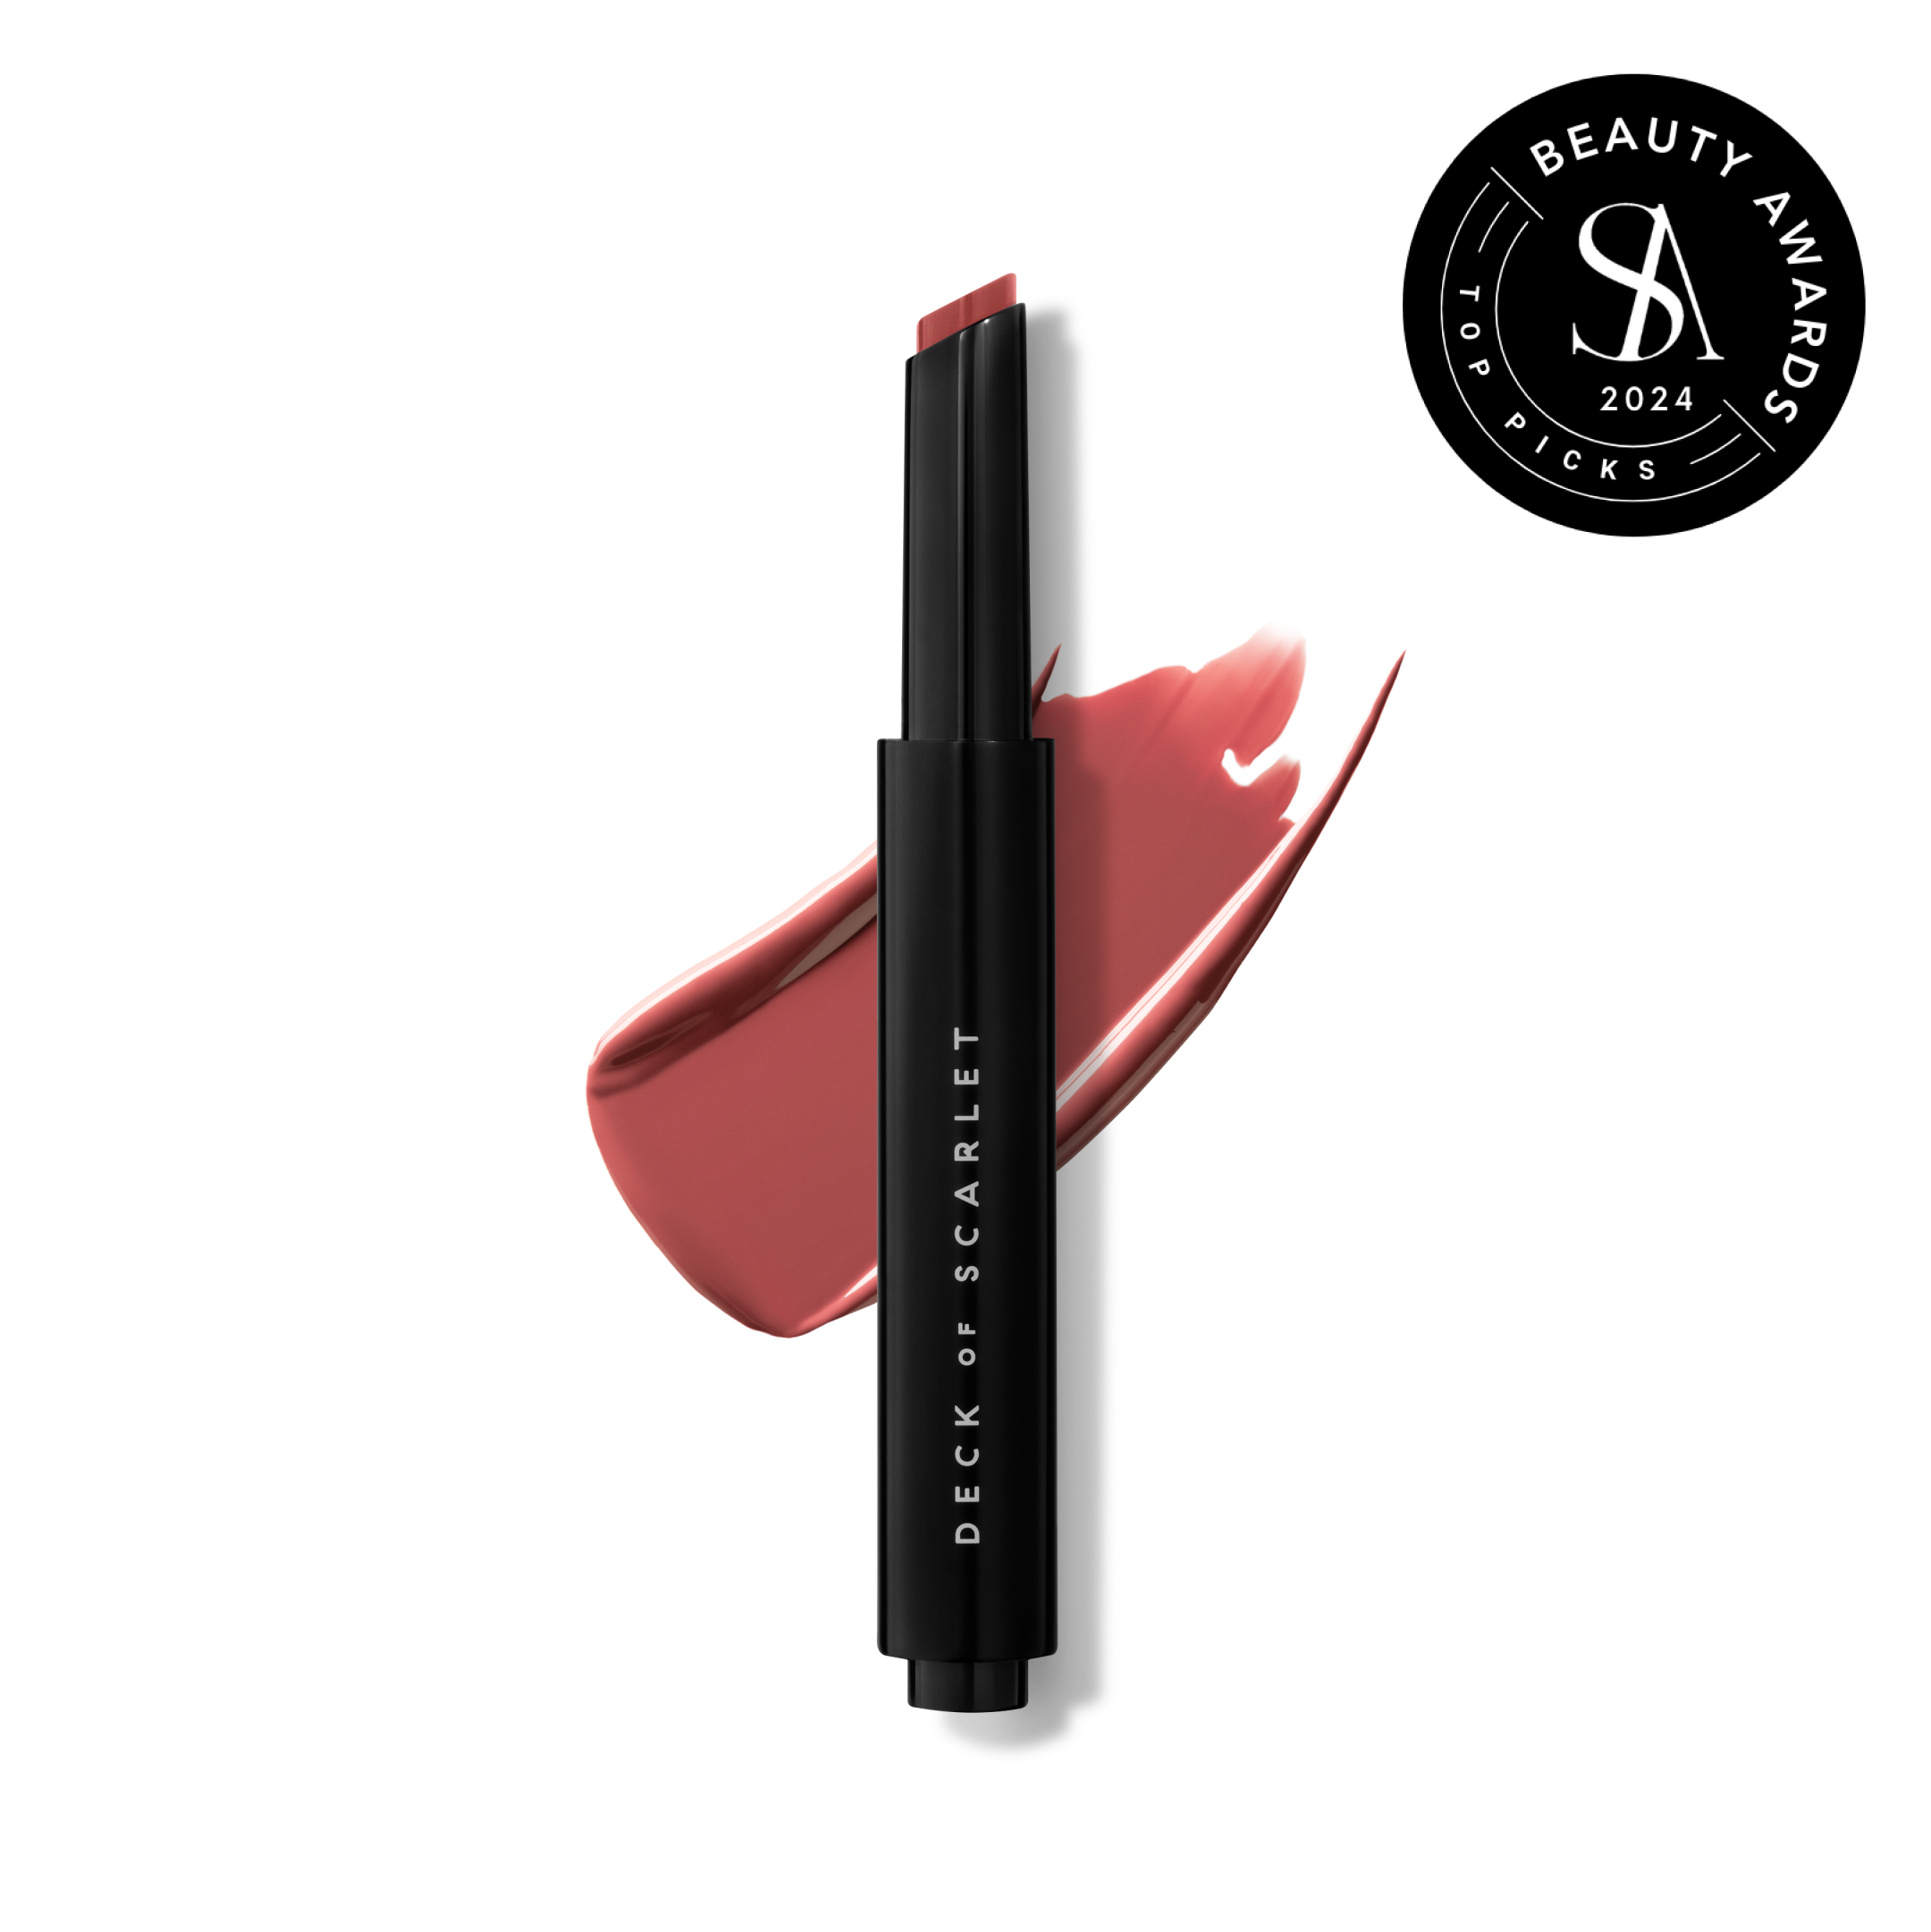
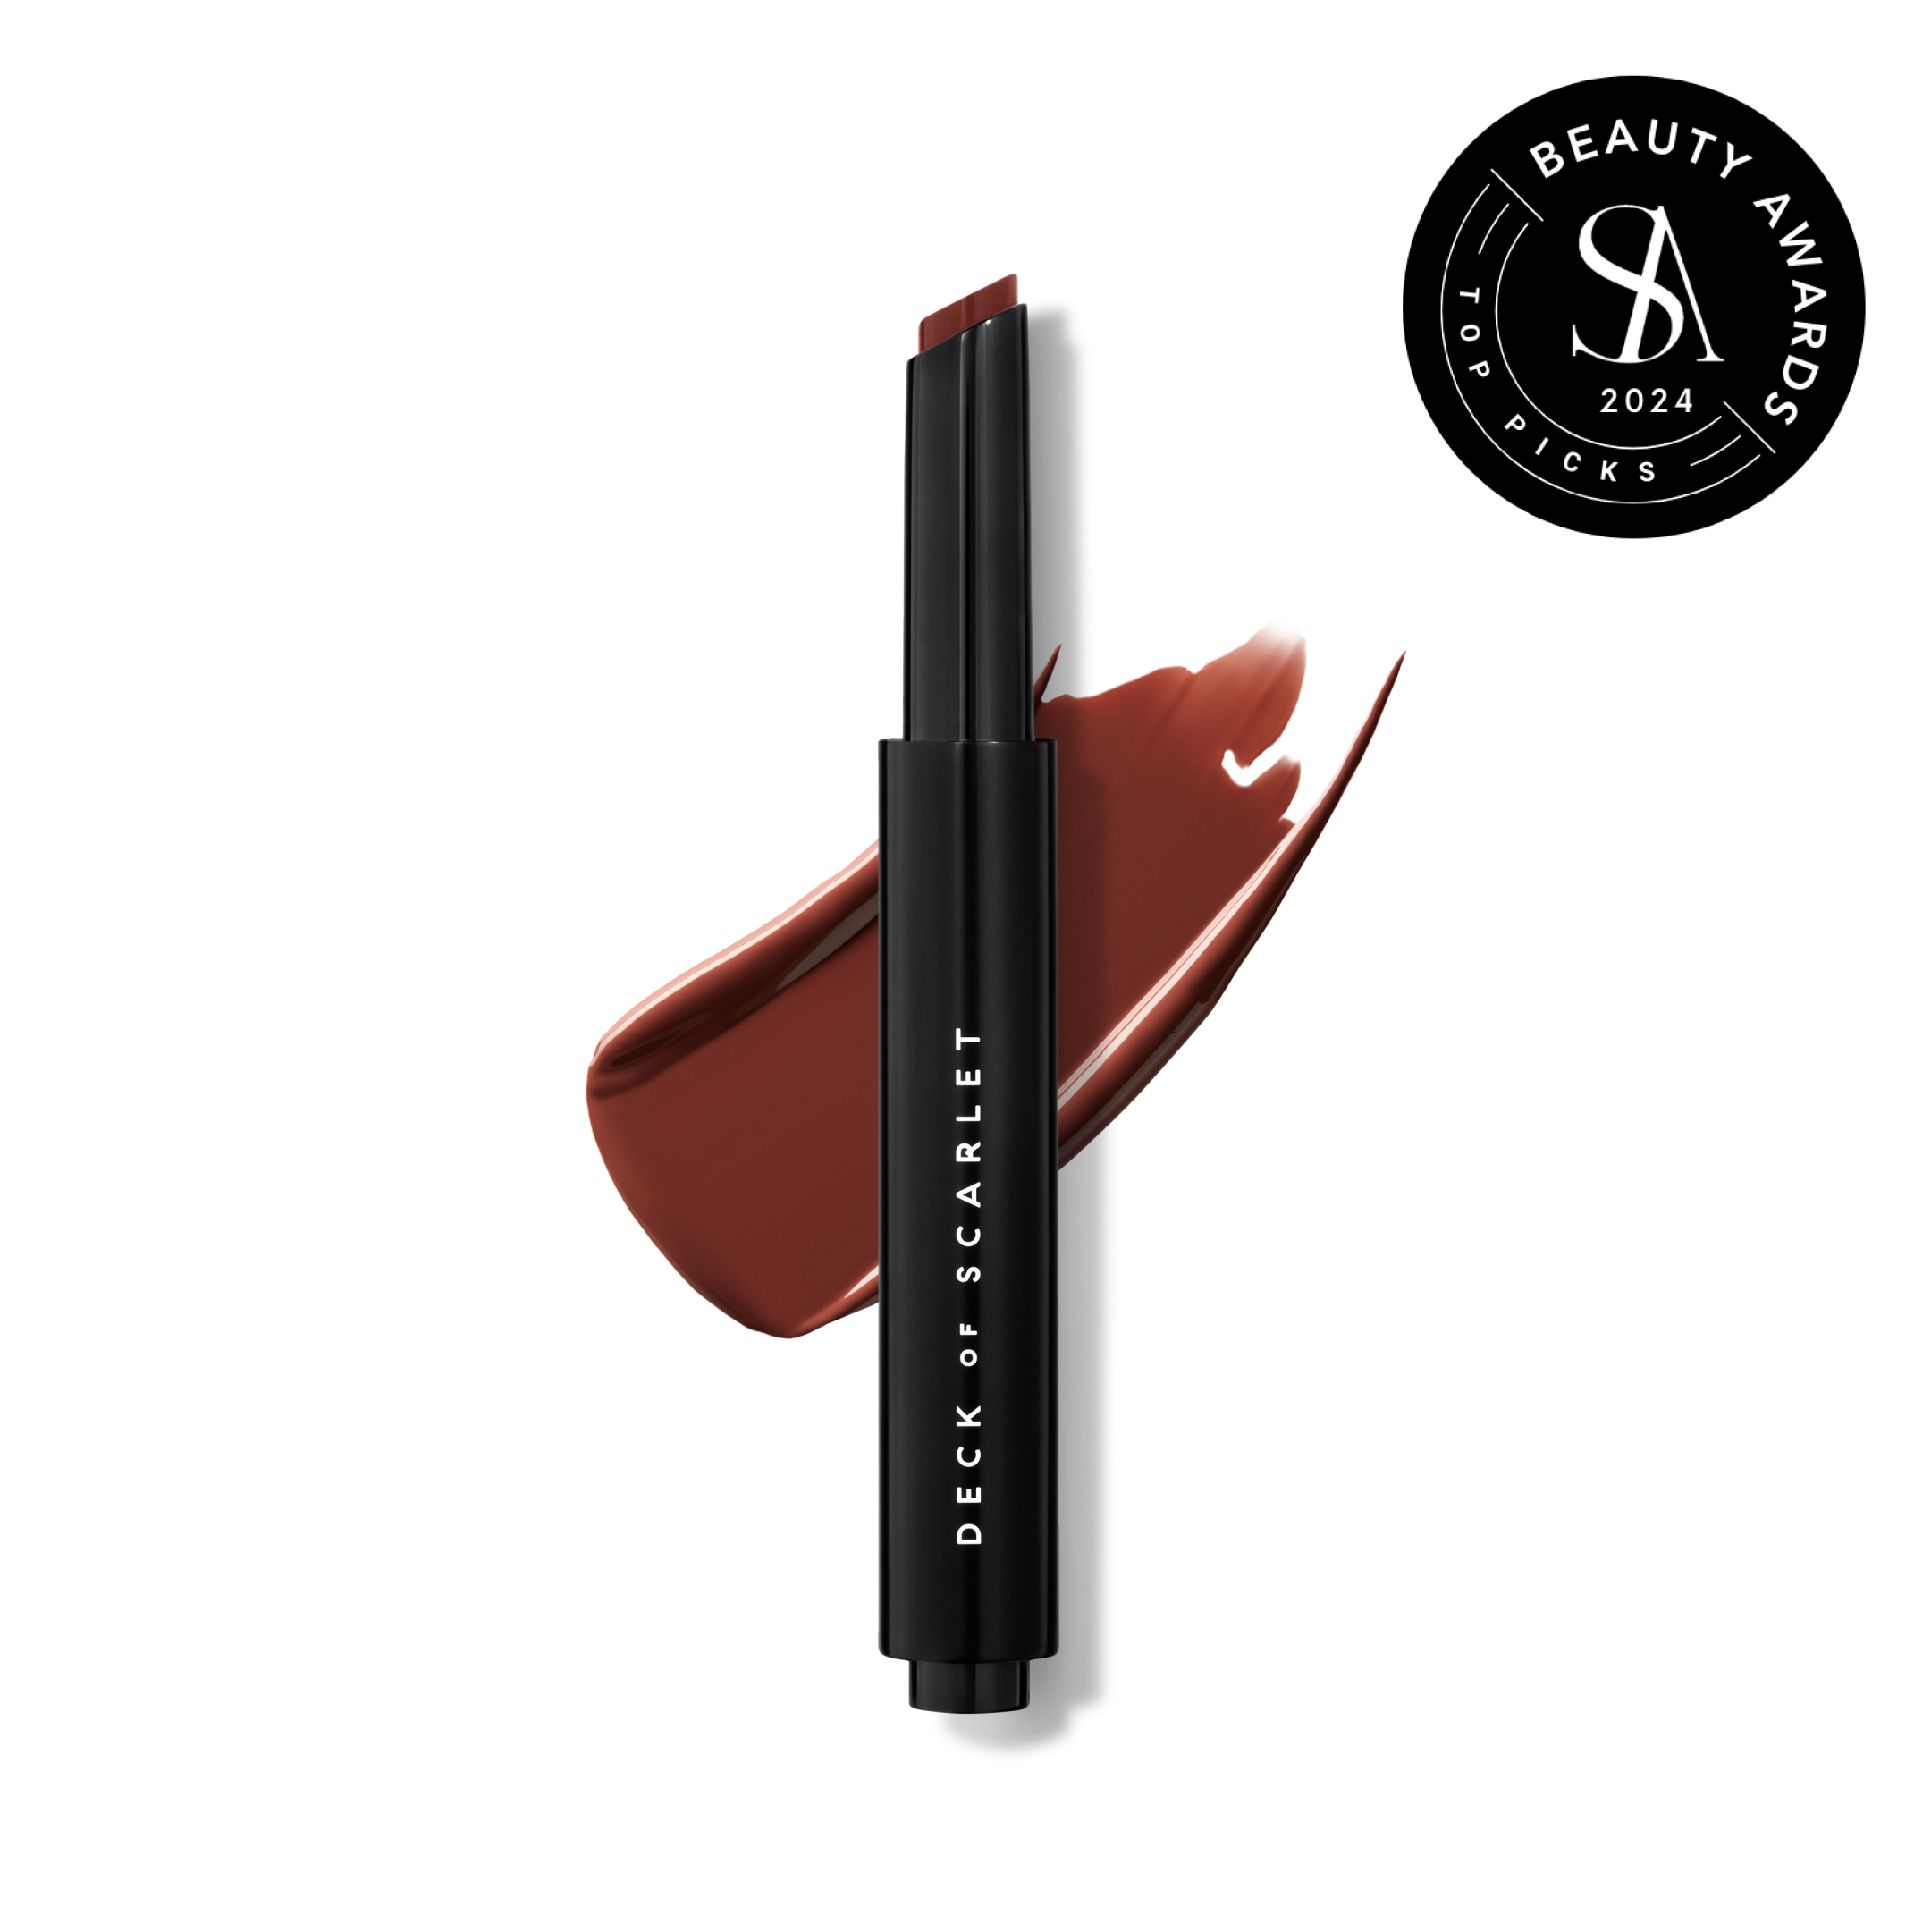
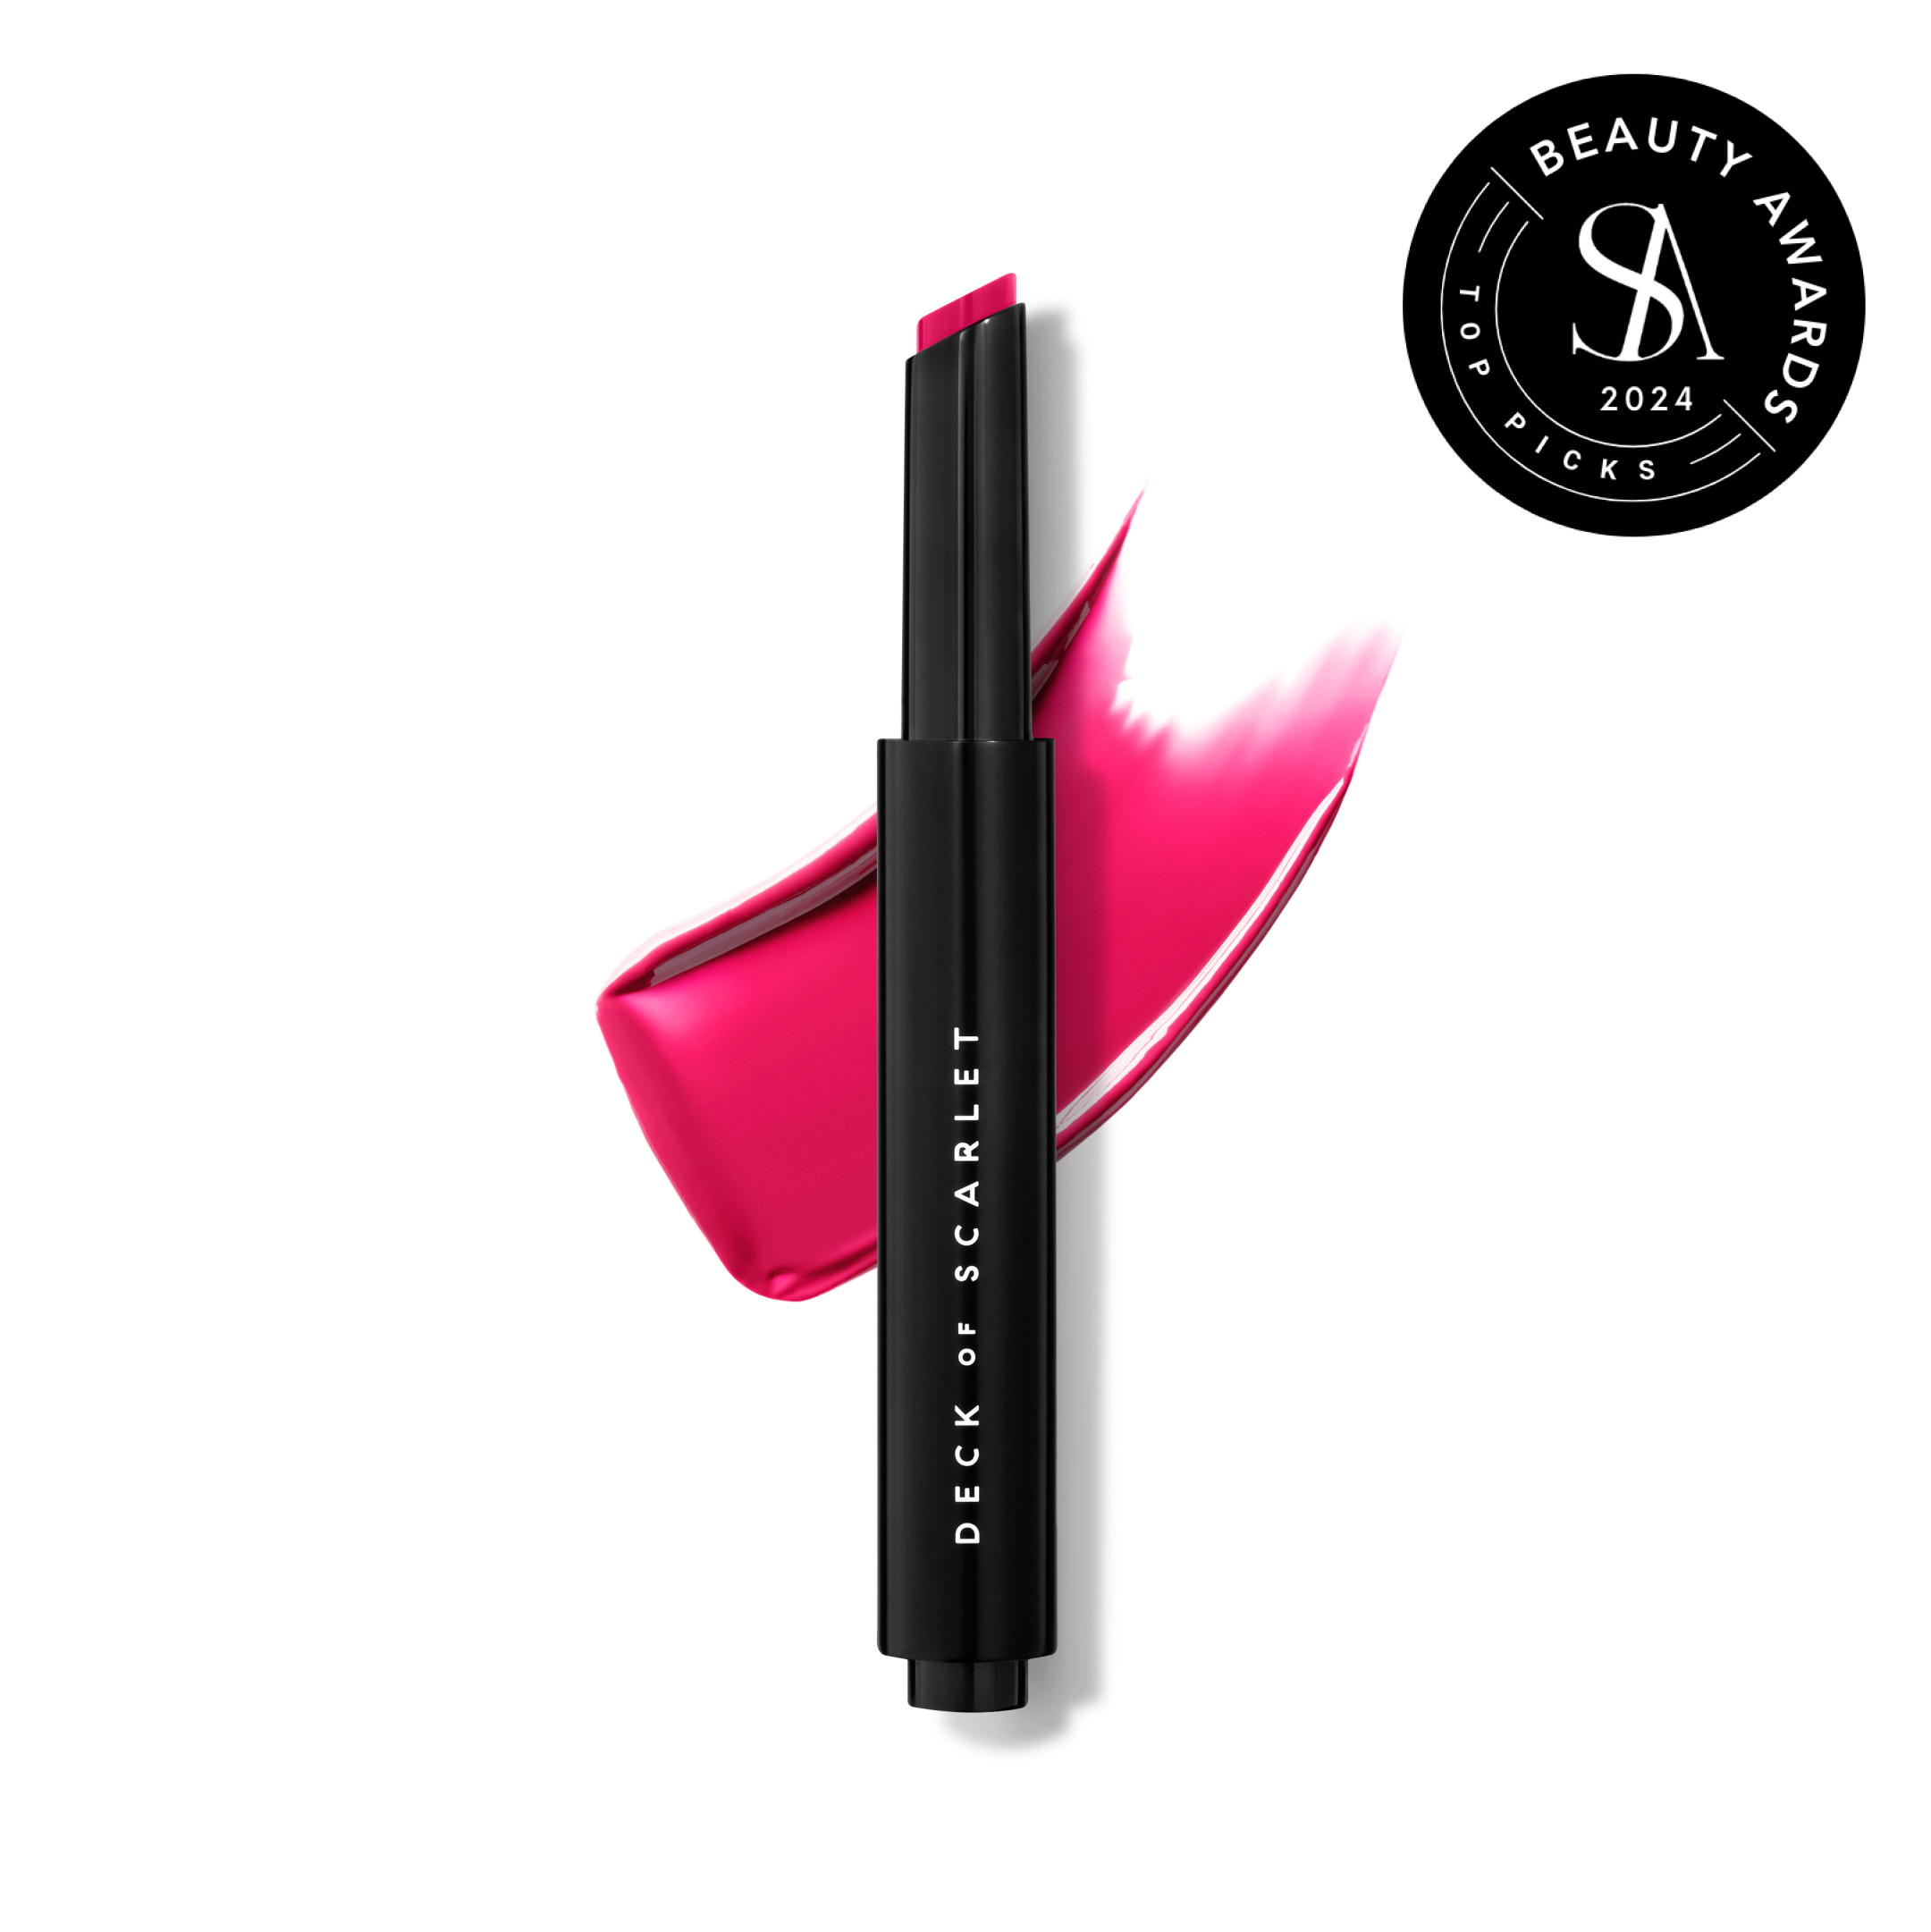
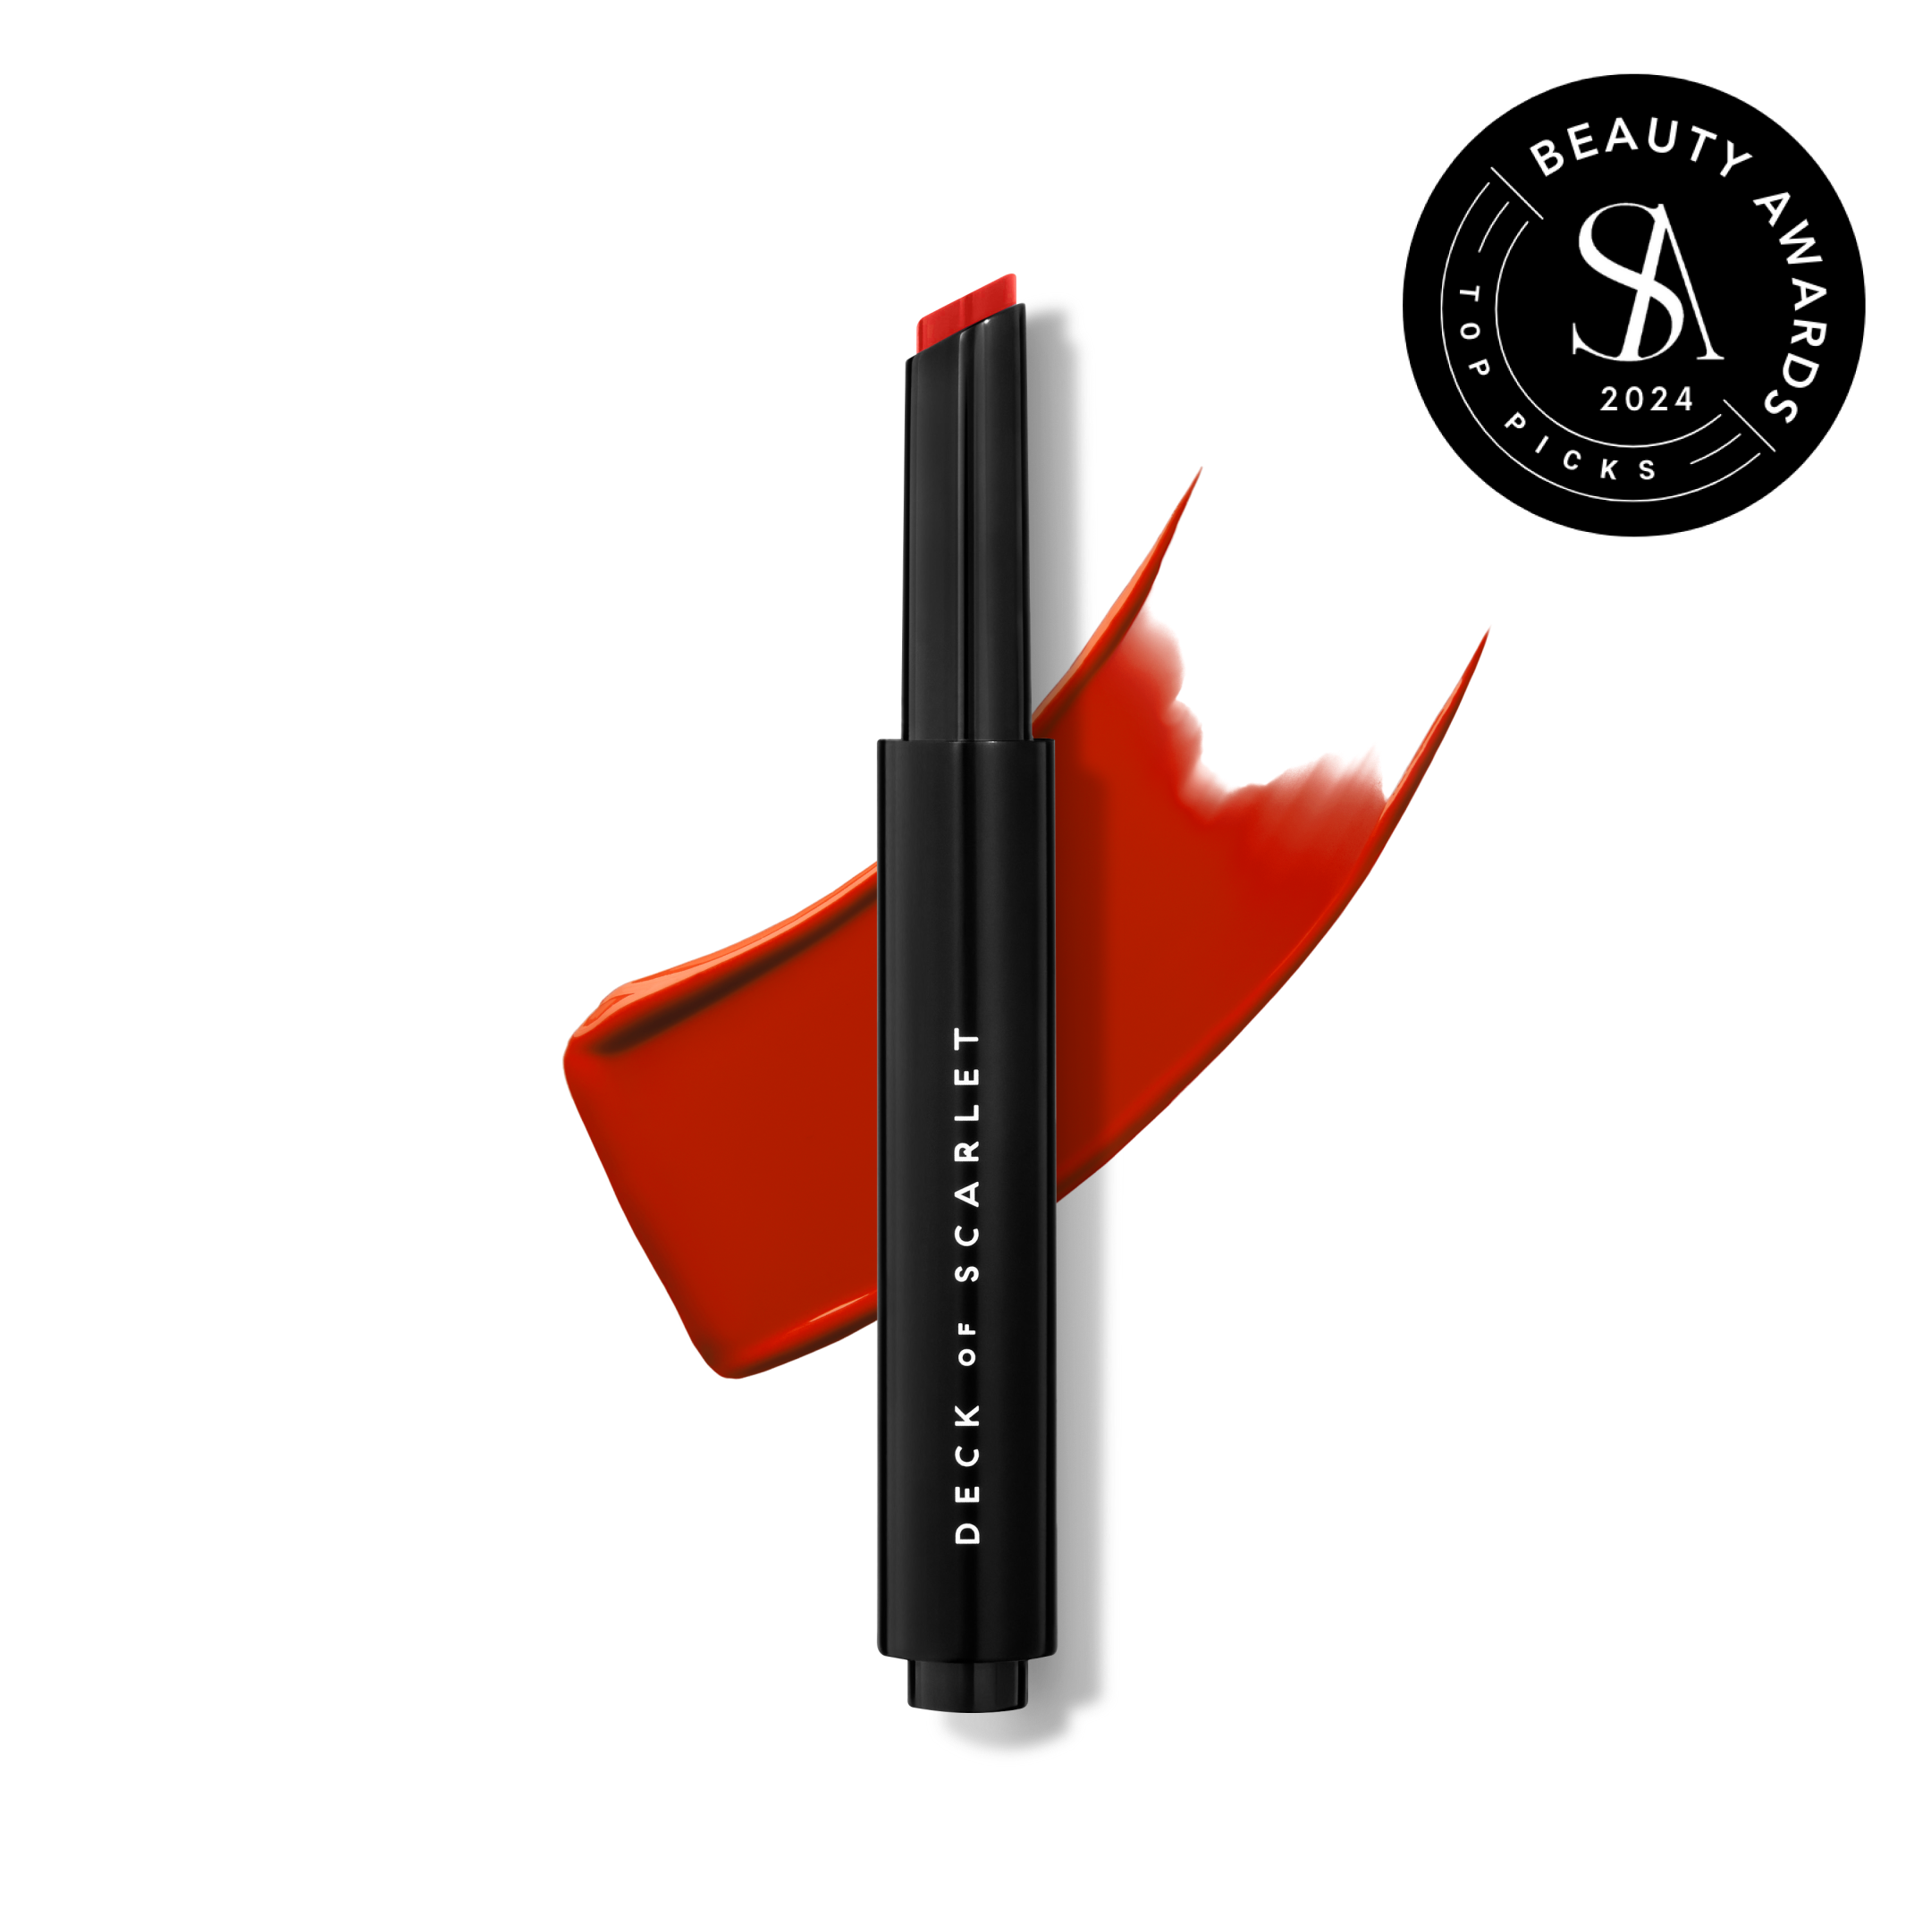
A bold lip can literally make your face light up in just a few swipes. On camera, your pout tends to get a bit lost under dim or bright lighting. That’s why adding a pop color of any kind brings life back to your face. Our pick? Our Threeway Solid Lip Oils, of course. They’re perfect lippie with their vivid, buildable color payoff and mirror-like pearl pigments that deliver next-level luster that shines on camera. We are particularly loving Scarlet Passion for a bright blue-based red that makes our teeth look extra white through the computer screen, and Mauve Minx for a dose of pinky-purple that livens up our skin in a less noticeable way.

Whether you’re getting dolled up for a date, or taking a work call, now you can put your best face forward on all of your video calls.
![MAUVE MINX [color]#A44E5C[/color]](http://www.deckofscarlet.com/cdn/shop/files/Mauve_Minx_swatch.png?v=1725032298)
![TANTRIC [color]#E5C1AA[/color]](http://www.deckofscarlet.com/cdn/shop/products/dos-mistake-proof-bronzer-5.jpg?v=1698839272)
![ROSE GODDESS [color]#D0175A[/color]](http://www.deckofscarlet.com/cdn/shop/files/Rose_Goddess_swatch.png?v=1725032322)
![NUDE AMBITION [color]#BC6E59[/color]](http://www.deckofscarlet.com/cdn/shop/files/Nude_Ambition_swatch.png?v=1725032357)
![MERLOT MOVES [color]#88163A[/color]](http://www.deckofscarlet.com/cdn/shop/files/Merlot_Moves_swatch.png?v=1725032373)
![SCARLET PASSION [color]#CE202F[/color]](http://www.deckofscarlet.com/cdn/shop/files/Scarlet_Passion_swatch.png?v=1725032405)
![PURPLE REIGN [color]#602855[/color]](http://www.deckofscarlet.com/cdn/shop/files/Purple_Reign_swatch.png?v=1725032421)
![PEACH SANDS [color]#C6473D[/color]](http://www.deckofscarlet.com/cdn/shop/files/Peach_Sand_swatch.png?v=1725032434)
![GUAVA SUNRISE [color]#EF465D[/color]](http://www.deckofscarlet.com/cdn/shop/files/Guava_Sunrise_swatch.png?v=1725032481)
